While we still have some (big and small) finishing touches to be added to the new kitchen in the next month or so, it's back in working order (and better than before, obvs.) - so, here's what's been happening the past few months ------>
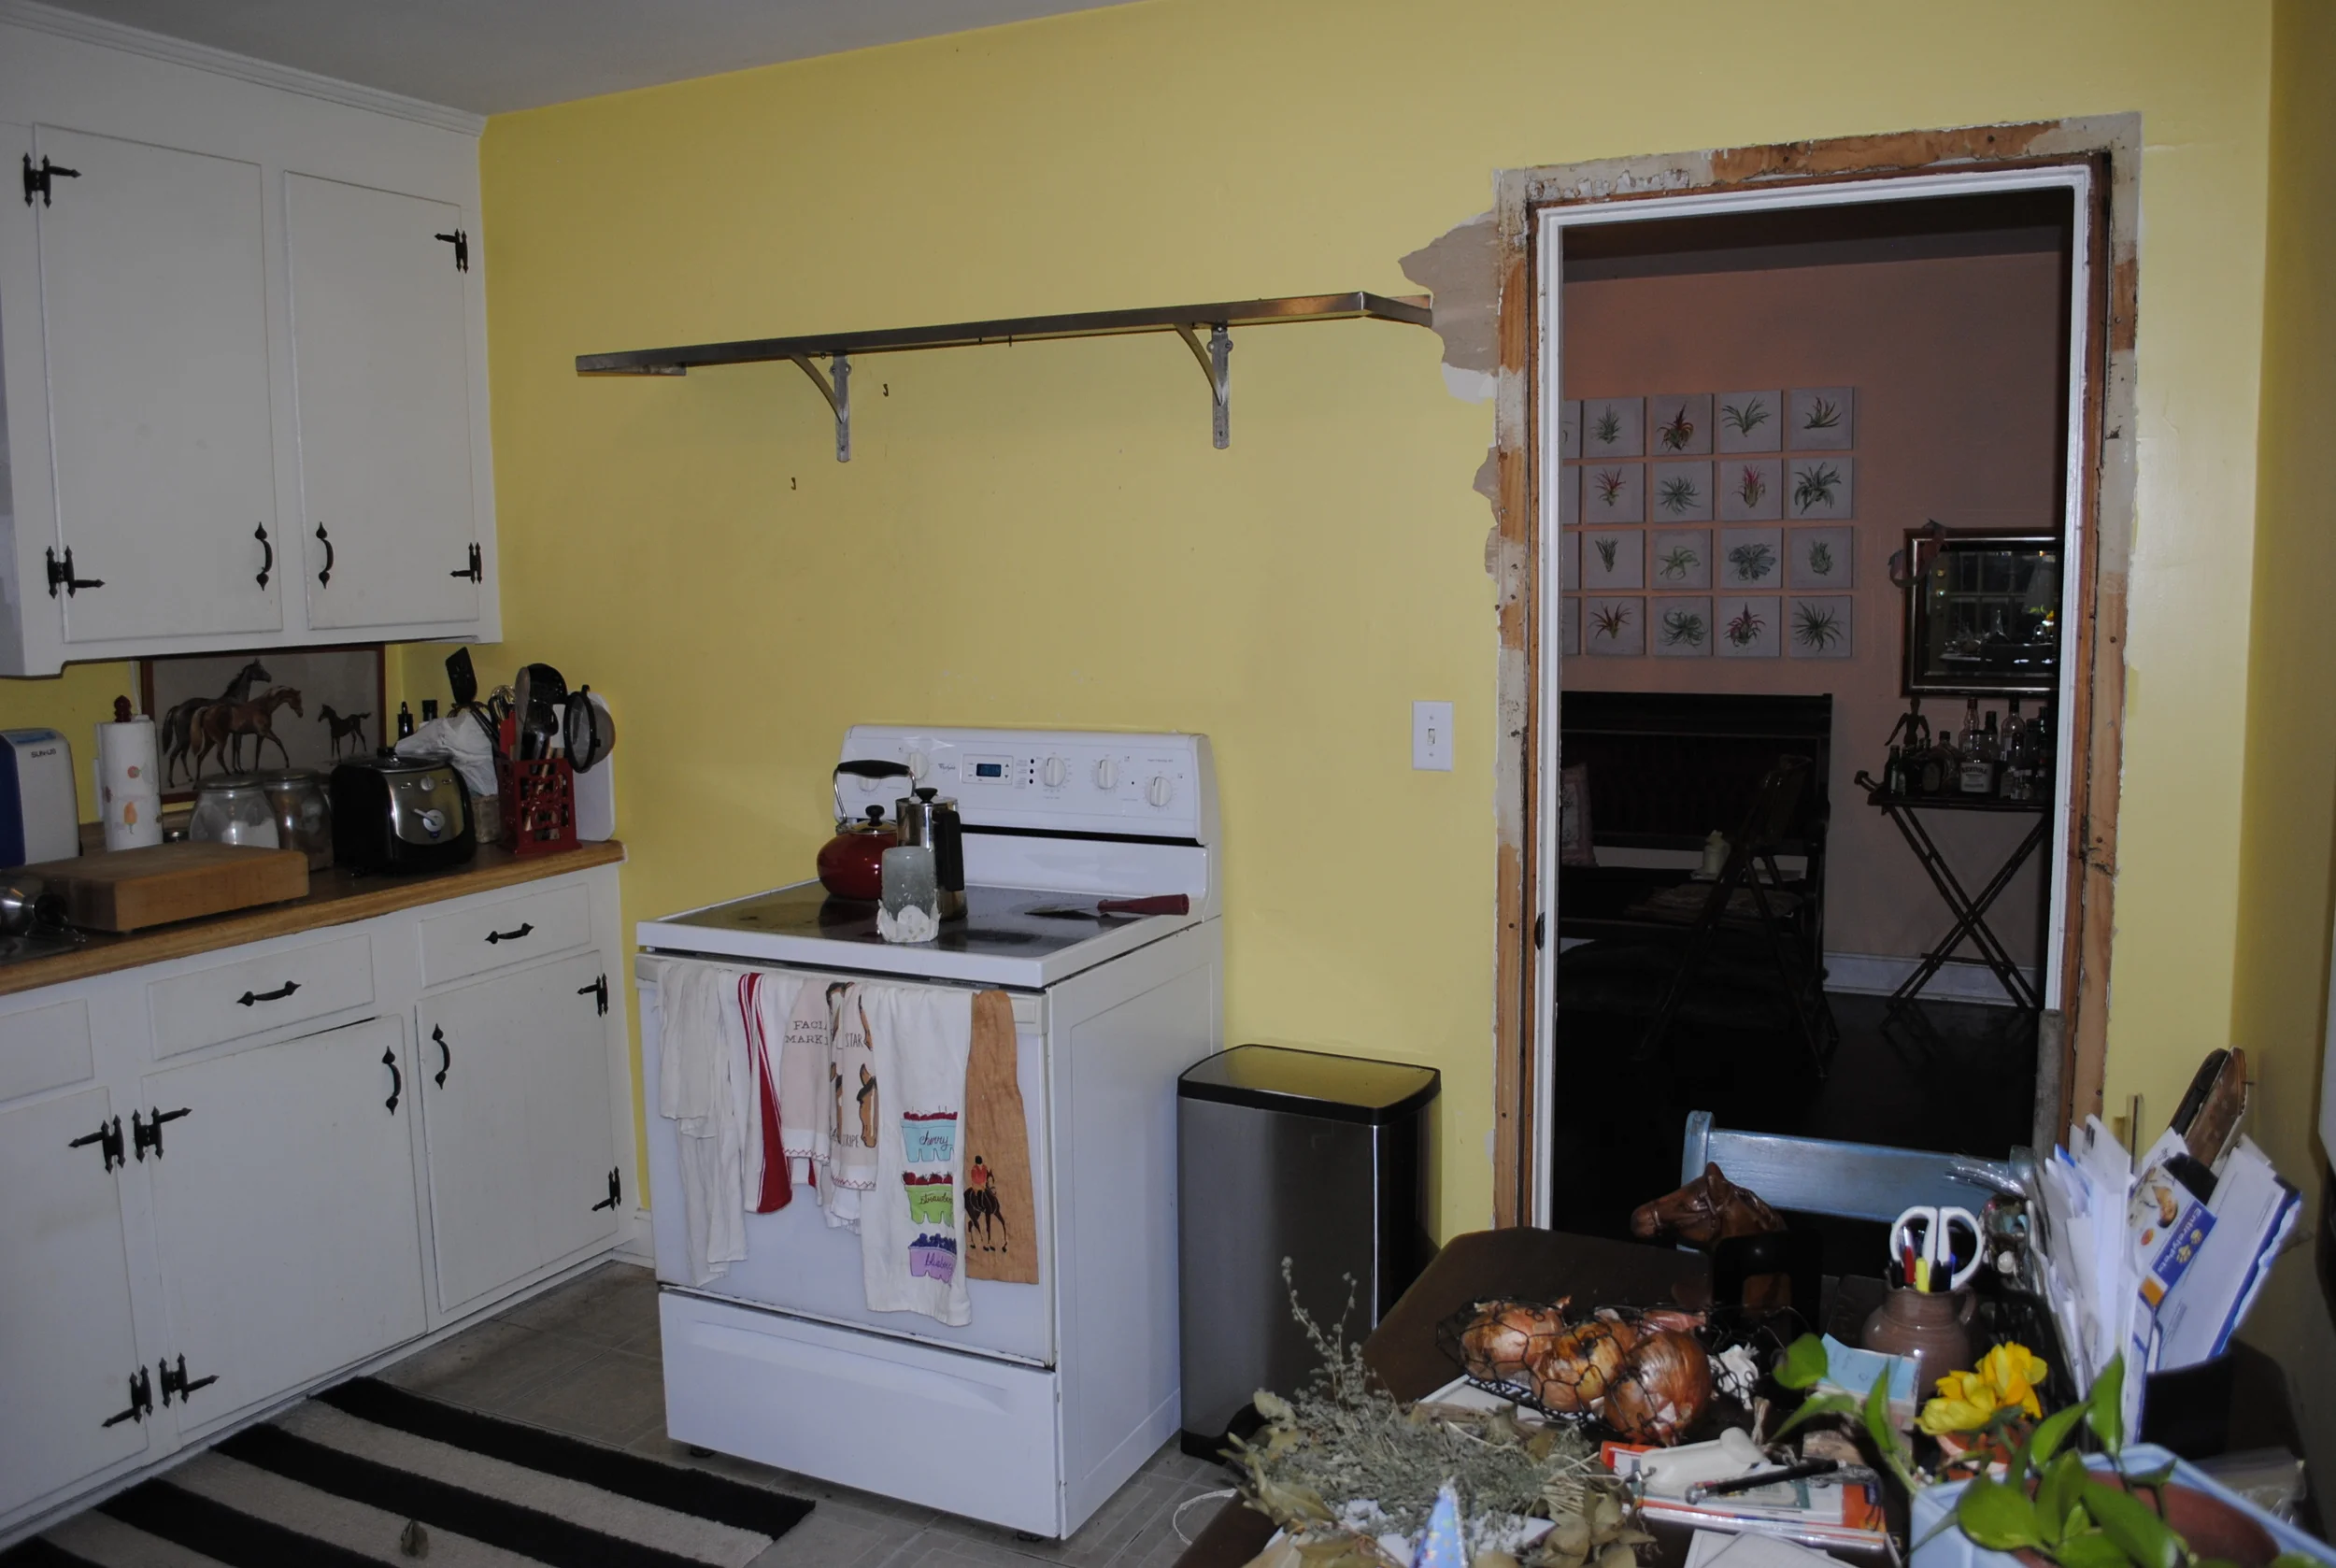
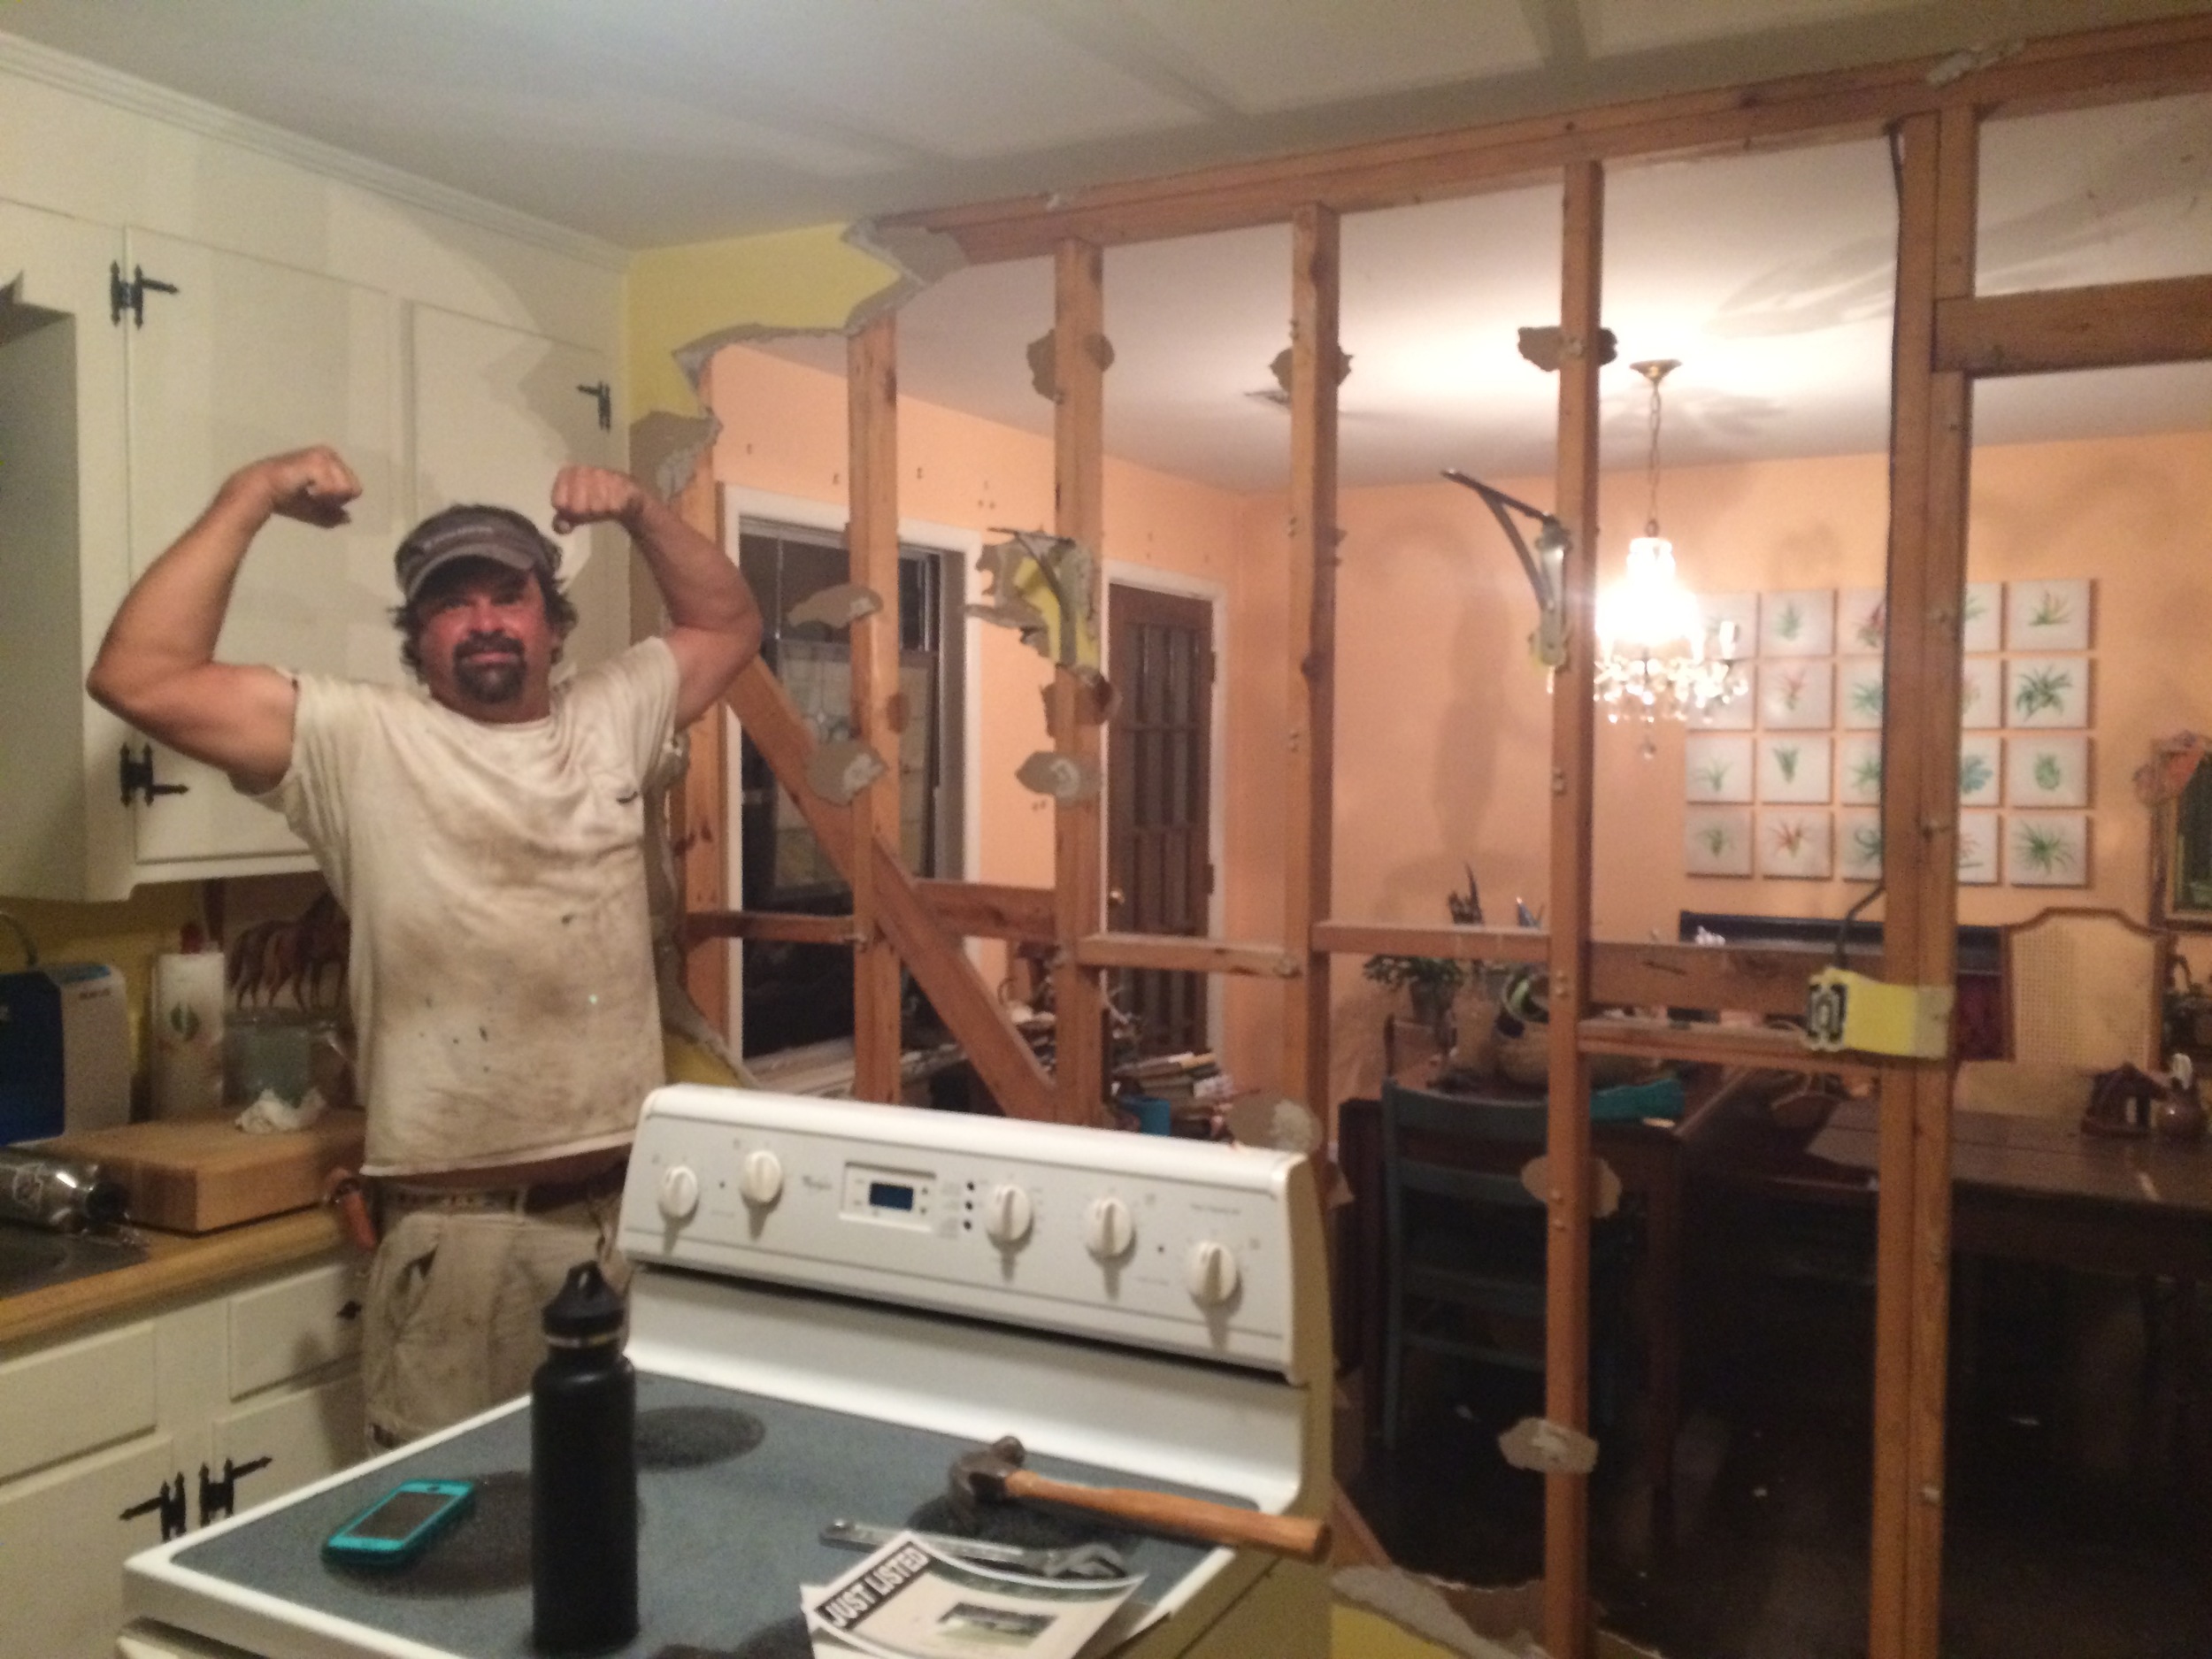
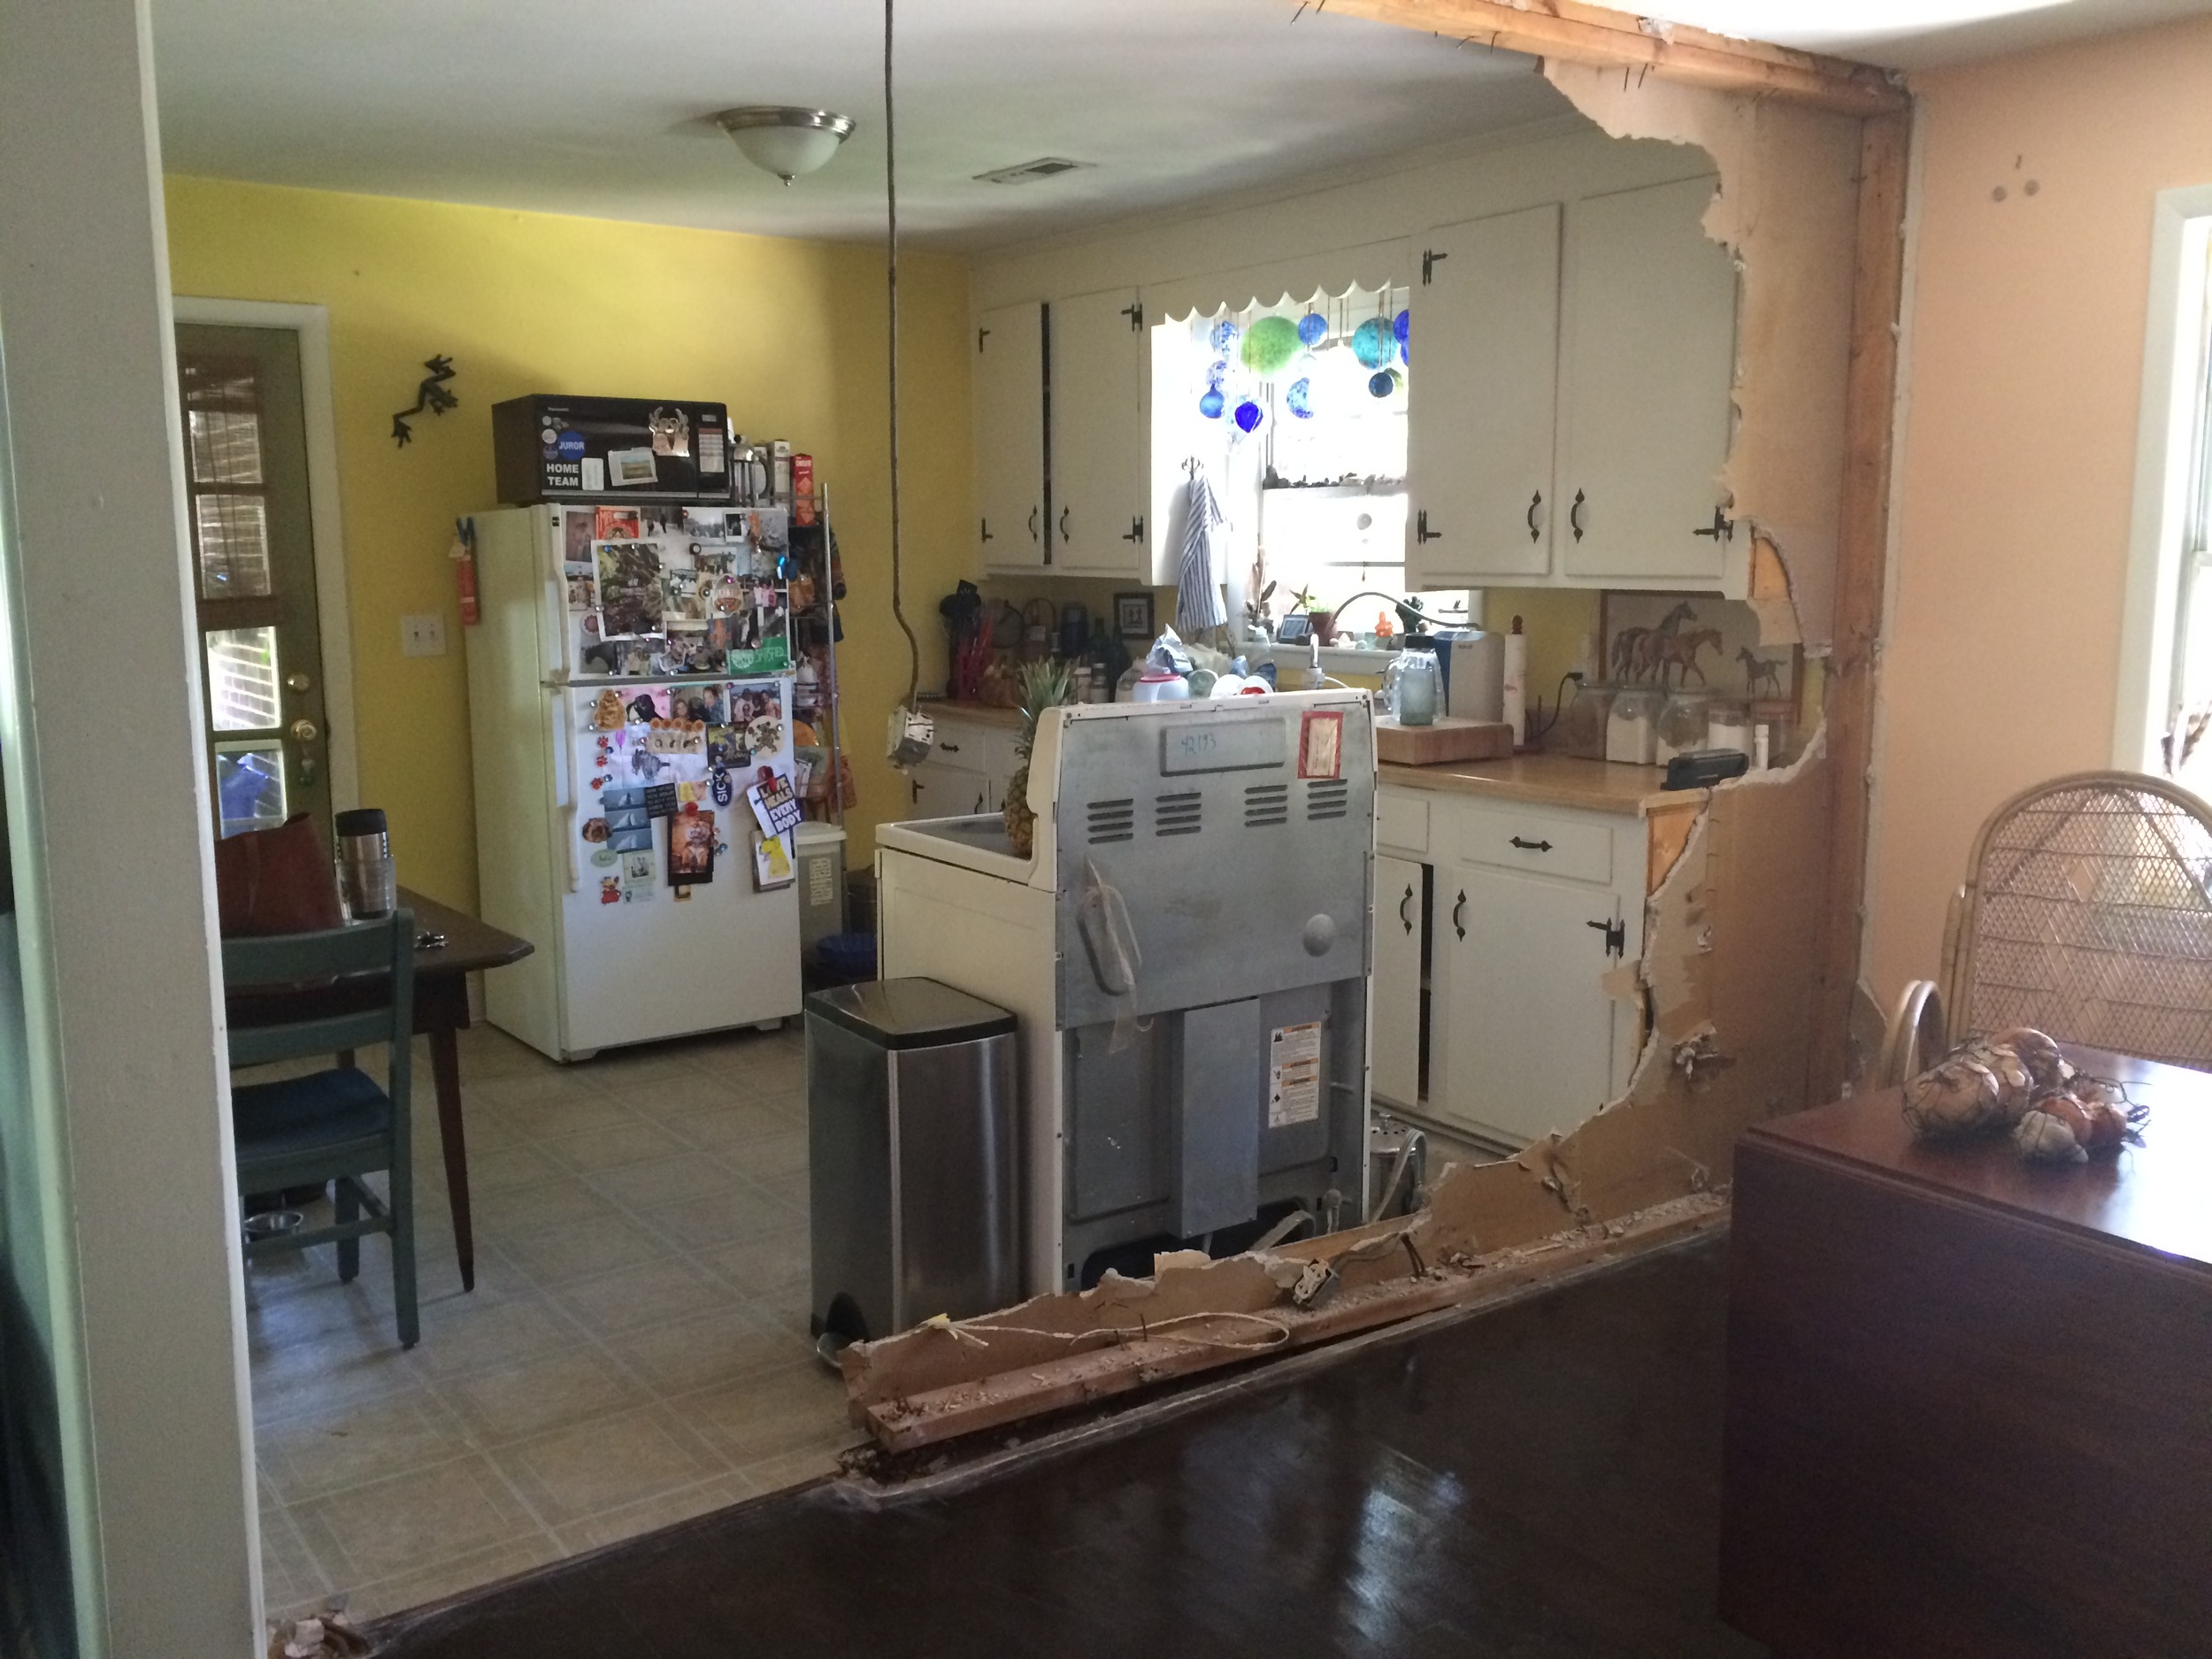
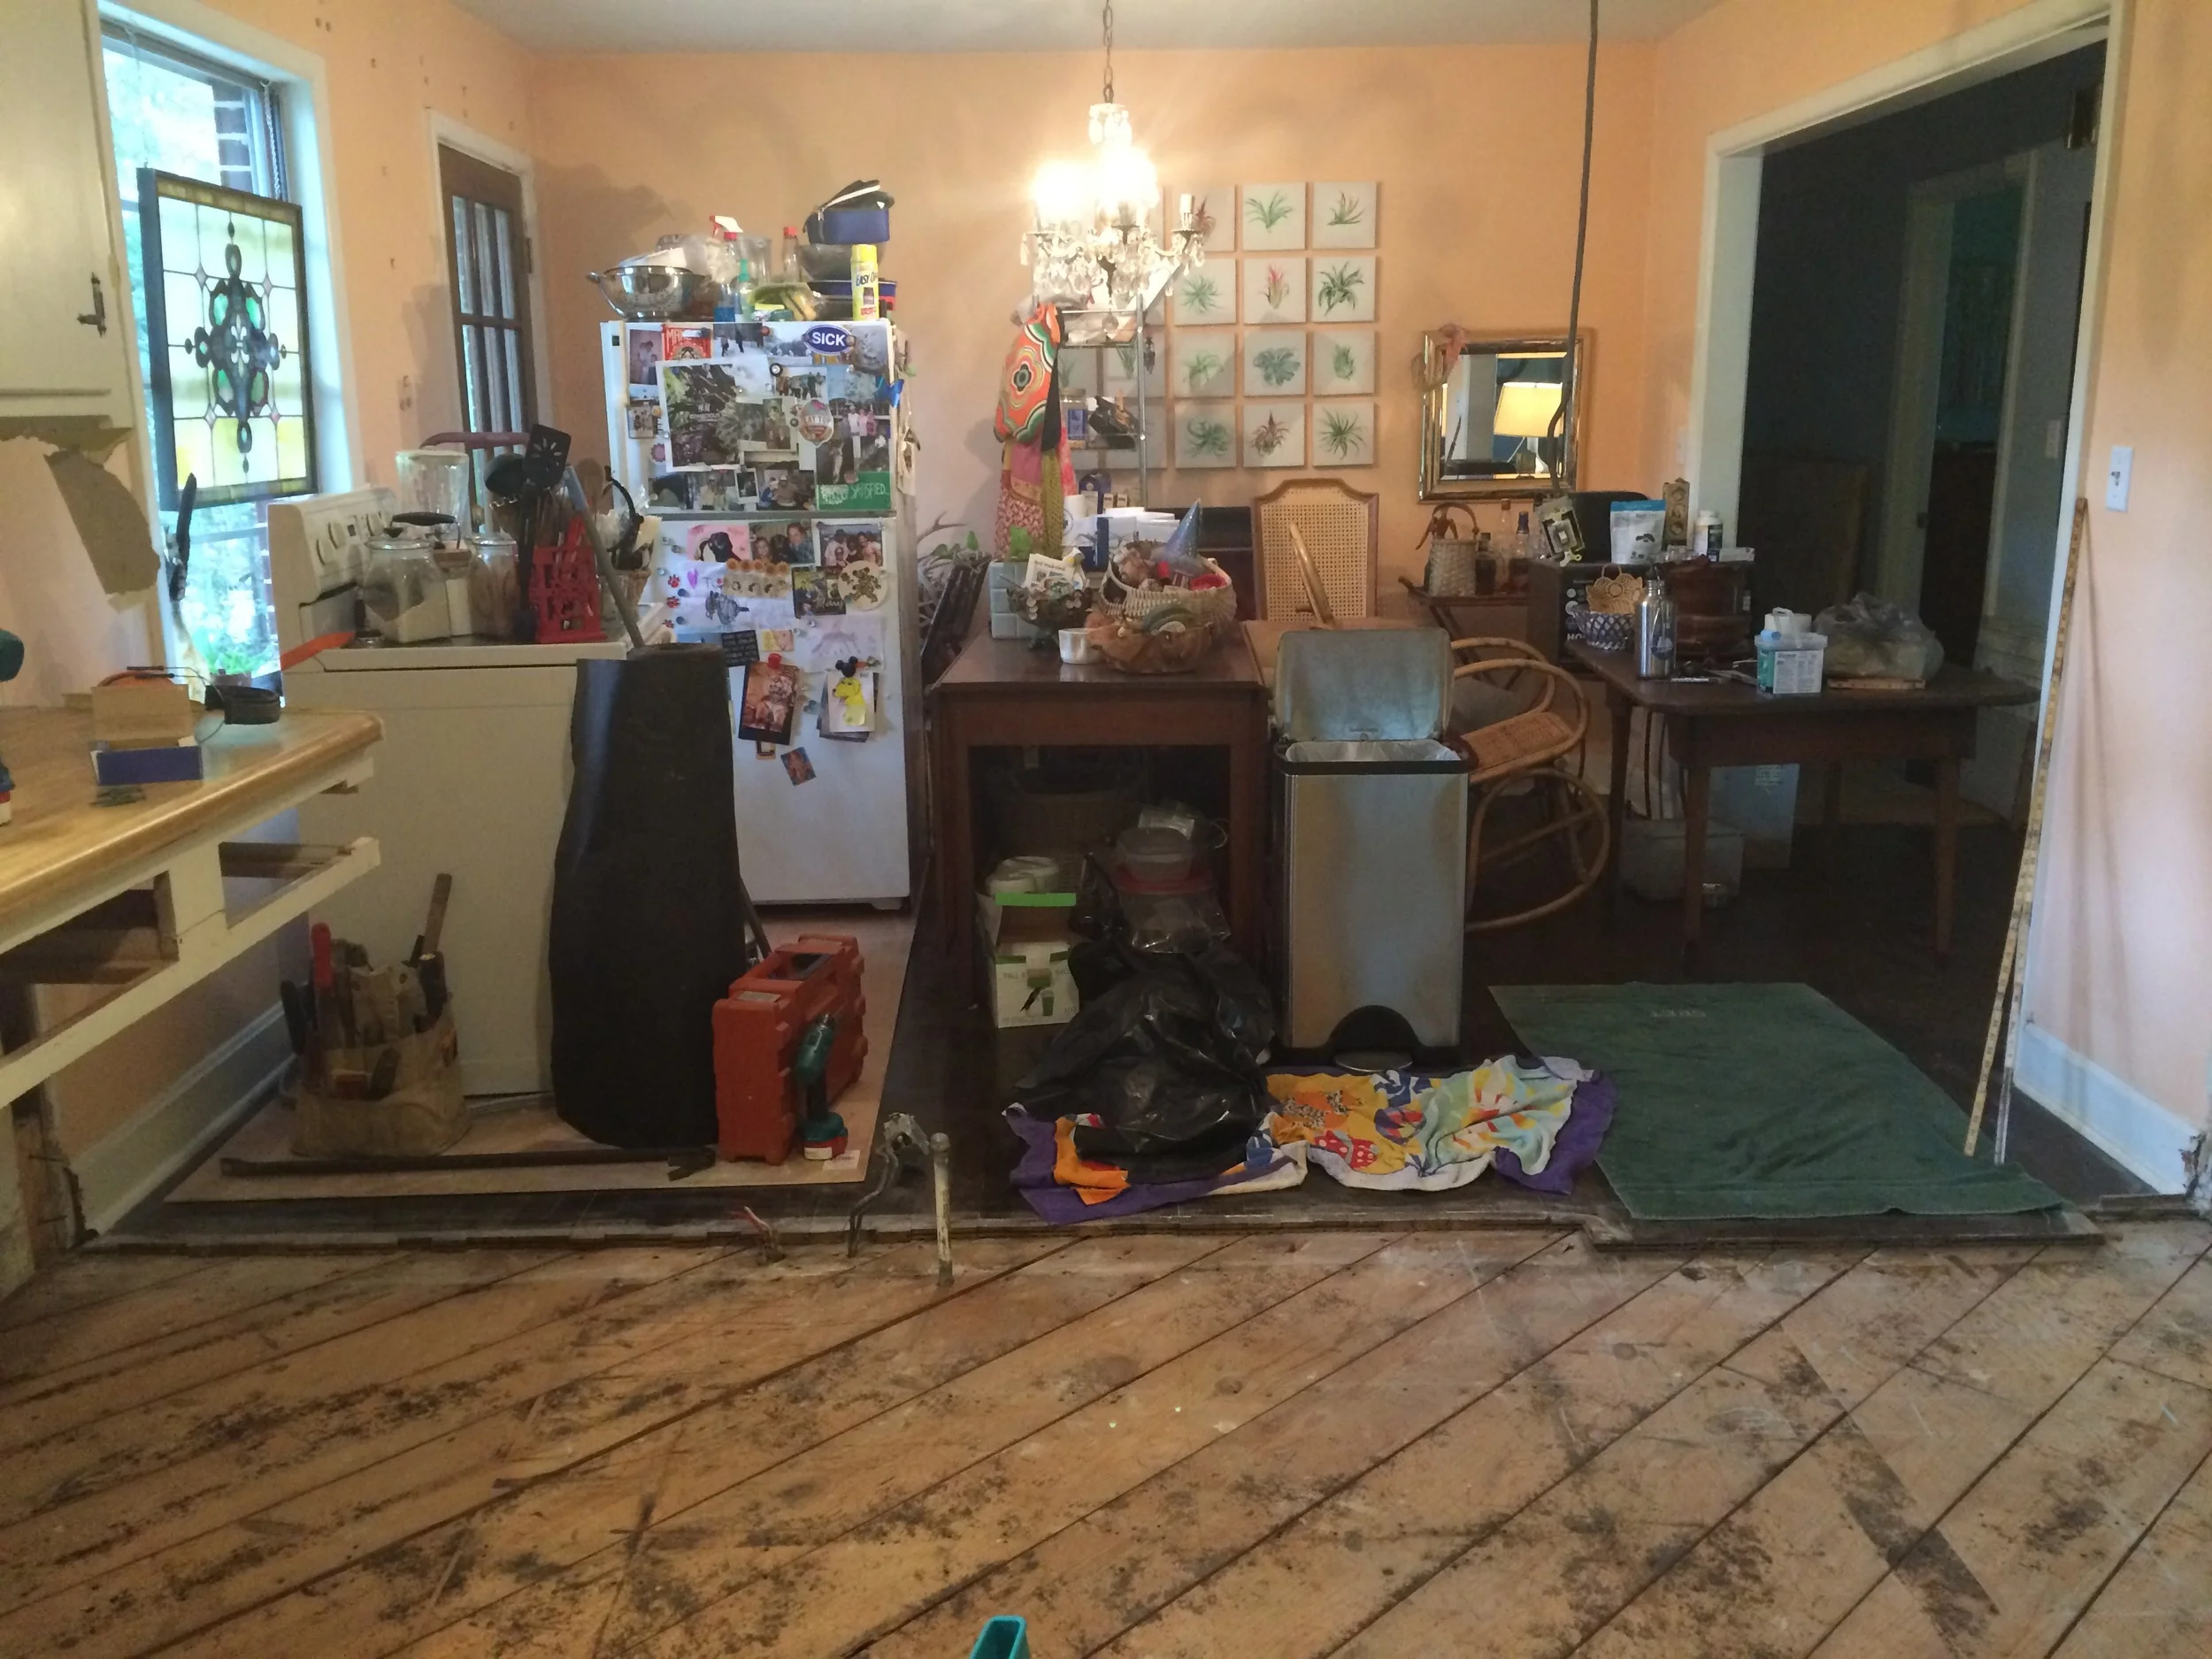
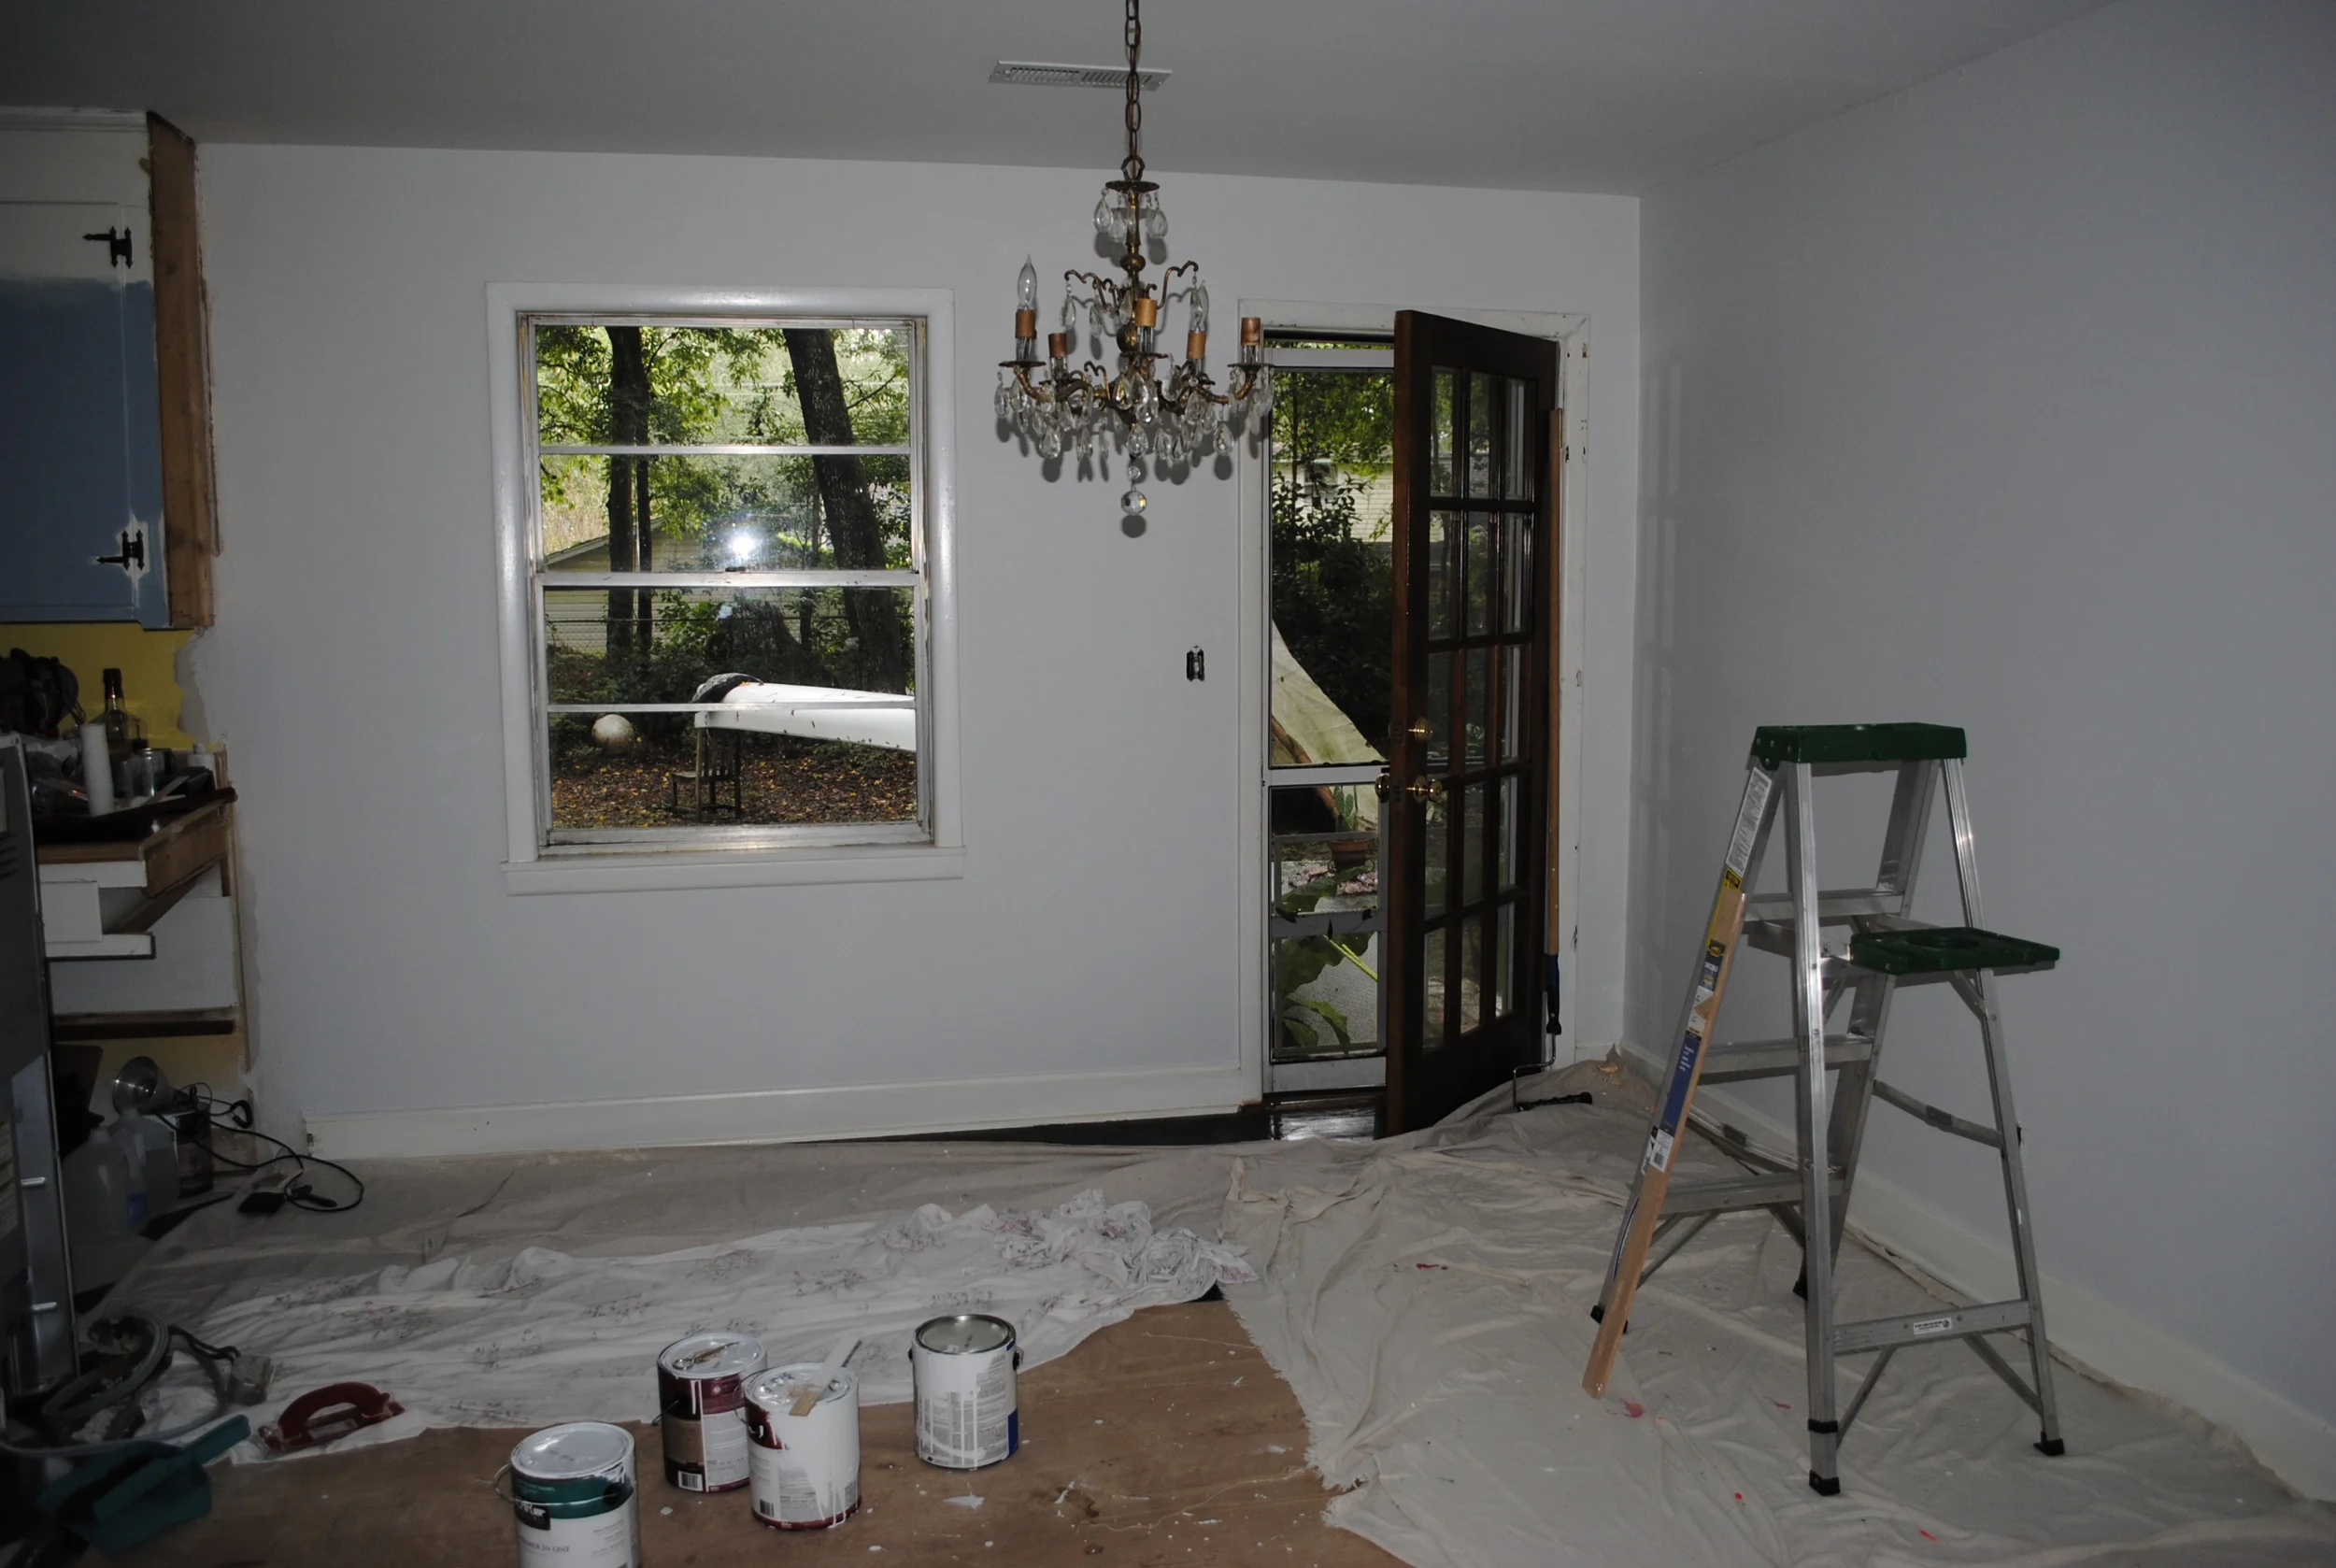
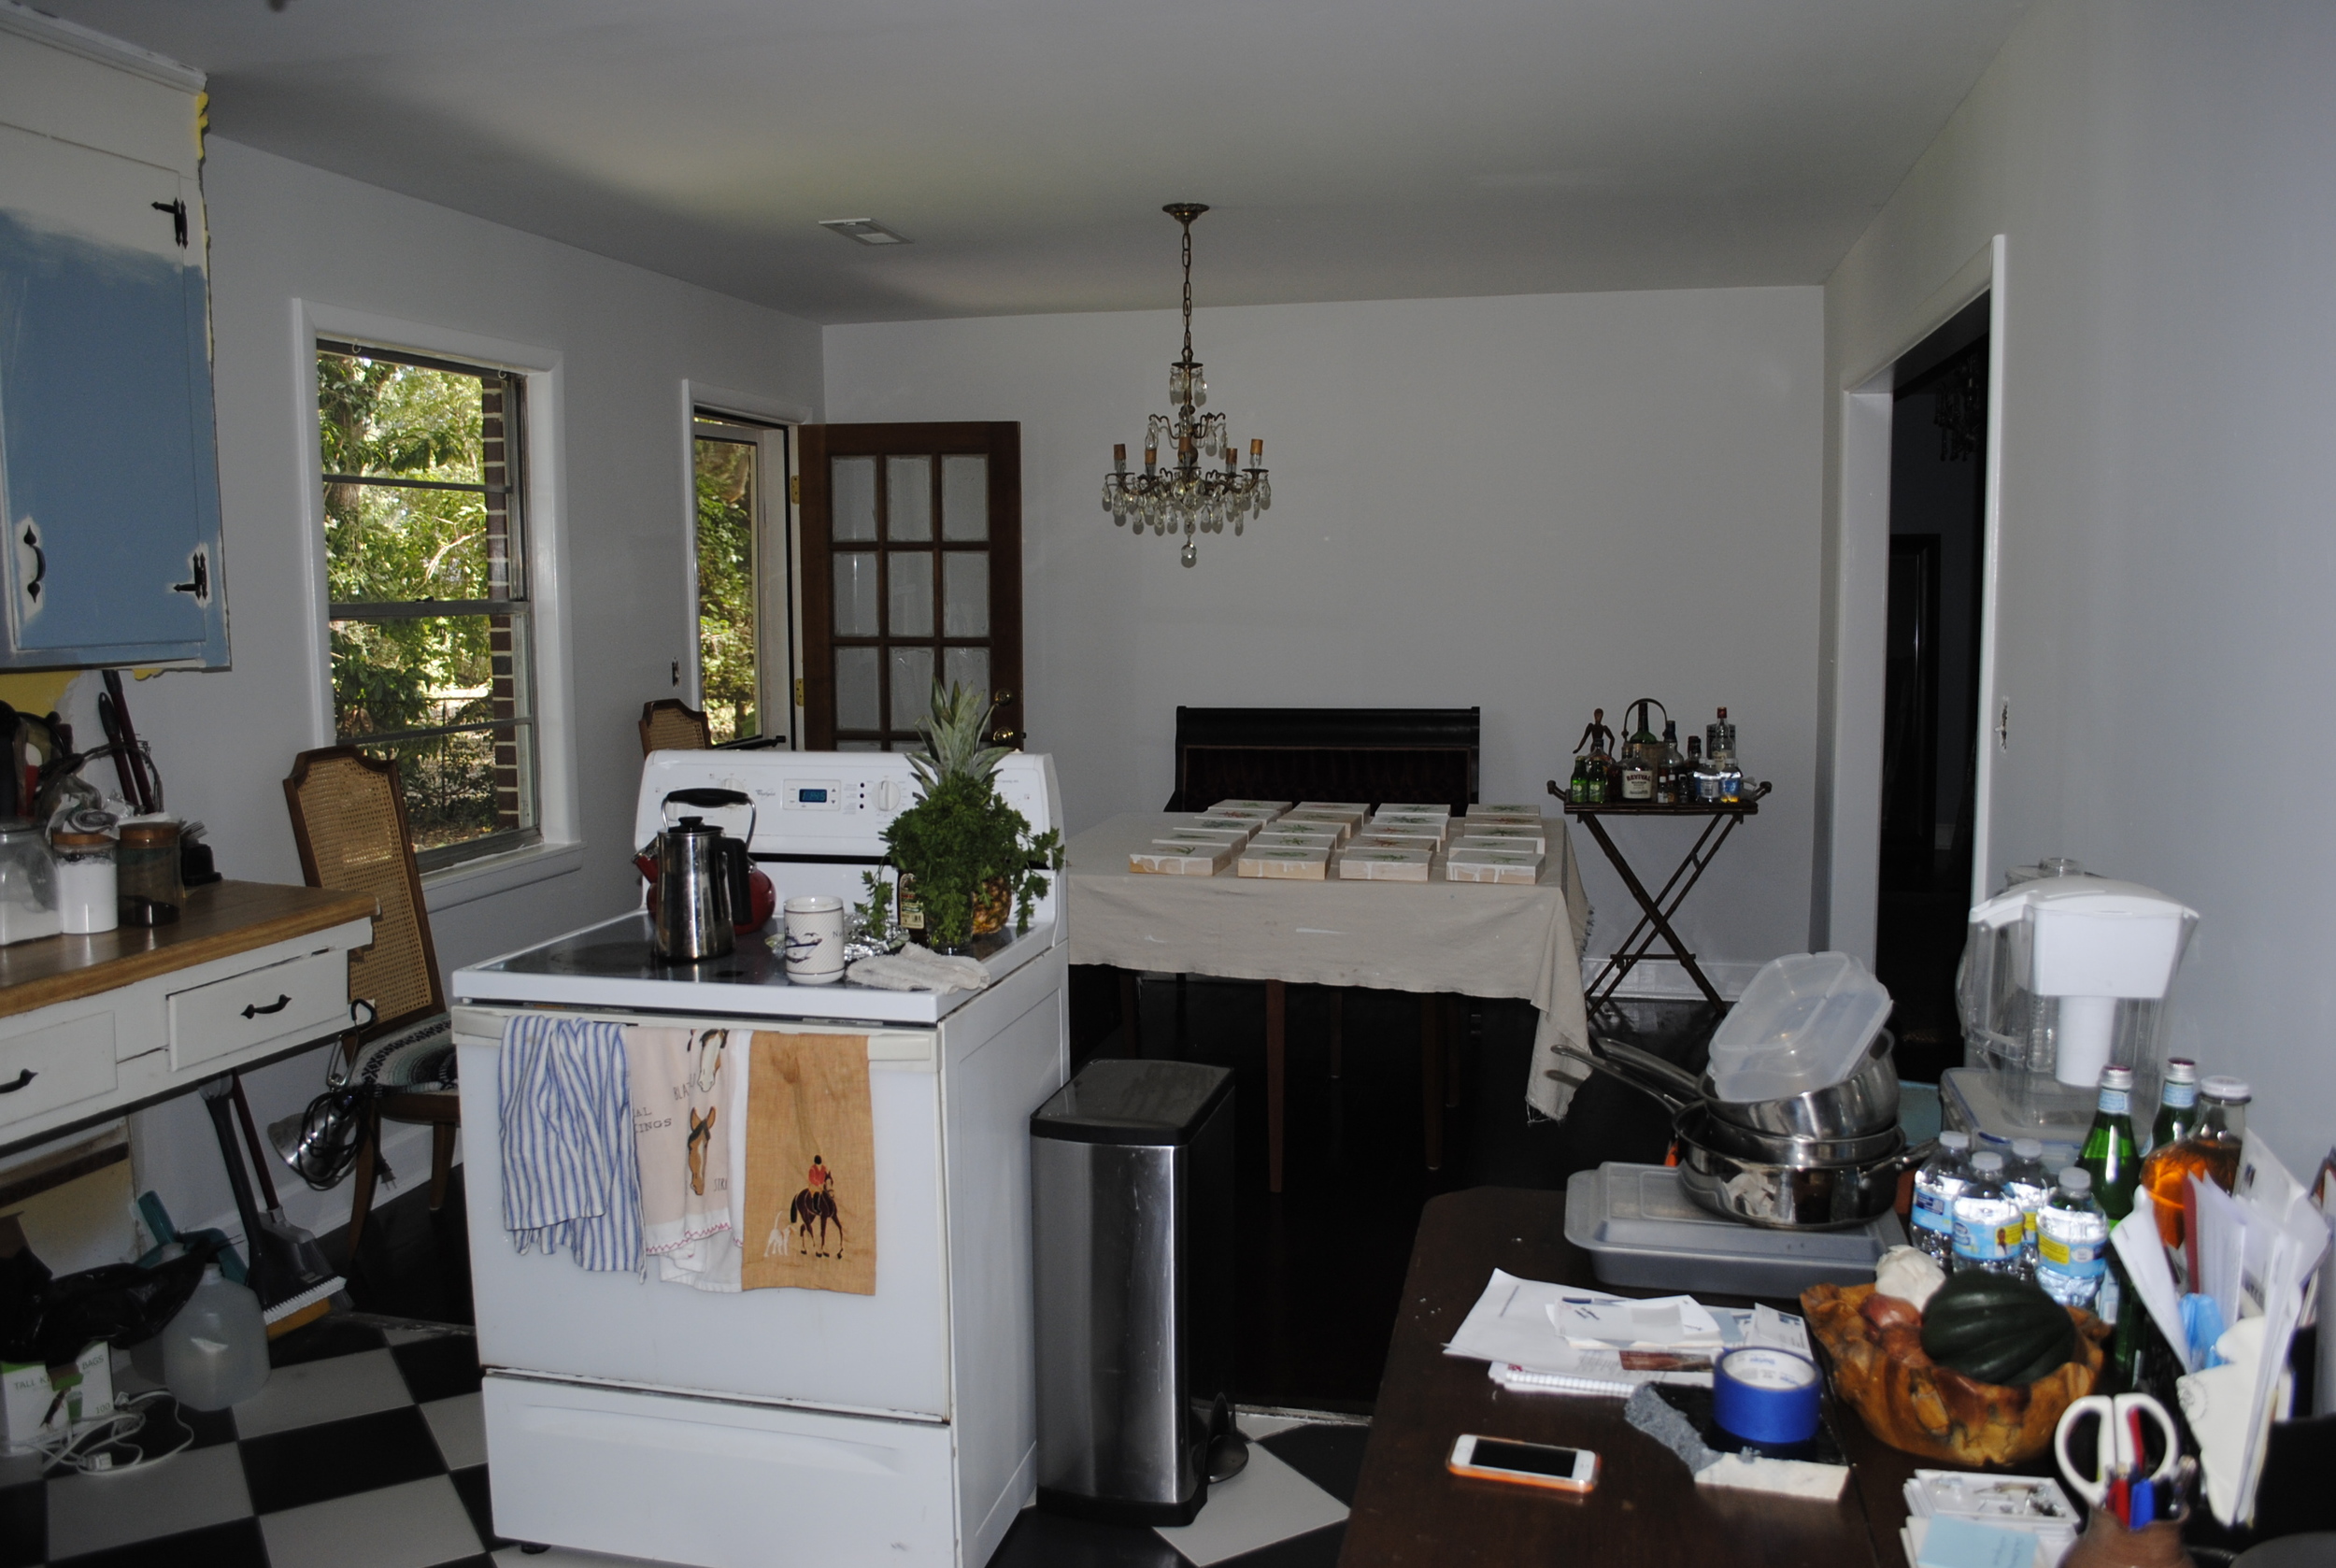
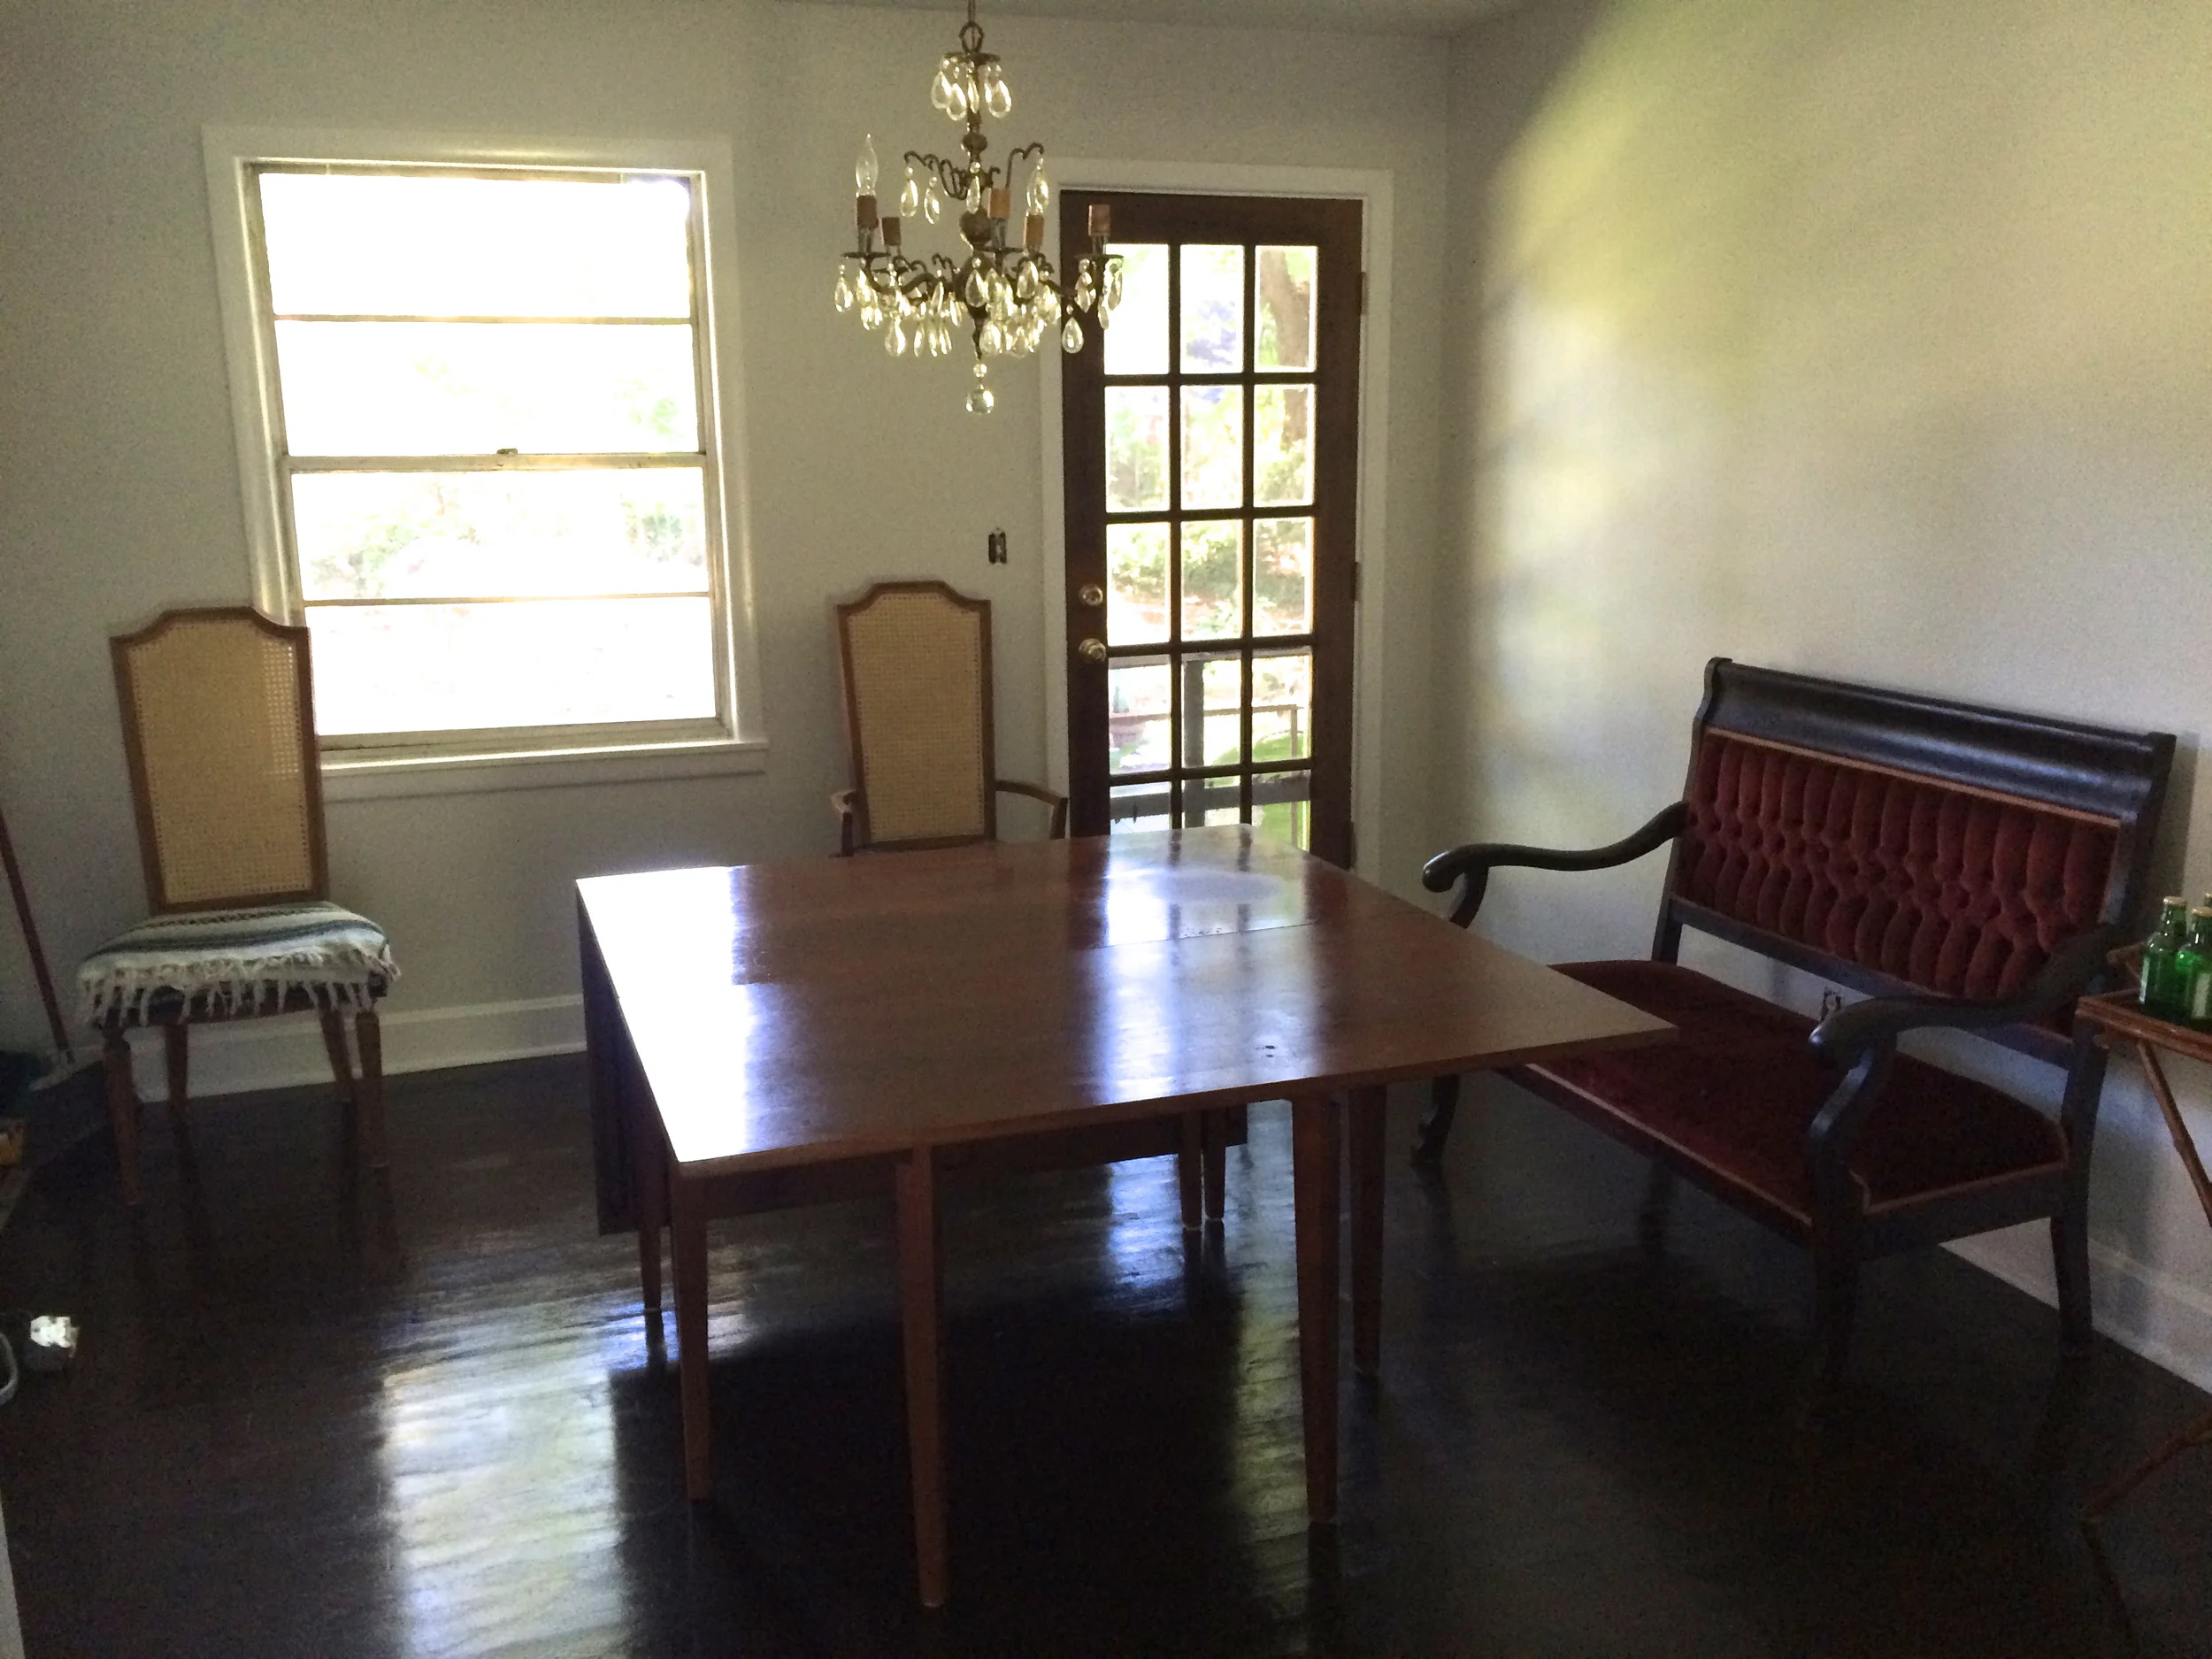
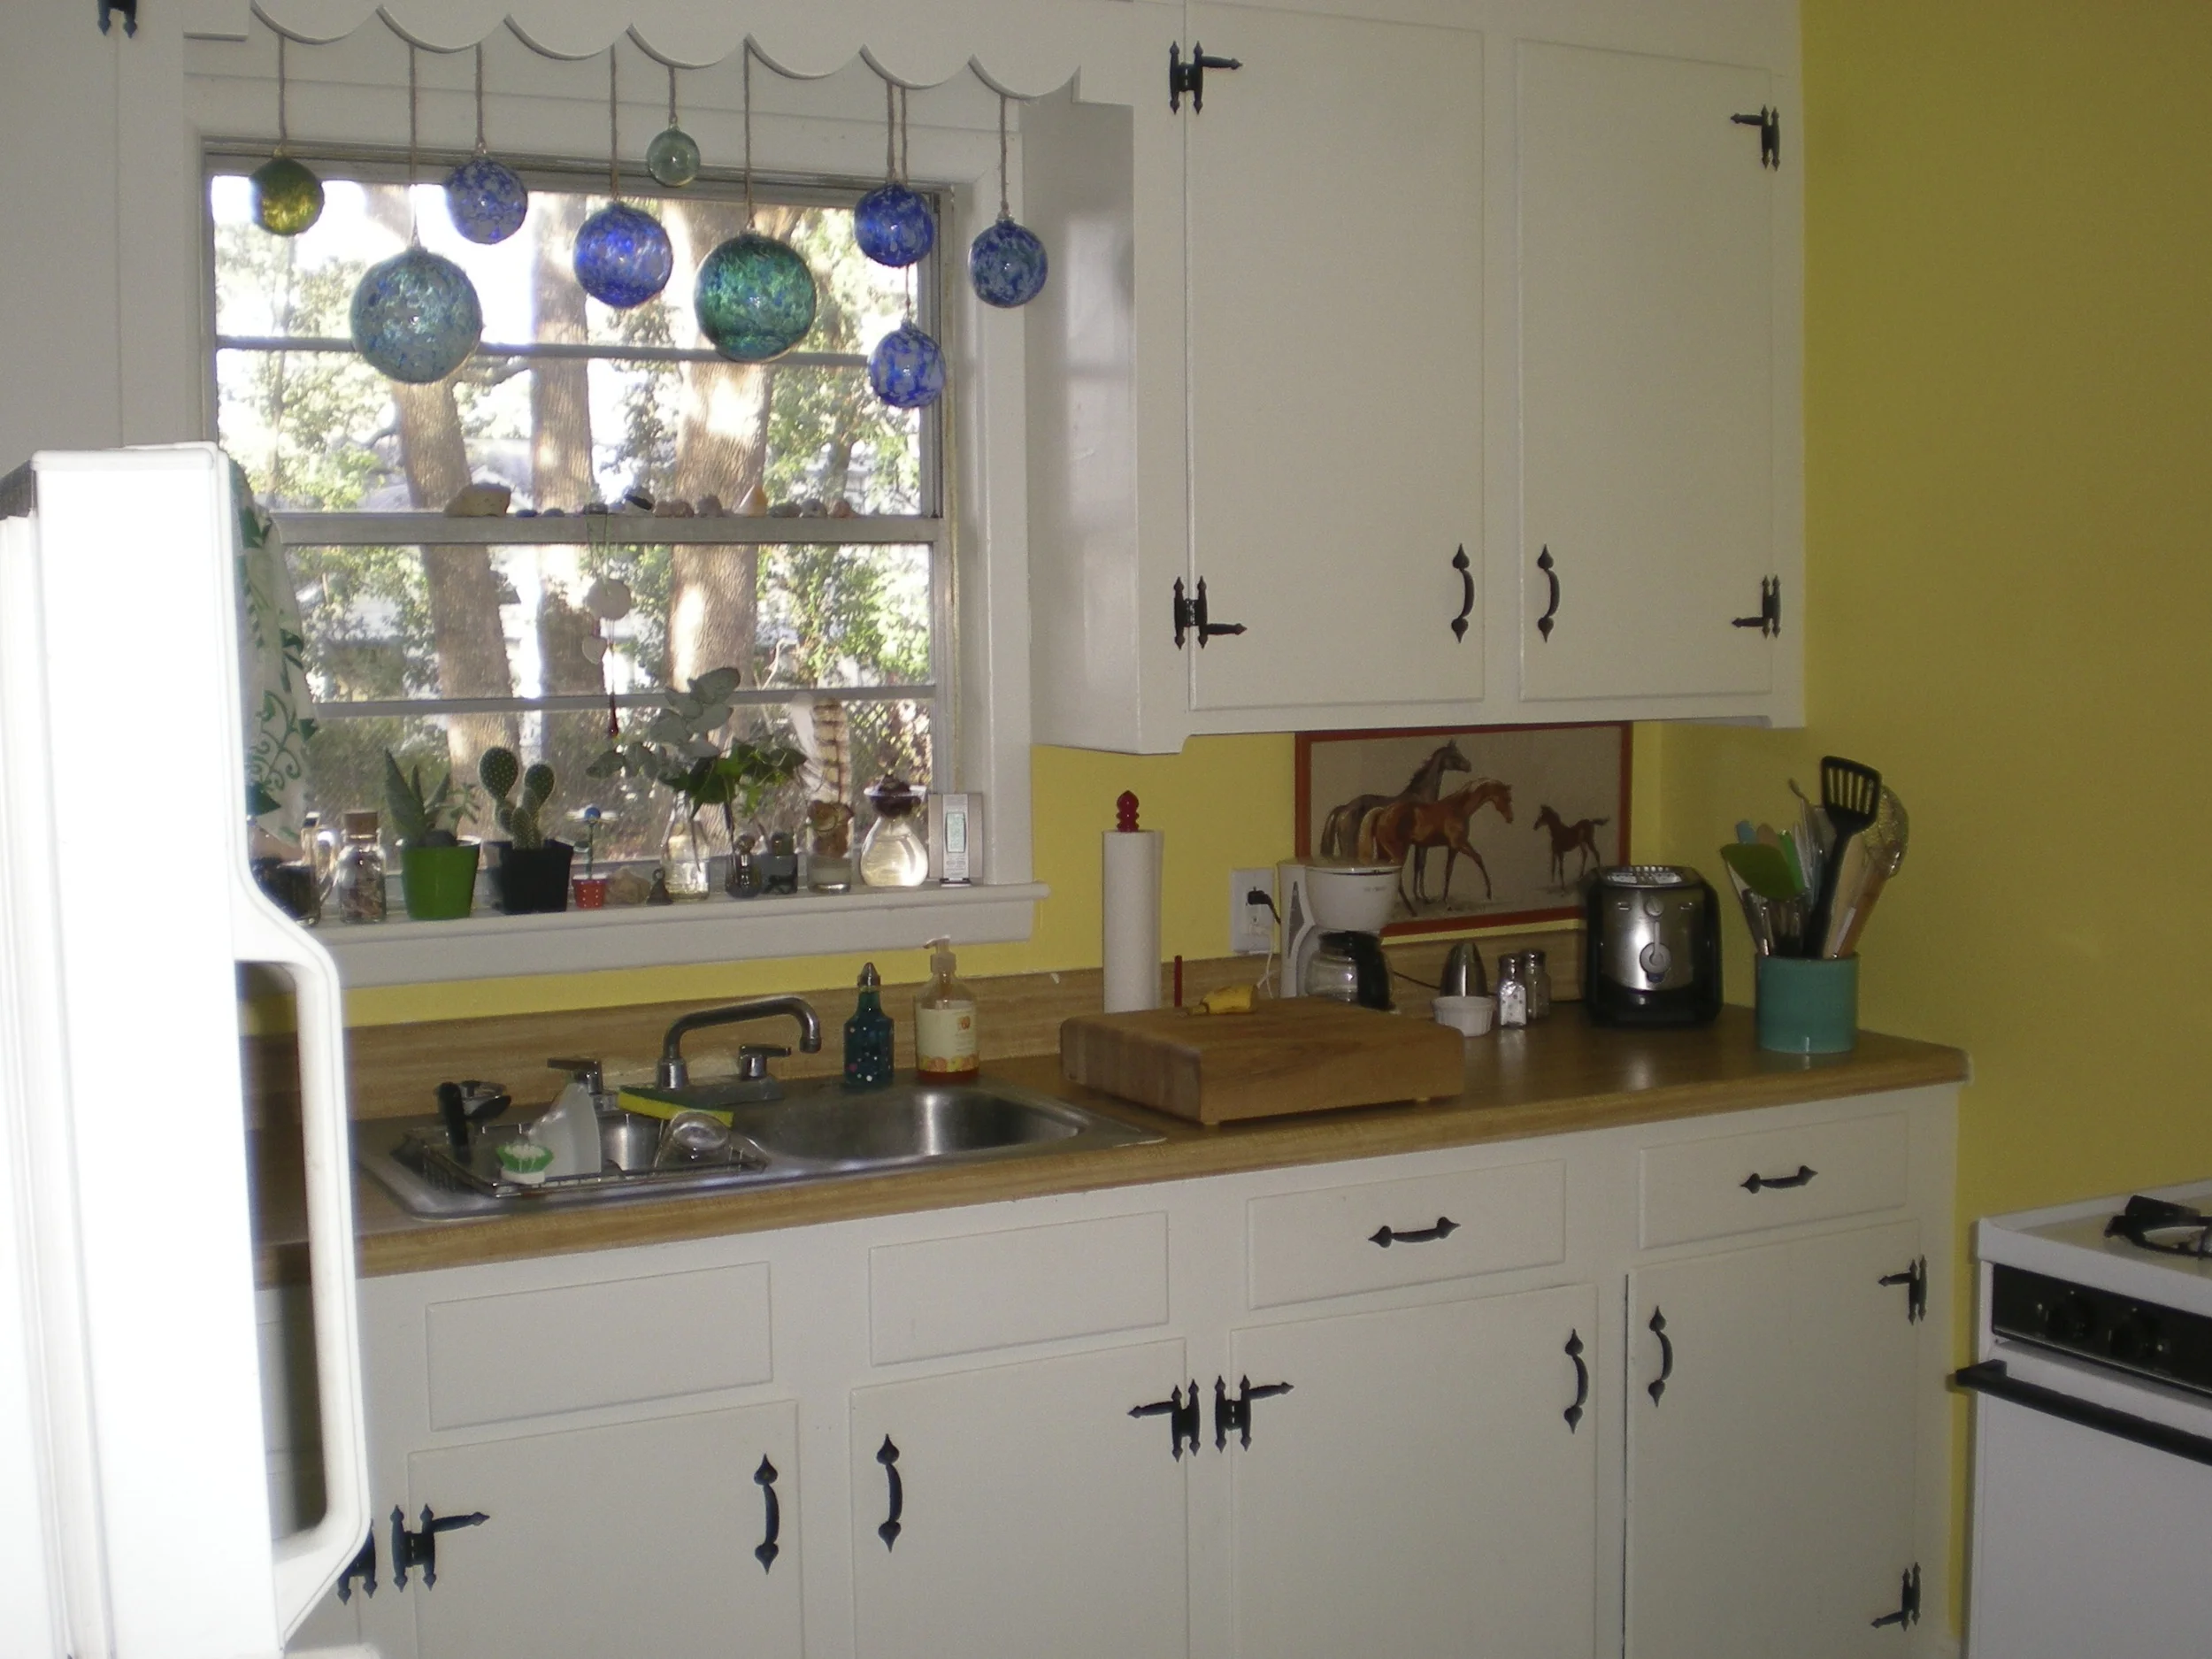
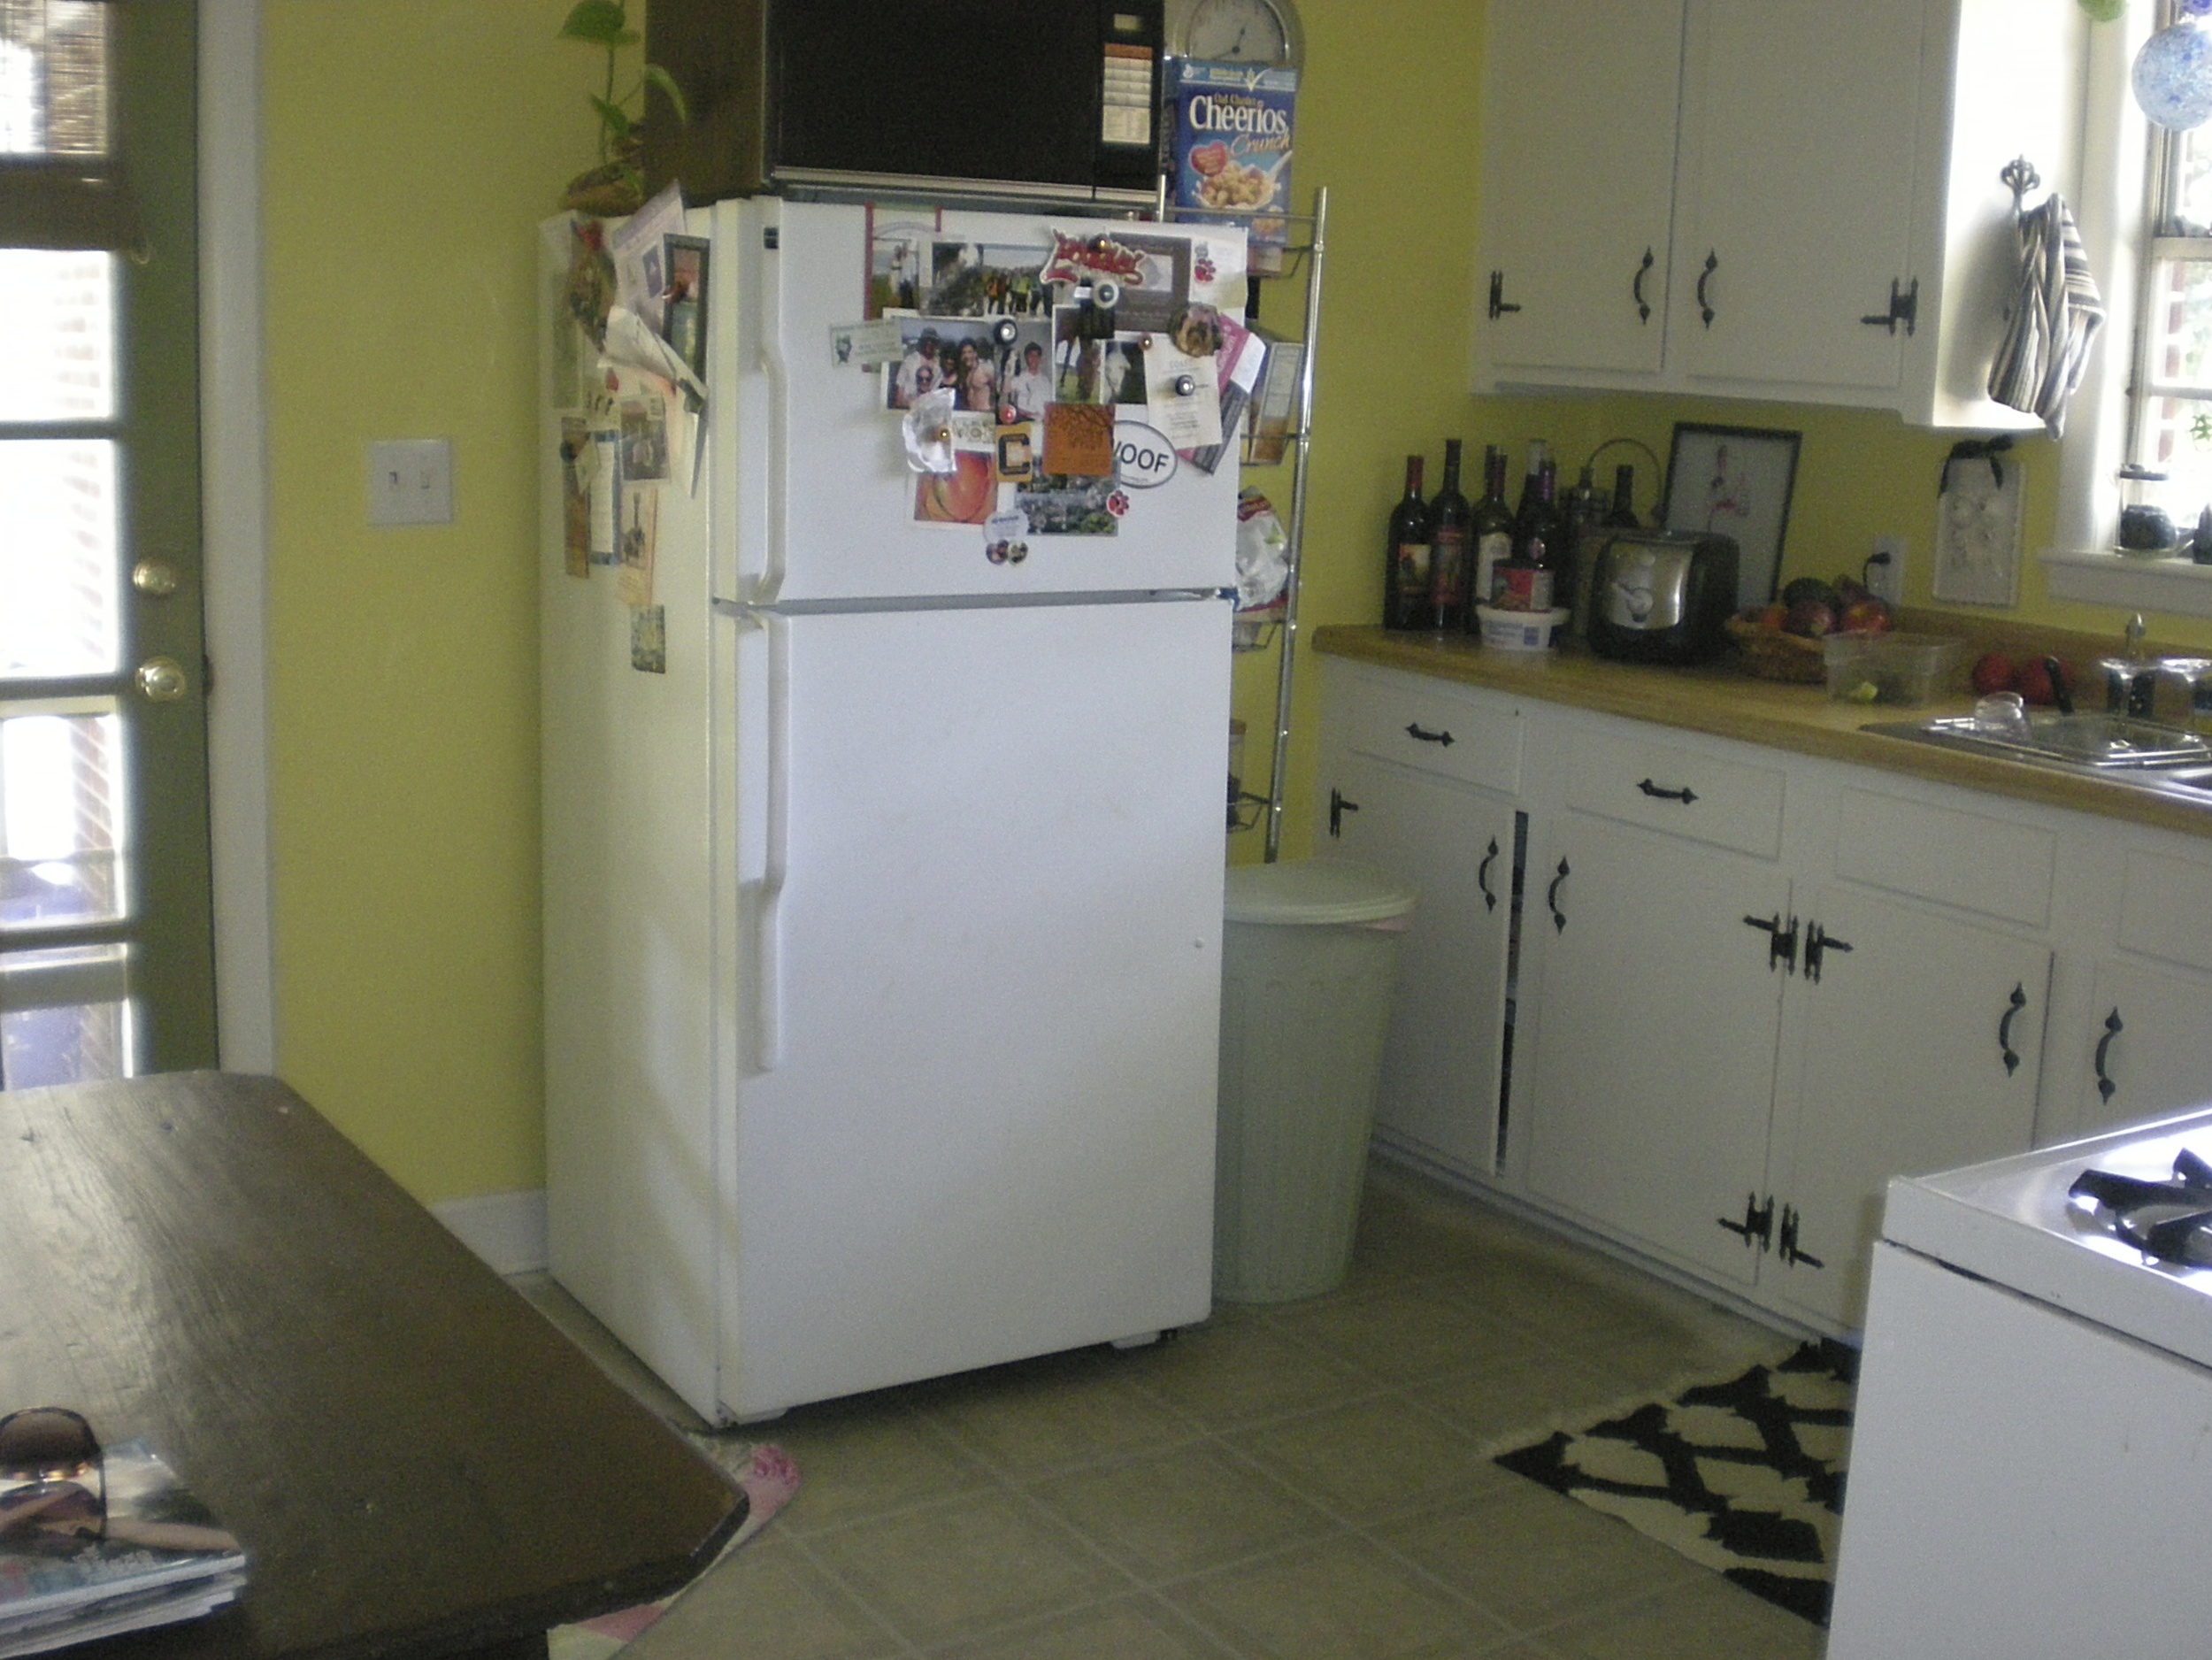
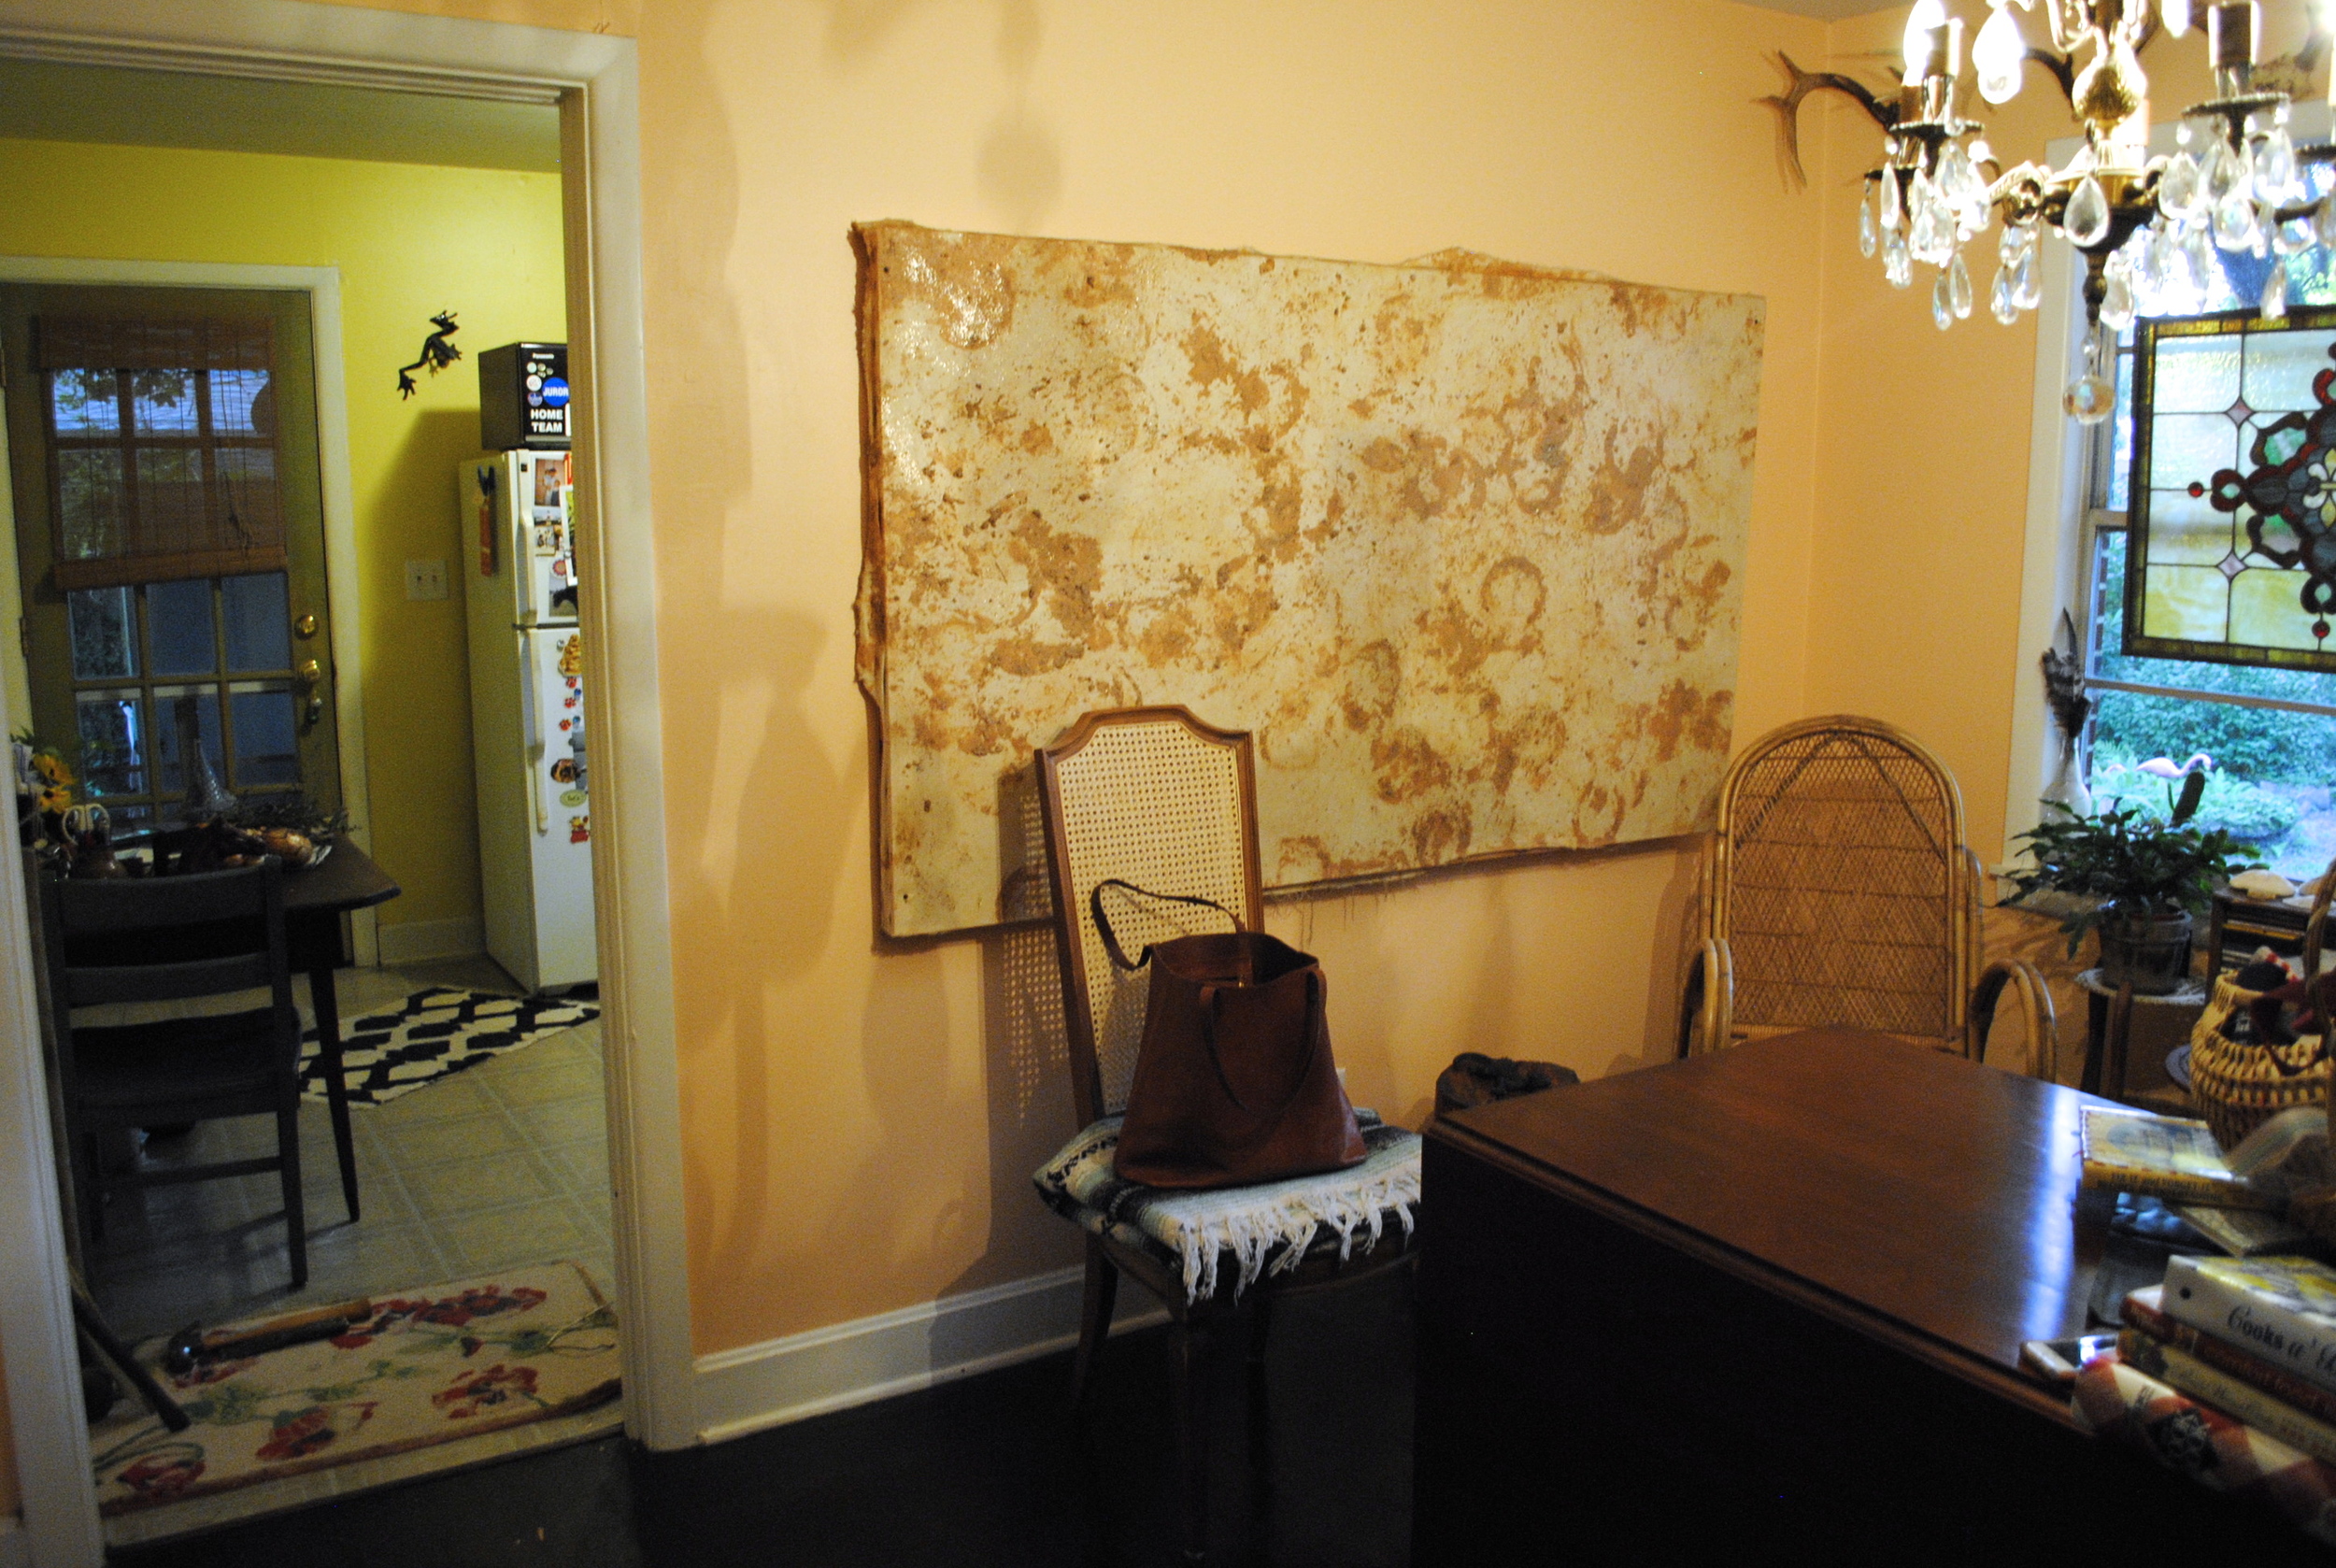
Flash back to the BEFOREs, for reference.....back when there was a wall between the dining room and the kitchen and faux butcherblock countertops to be jealous of.

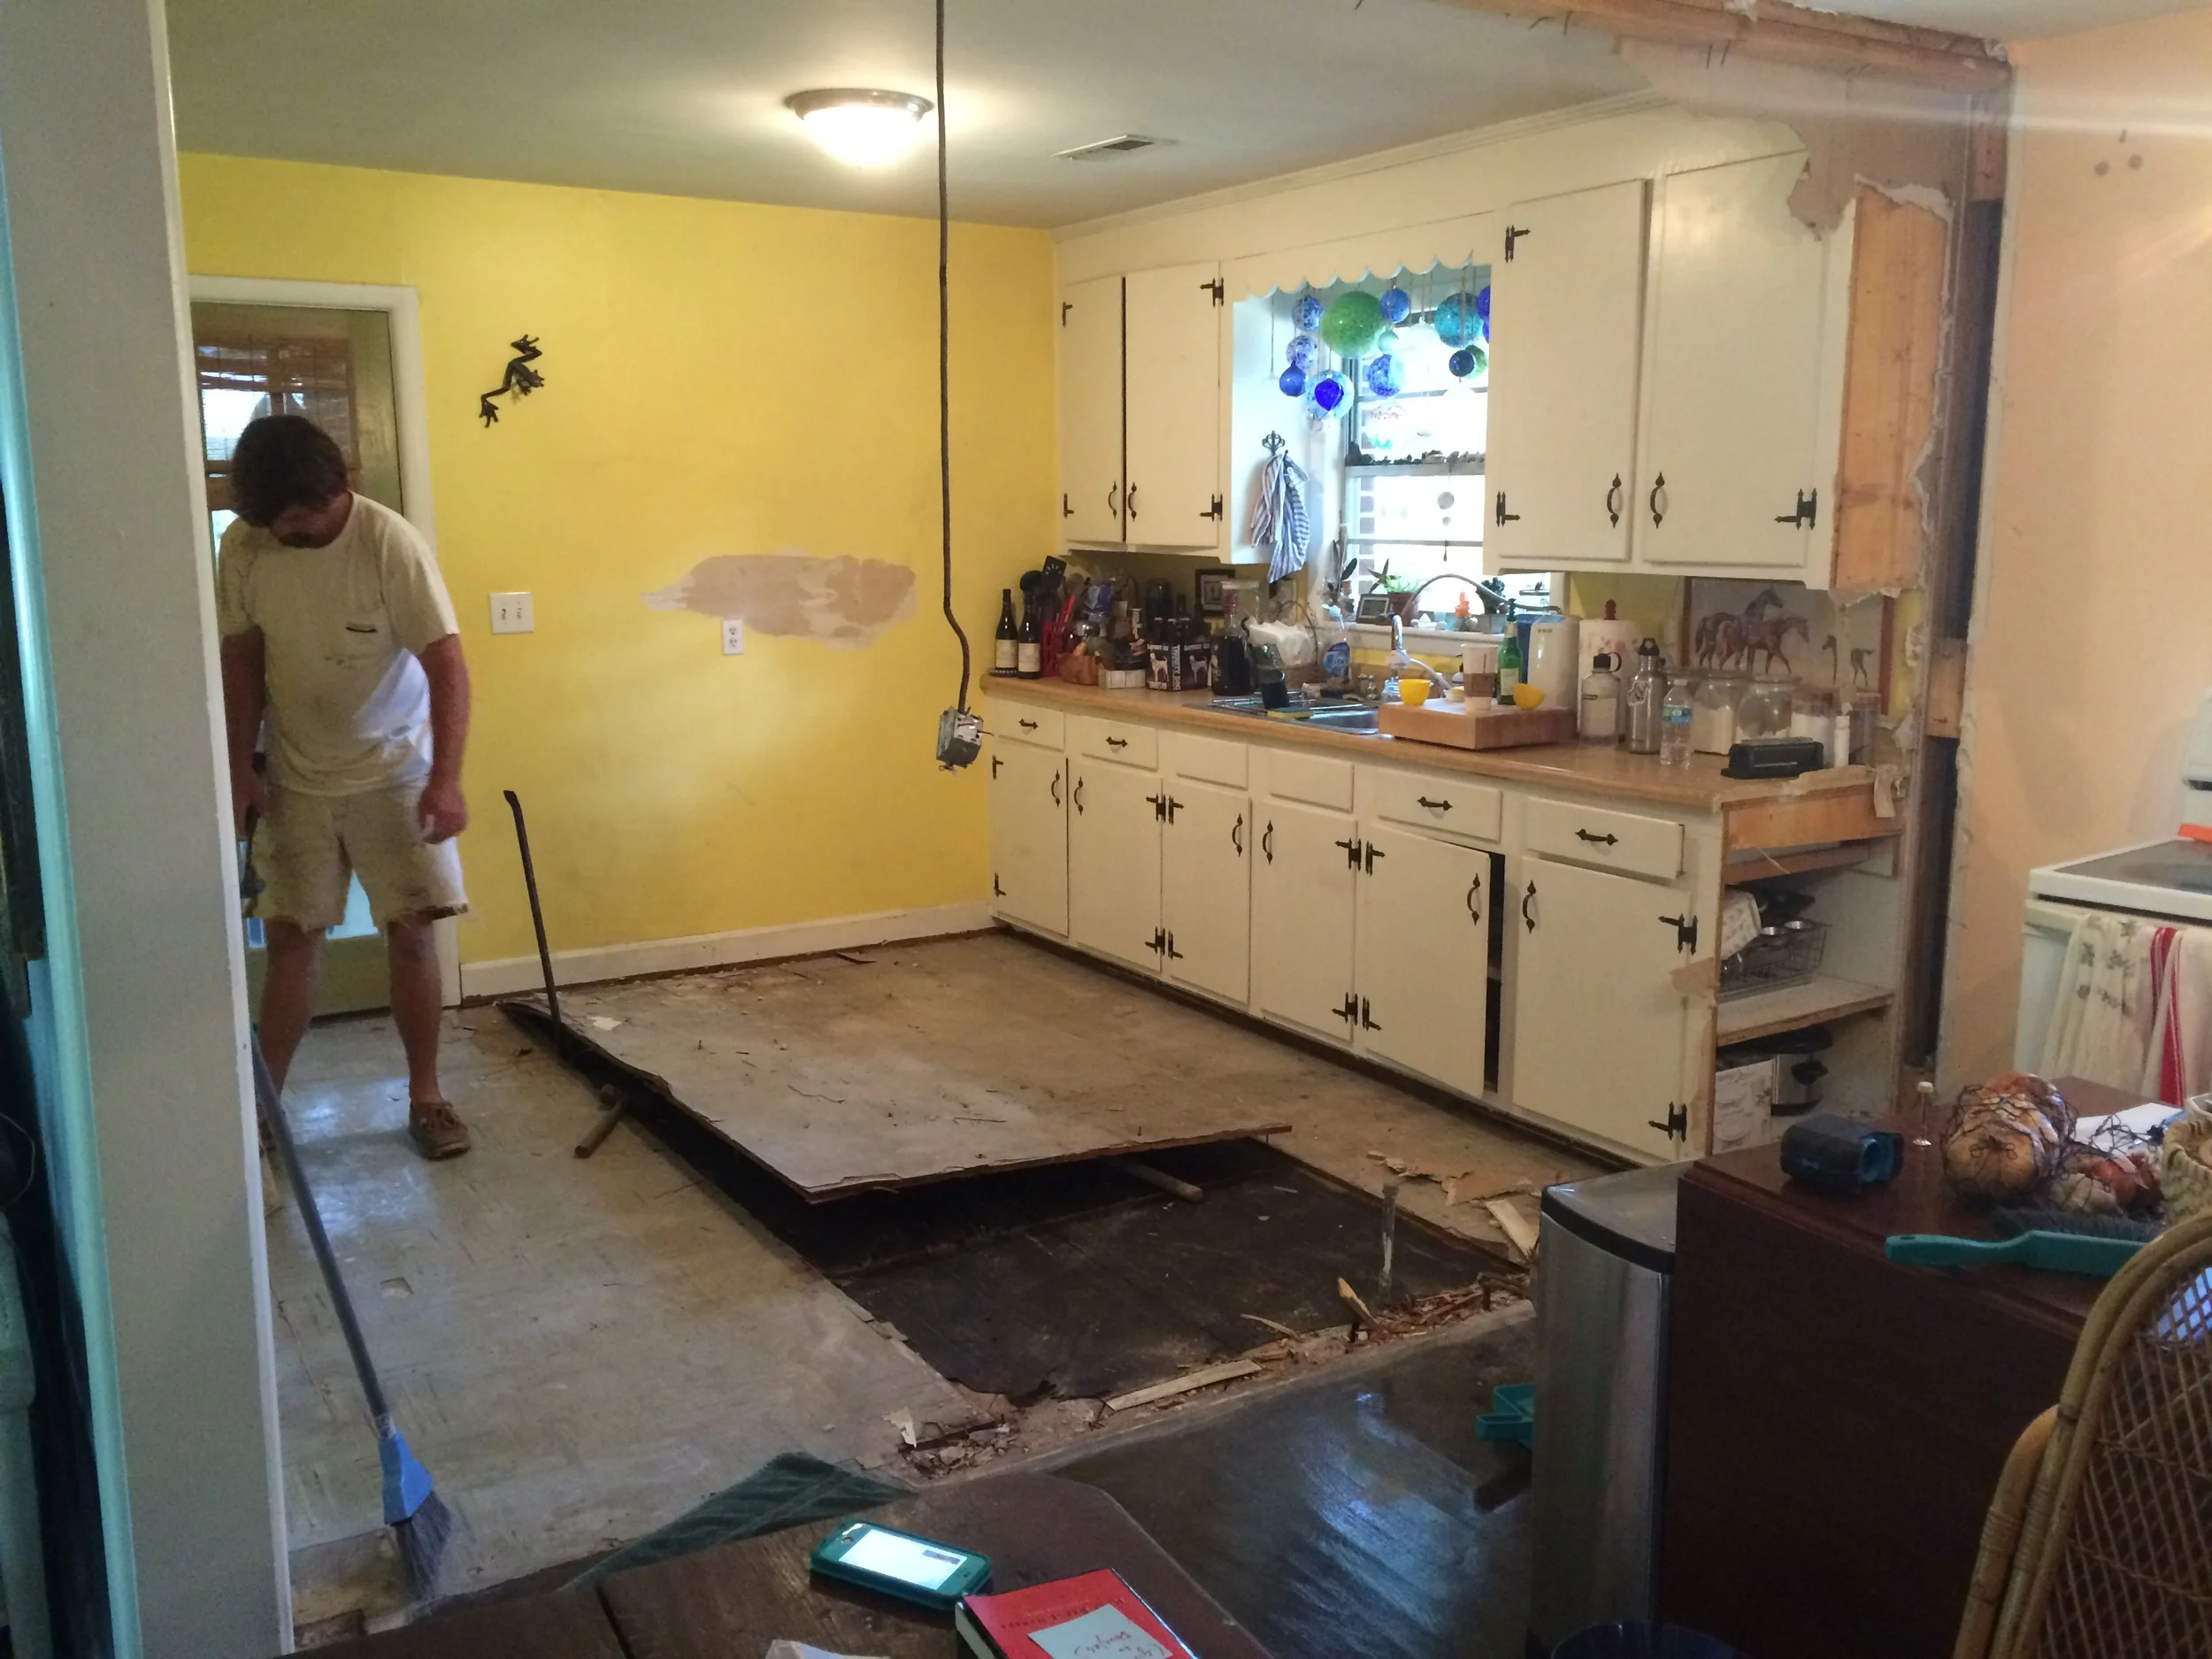
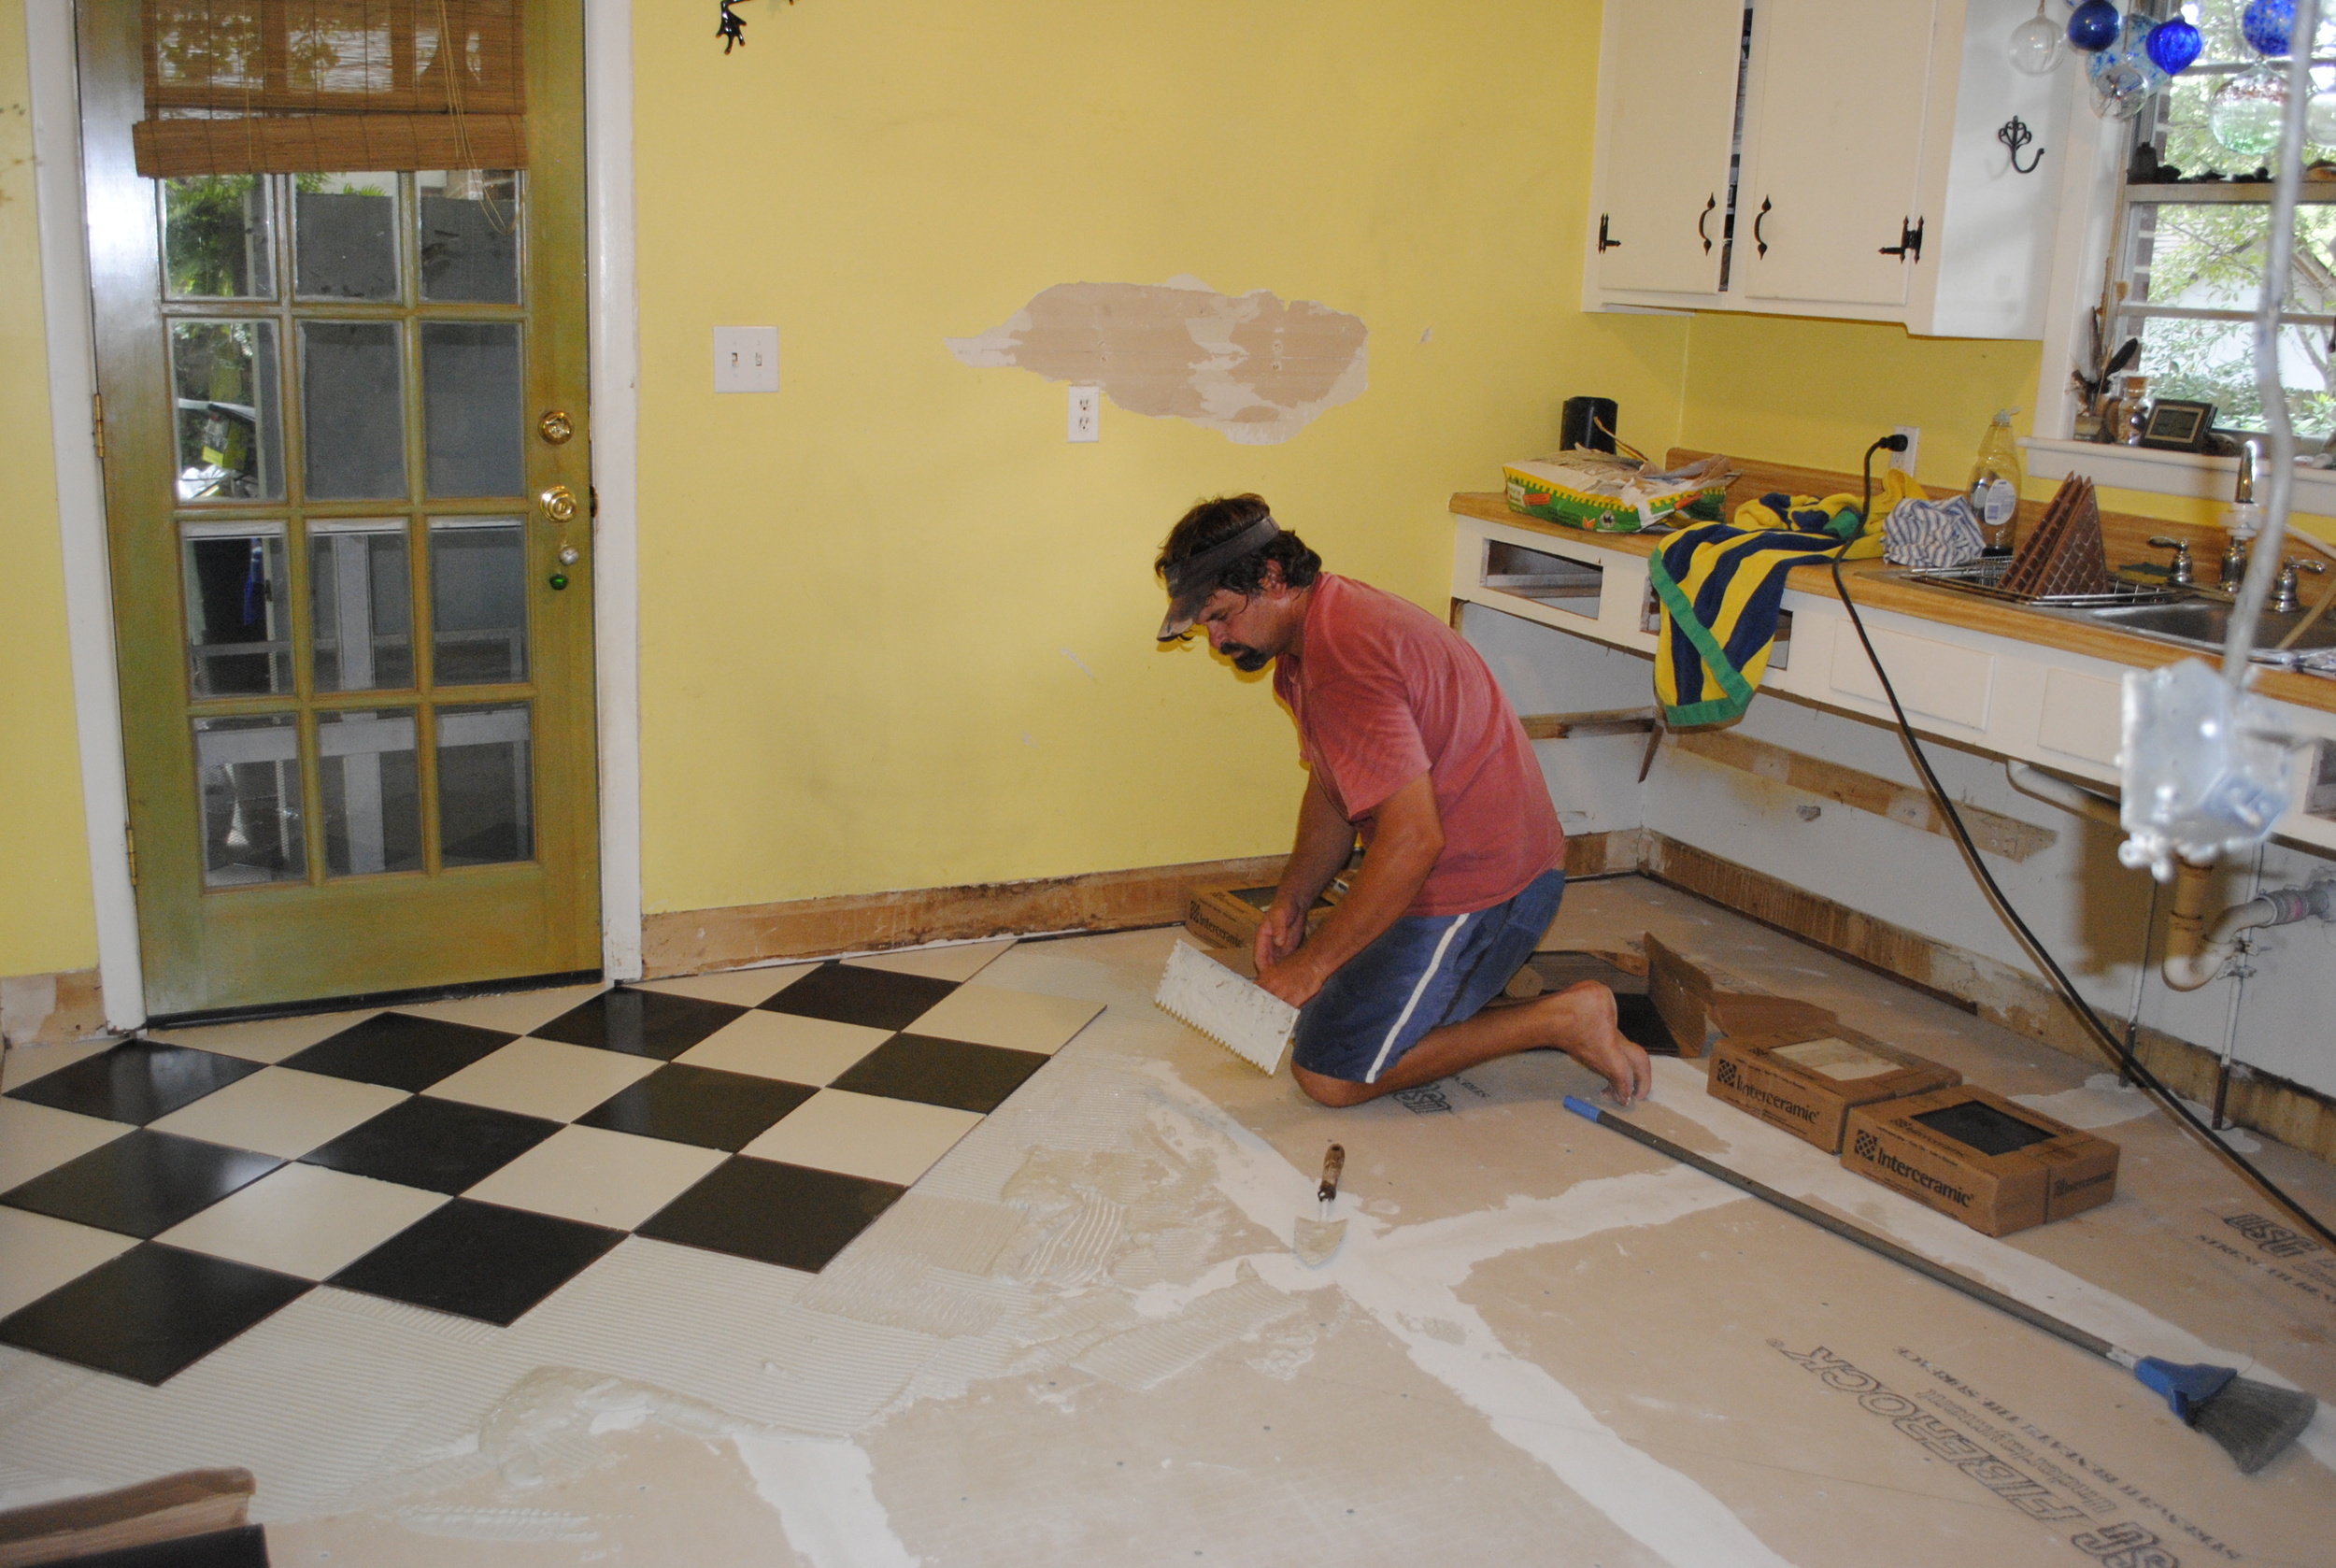
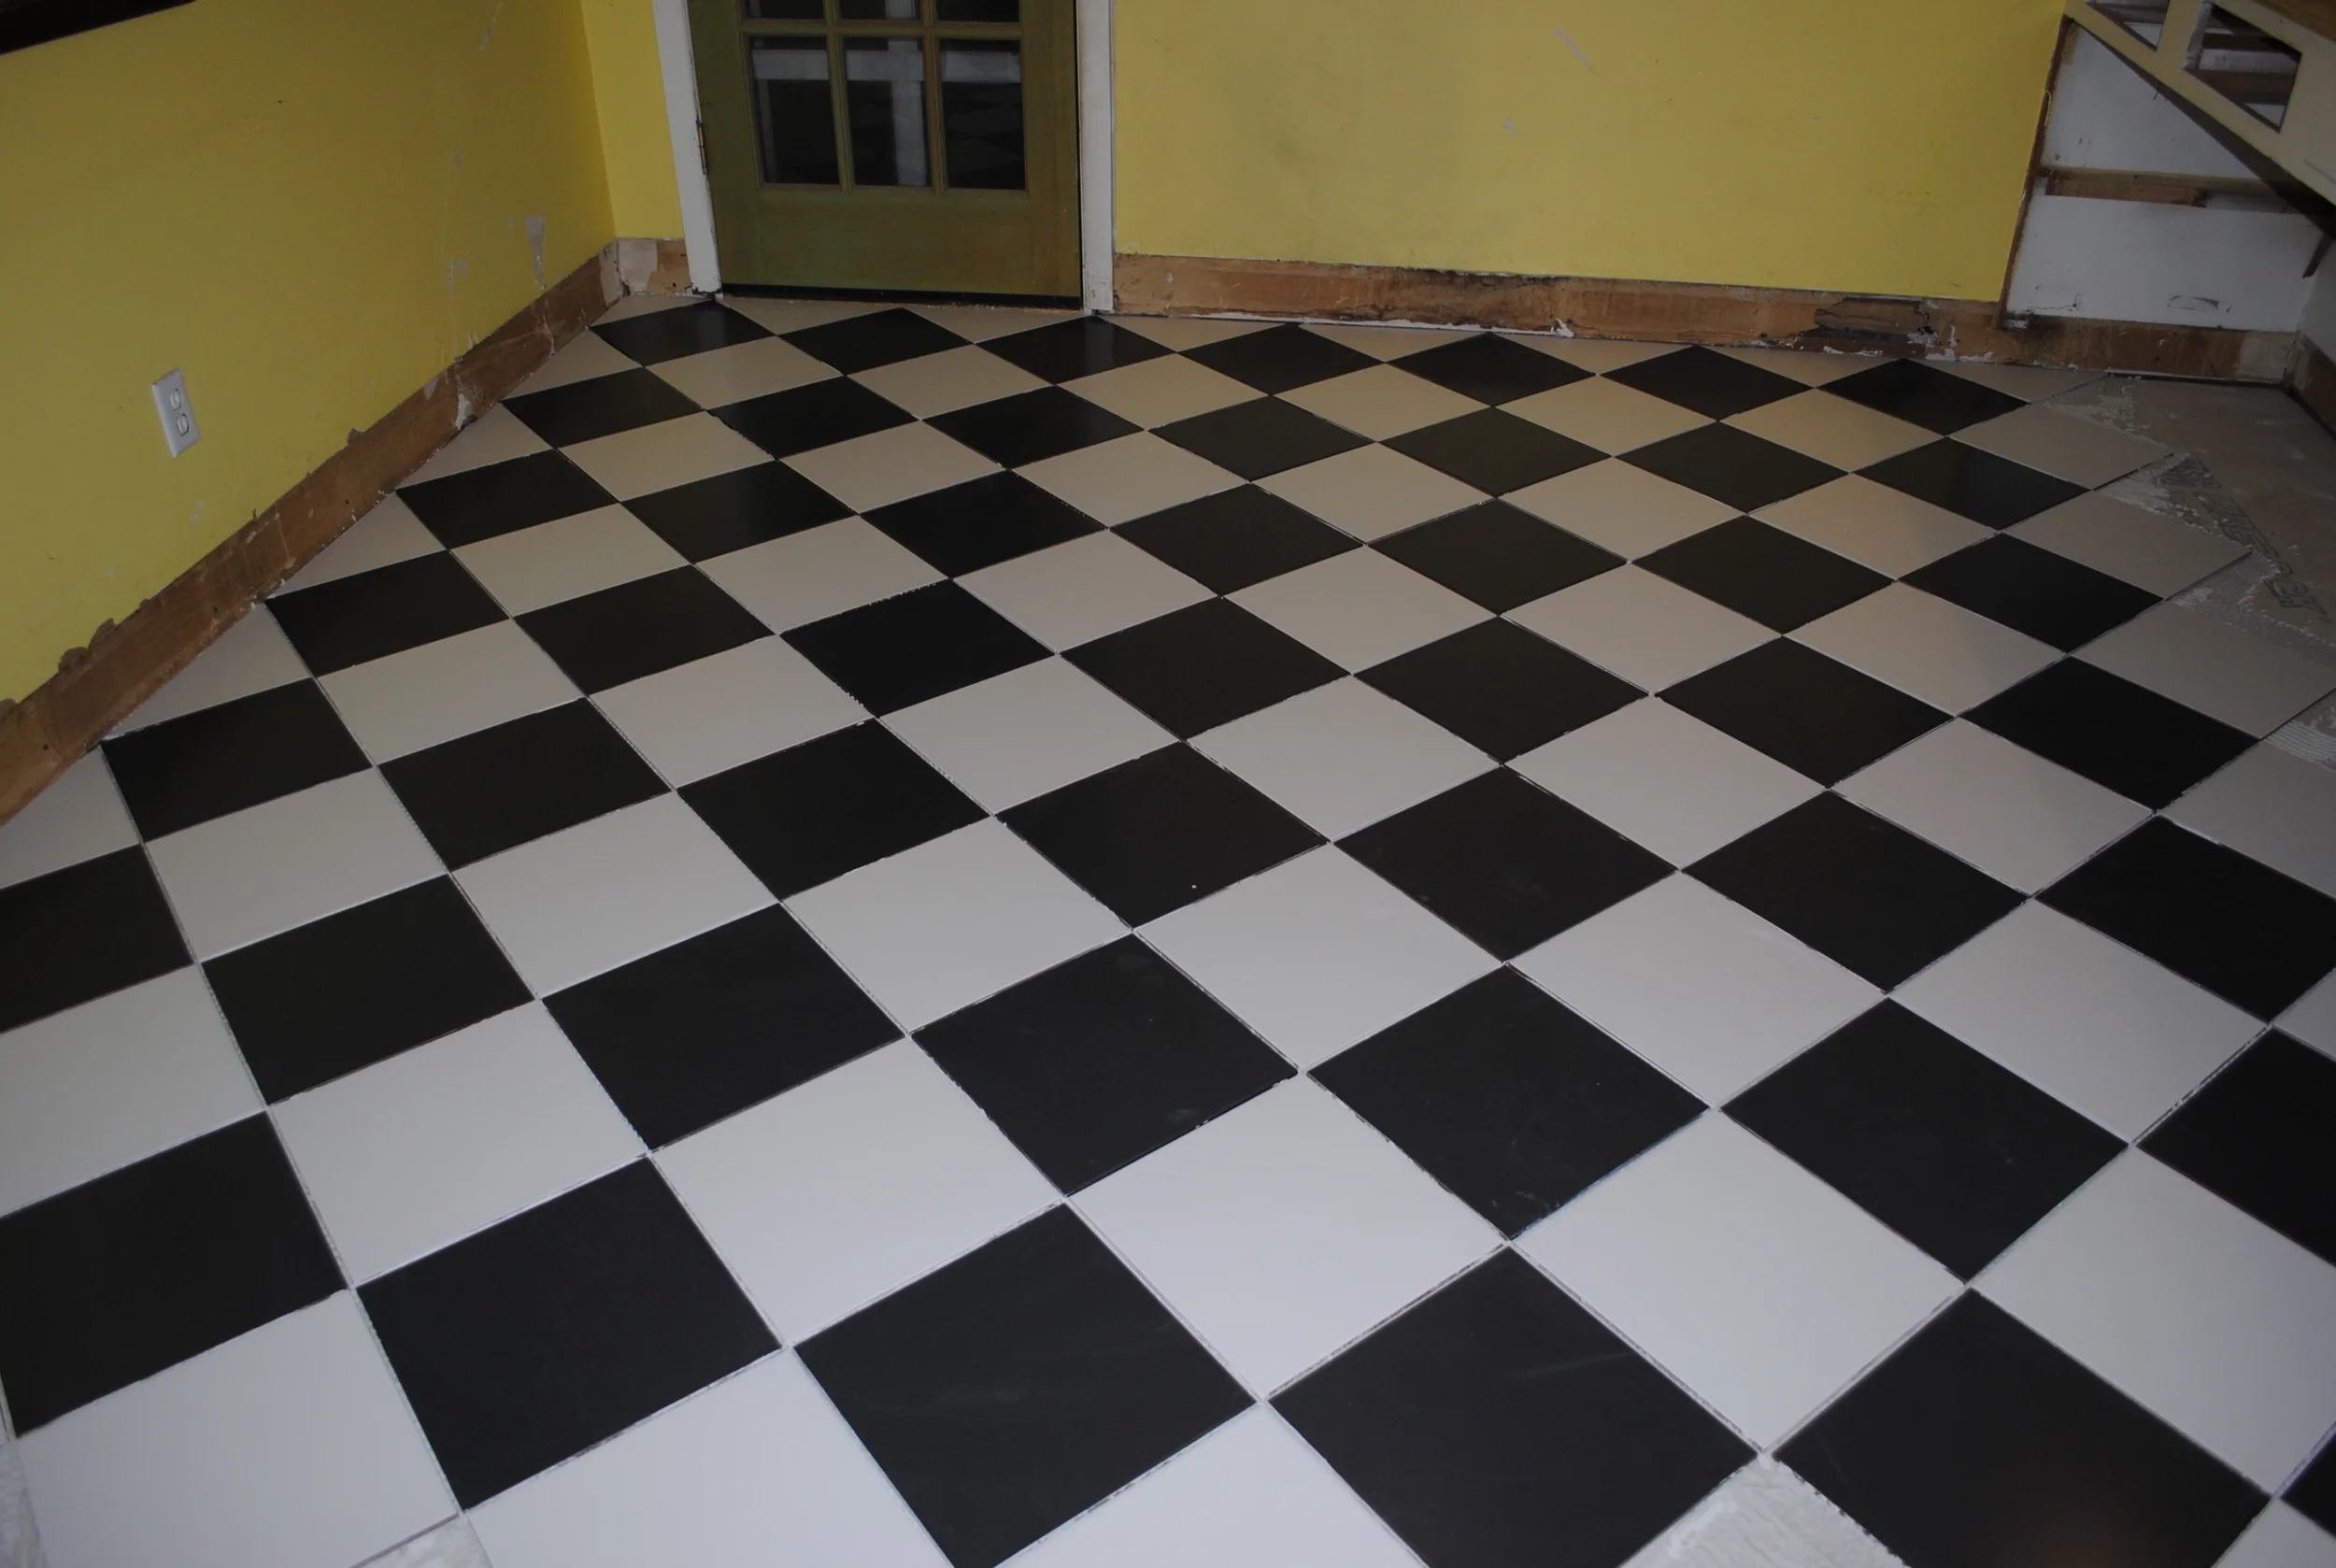
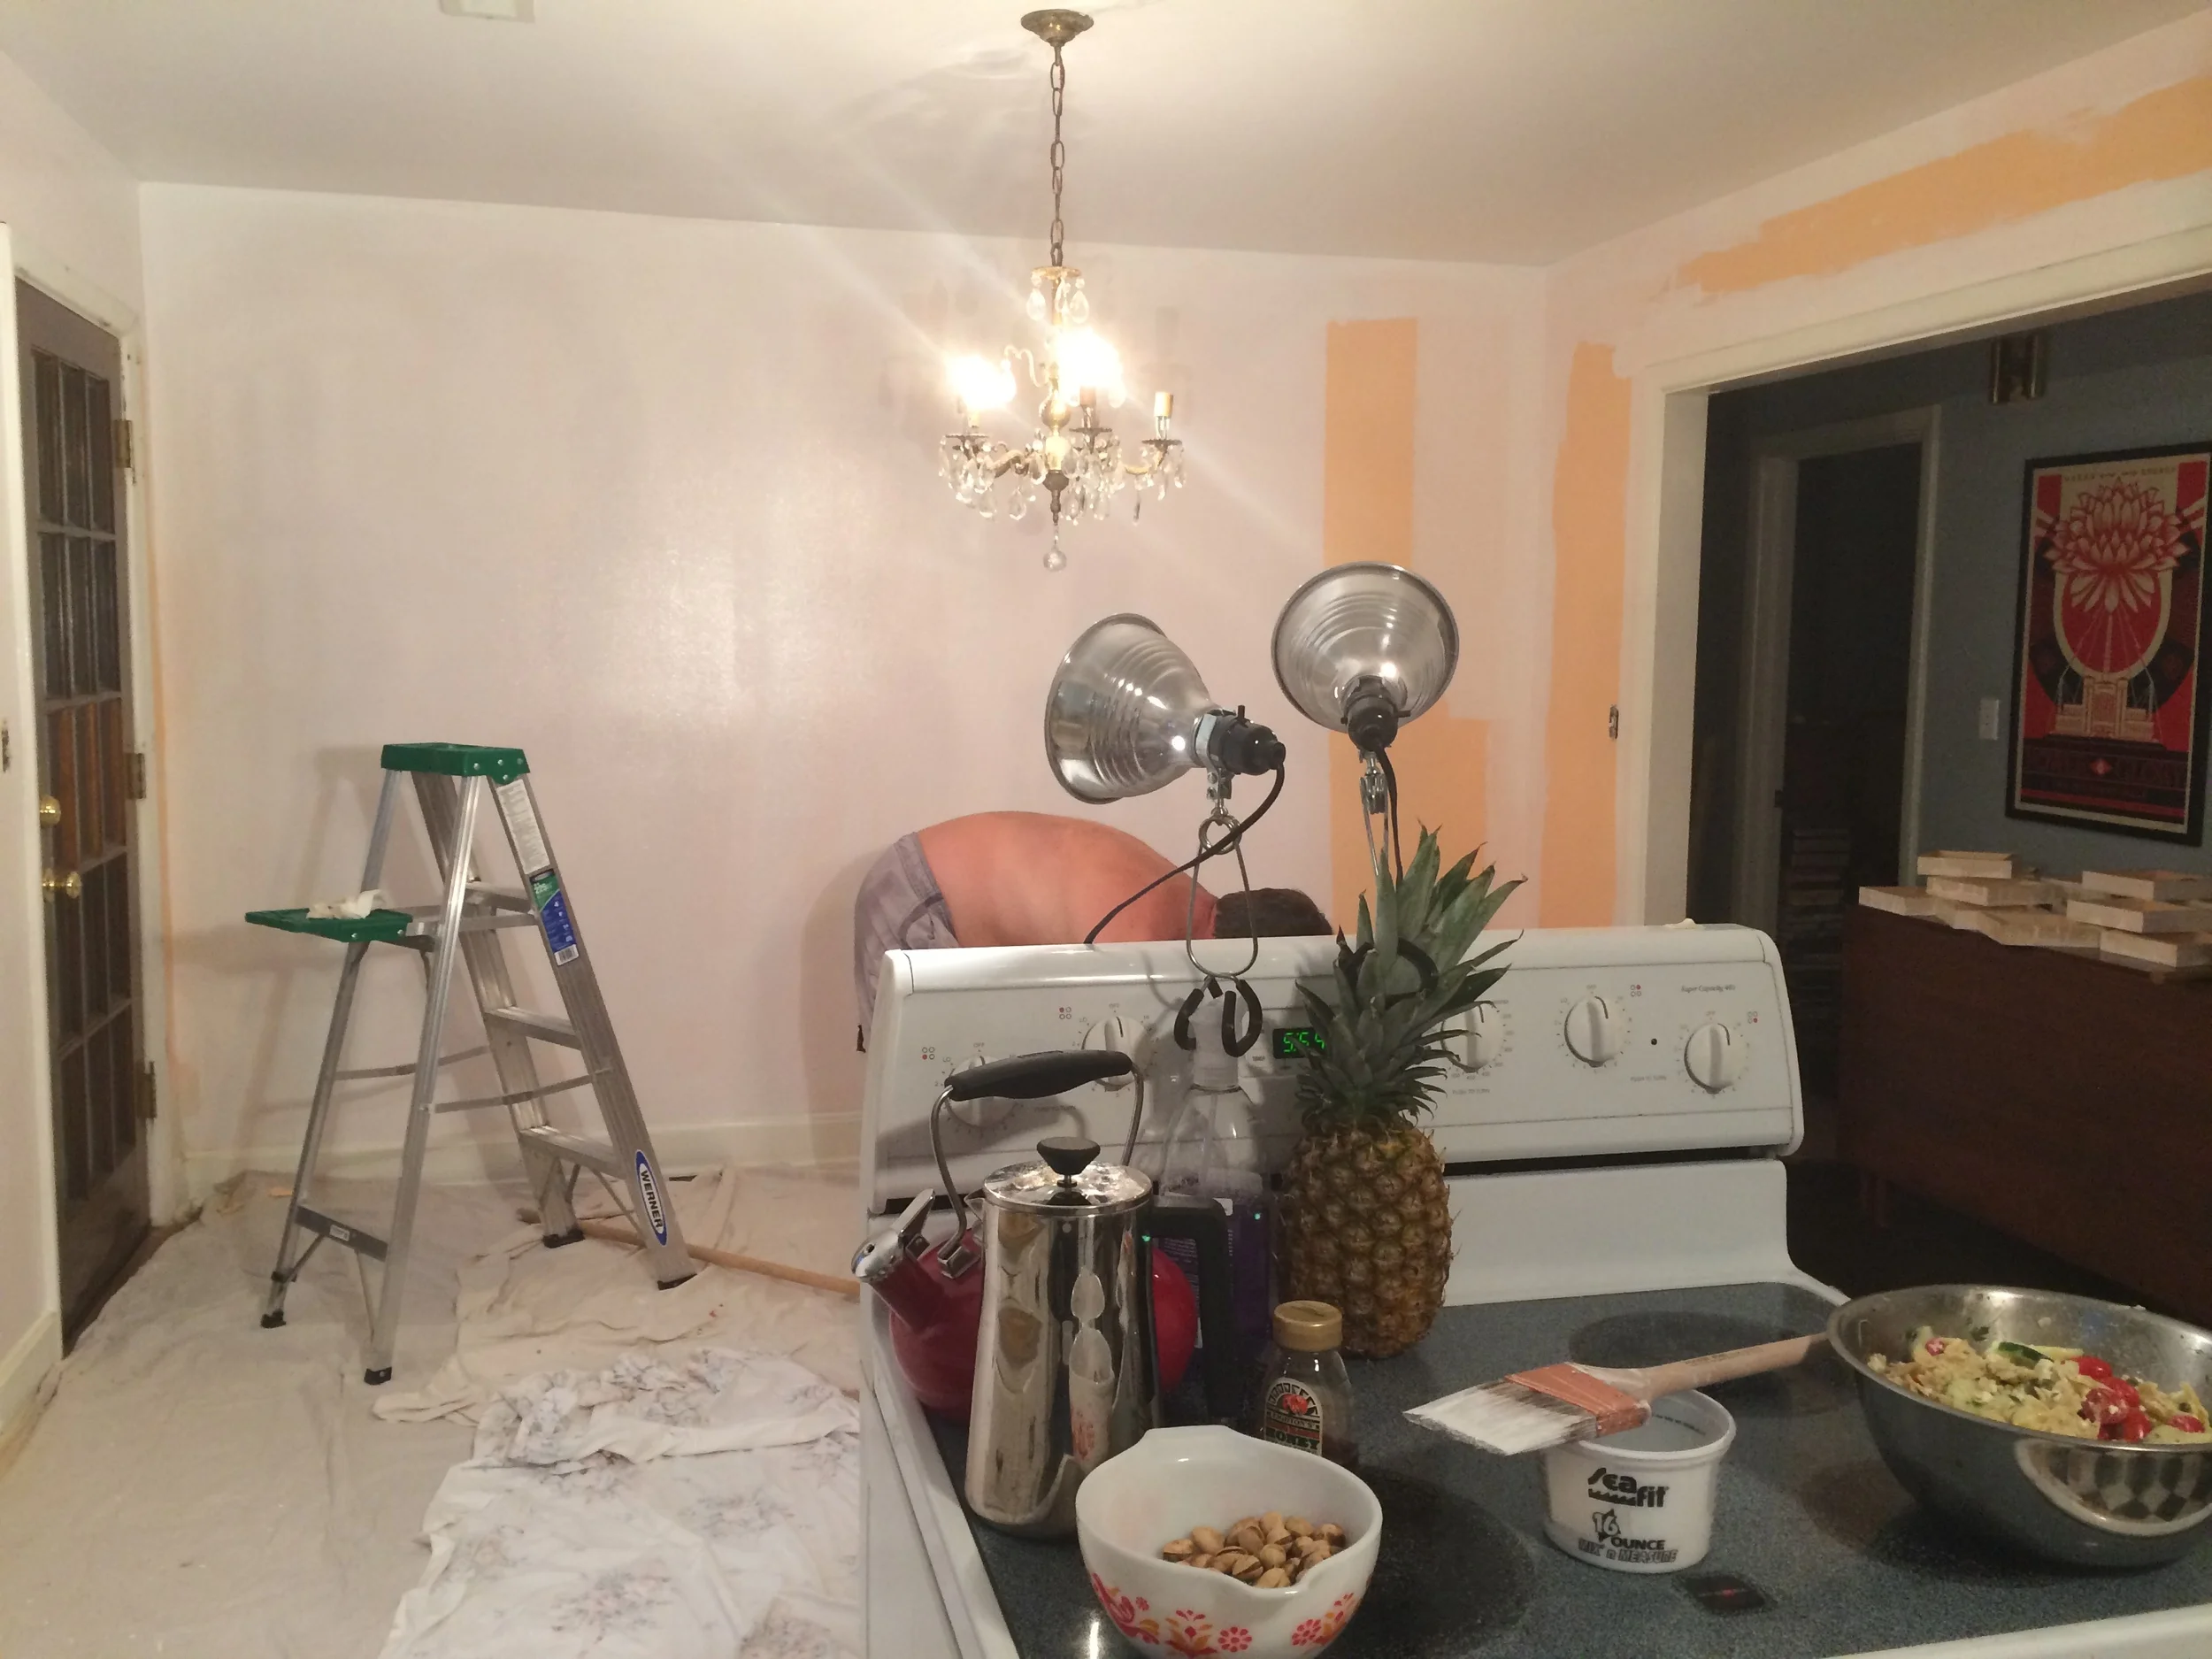
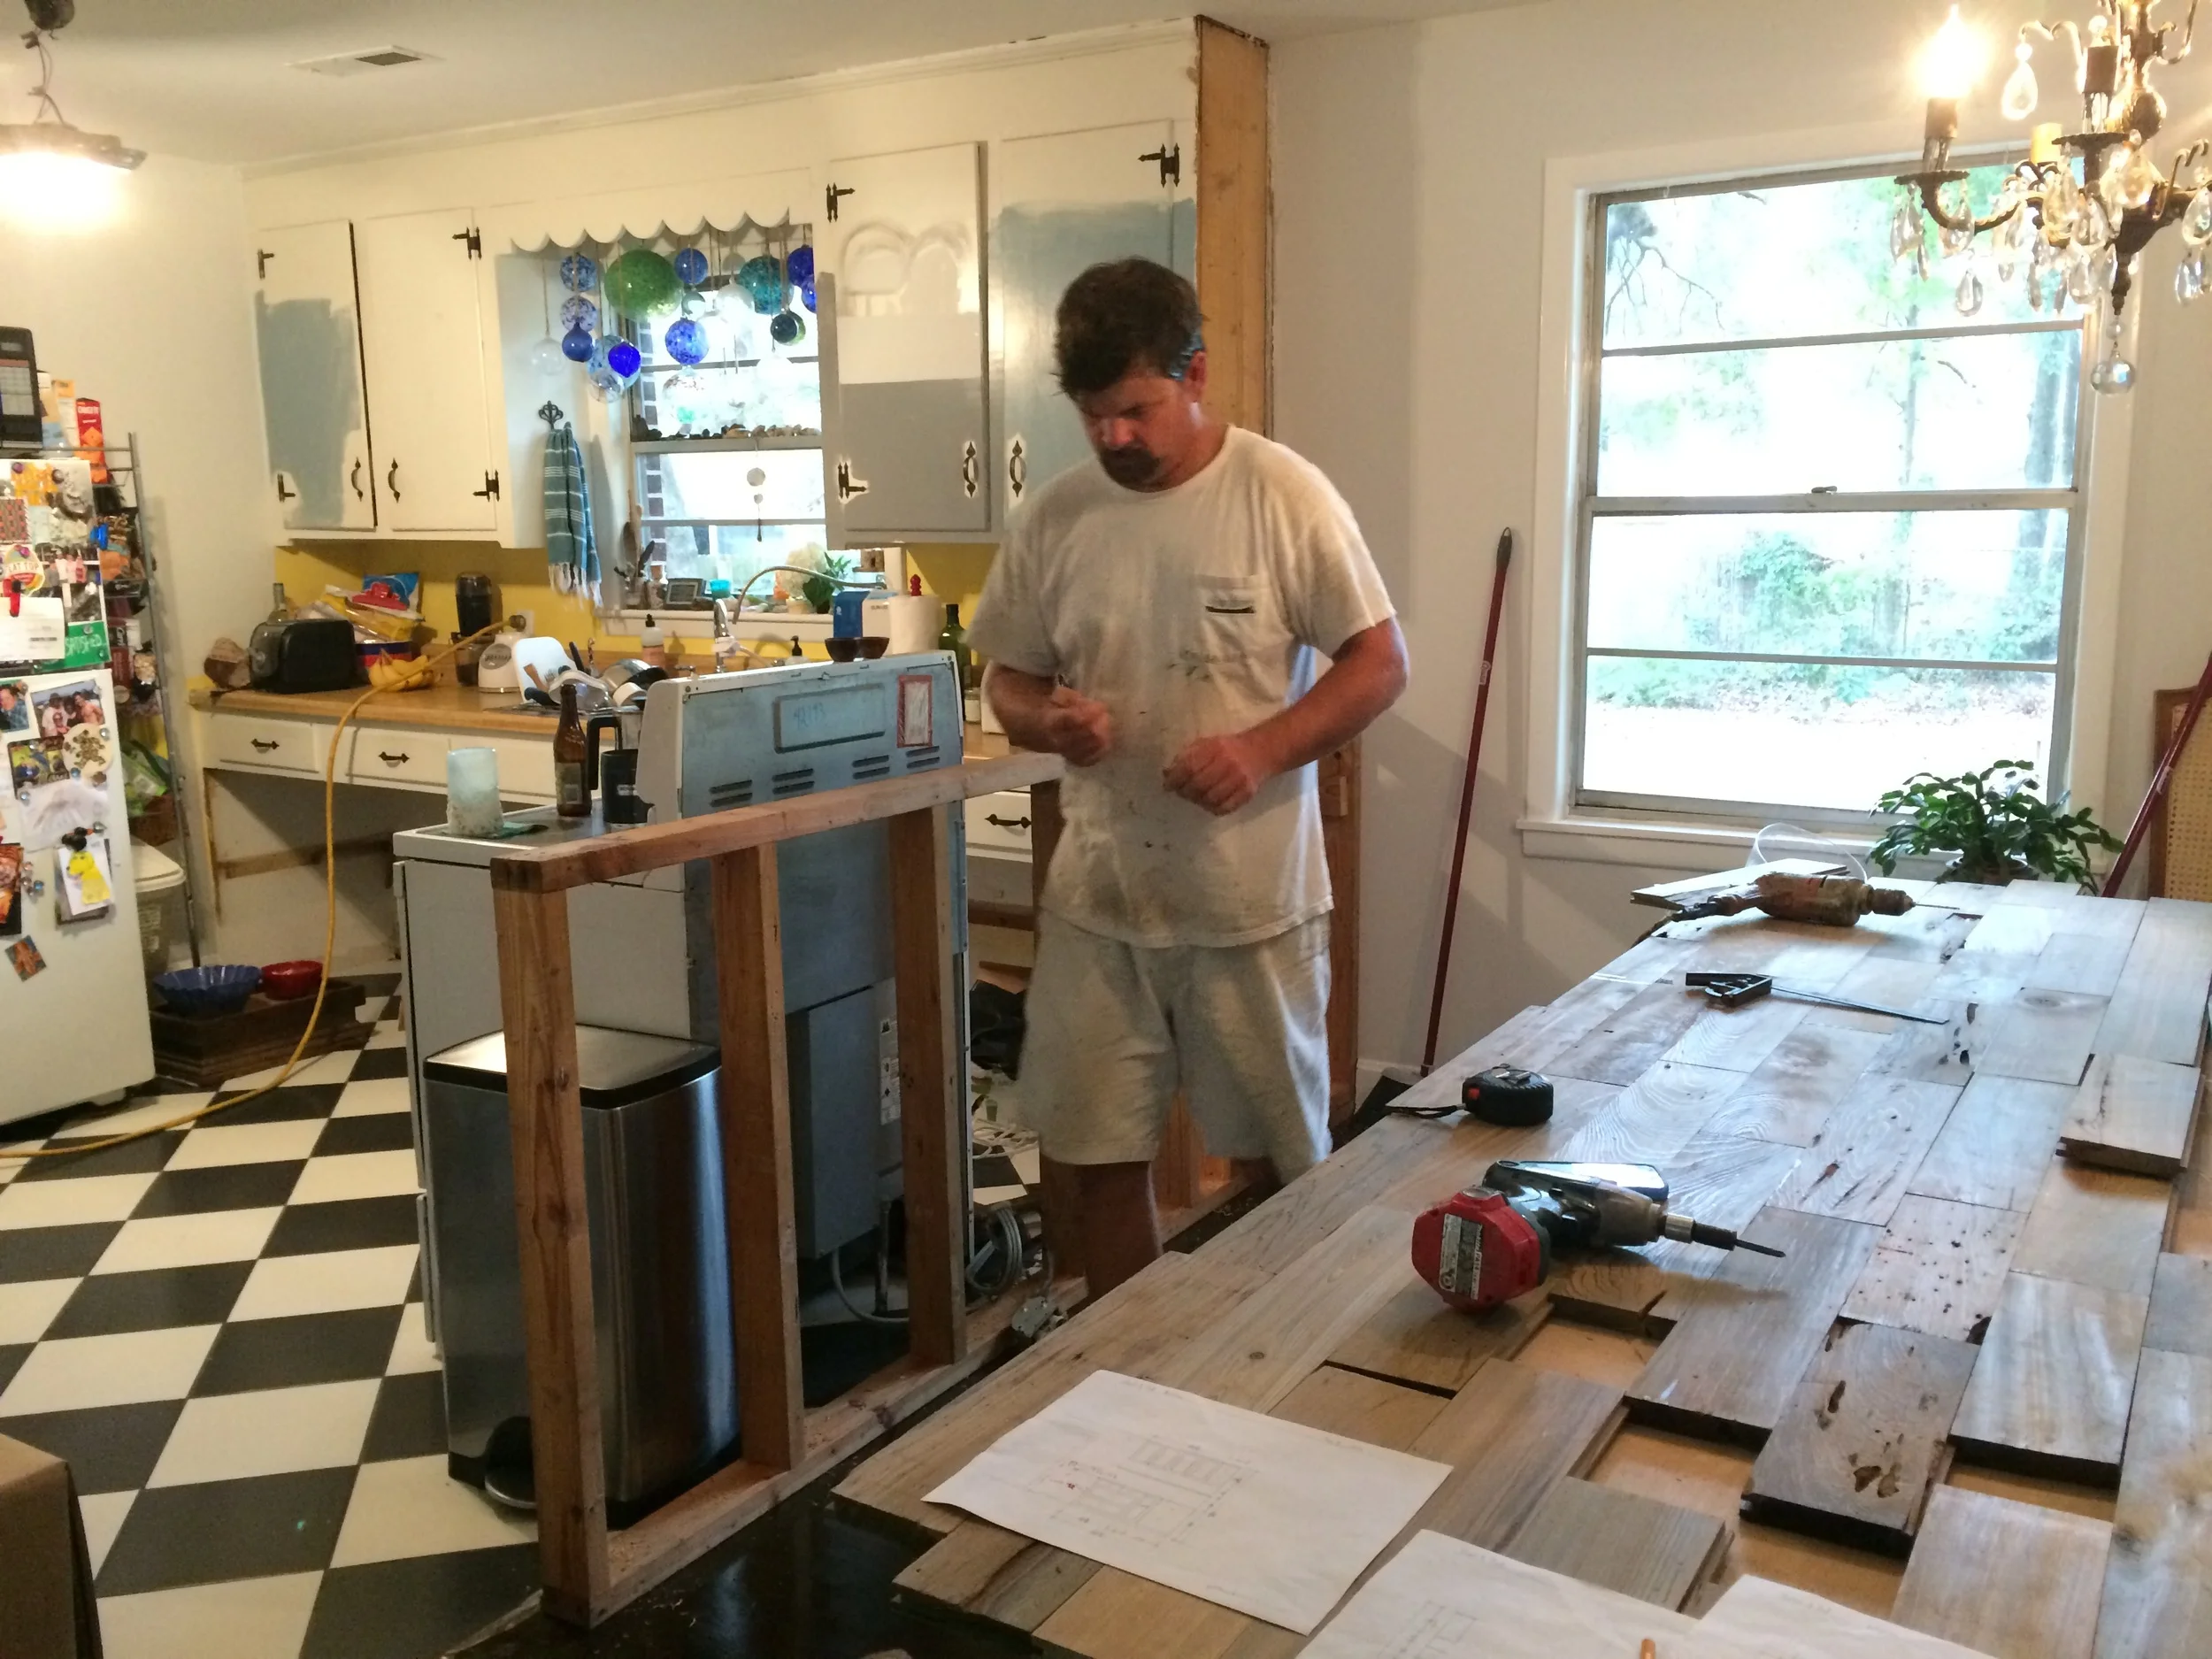
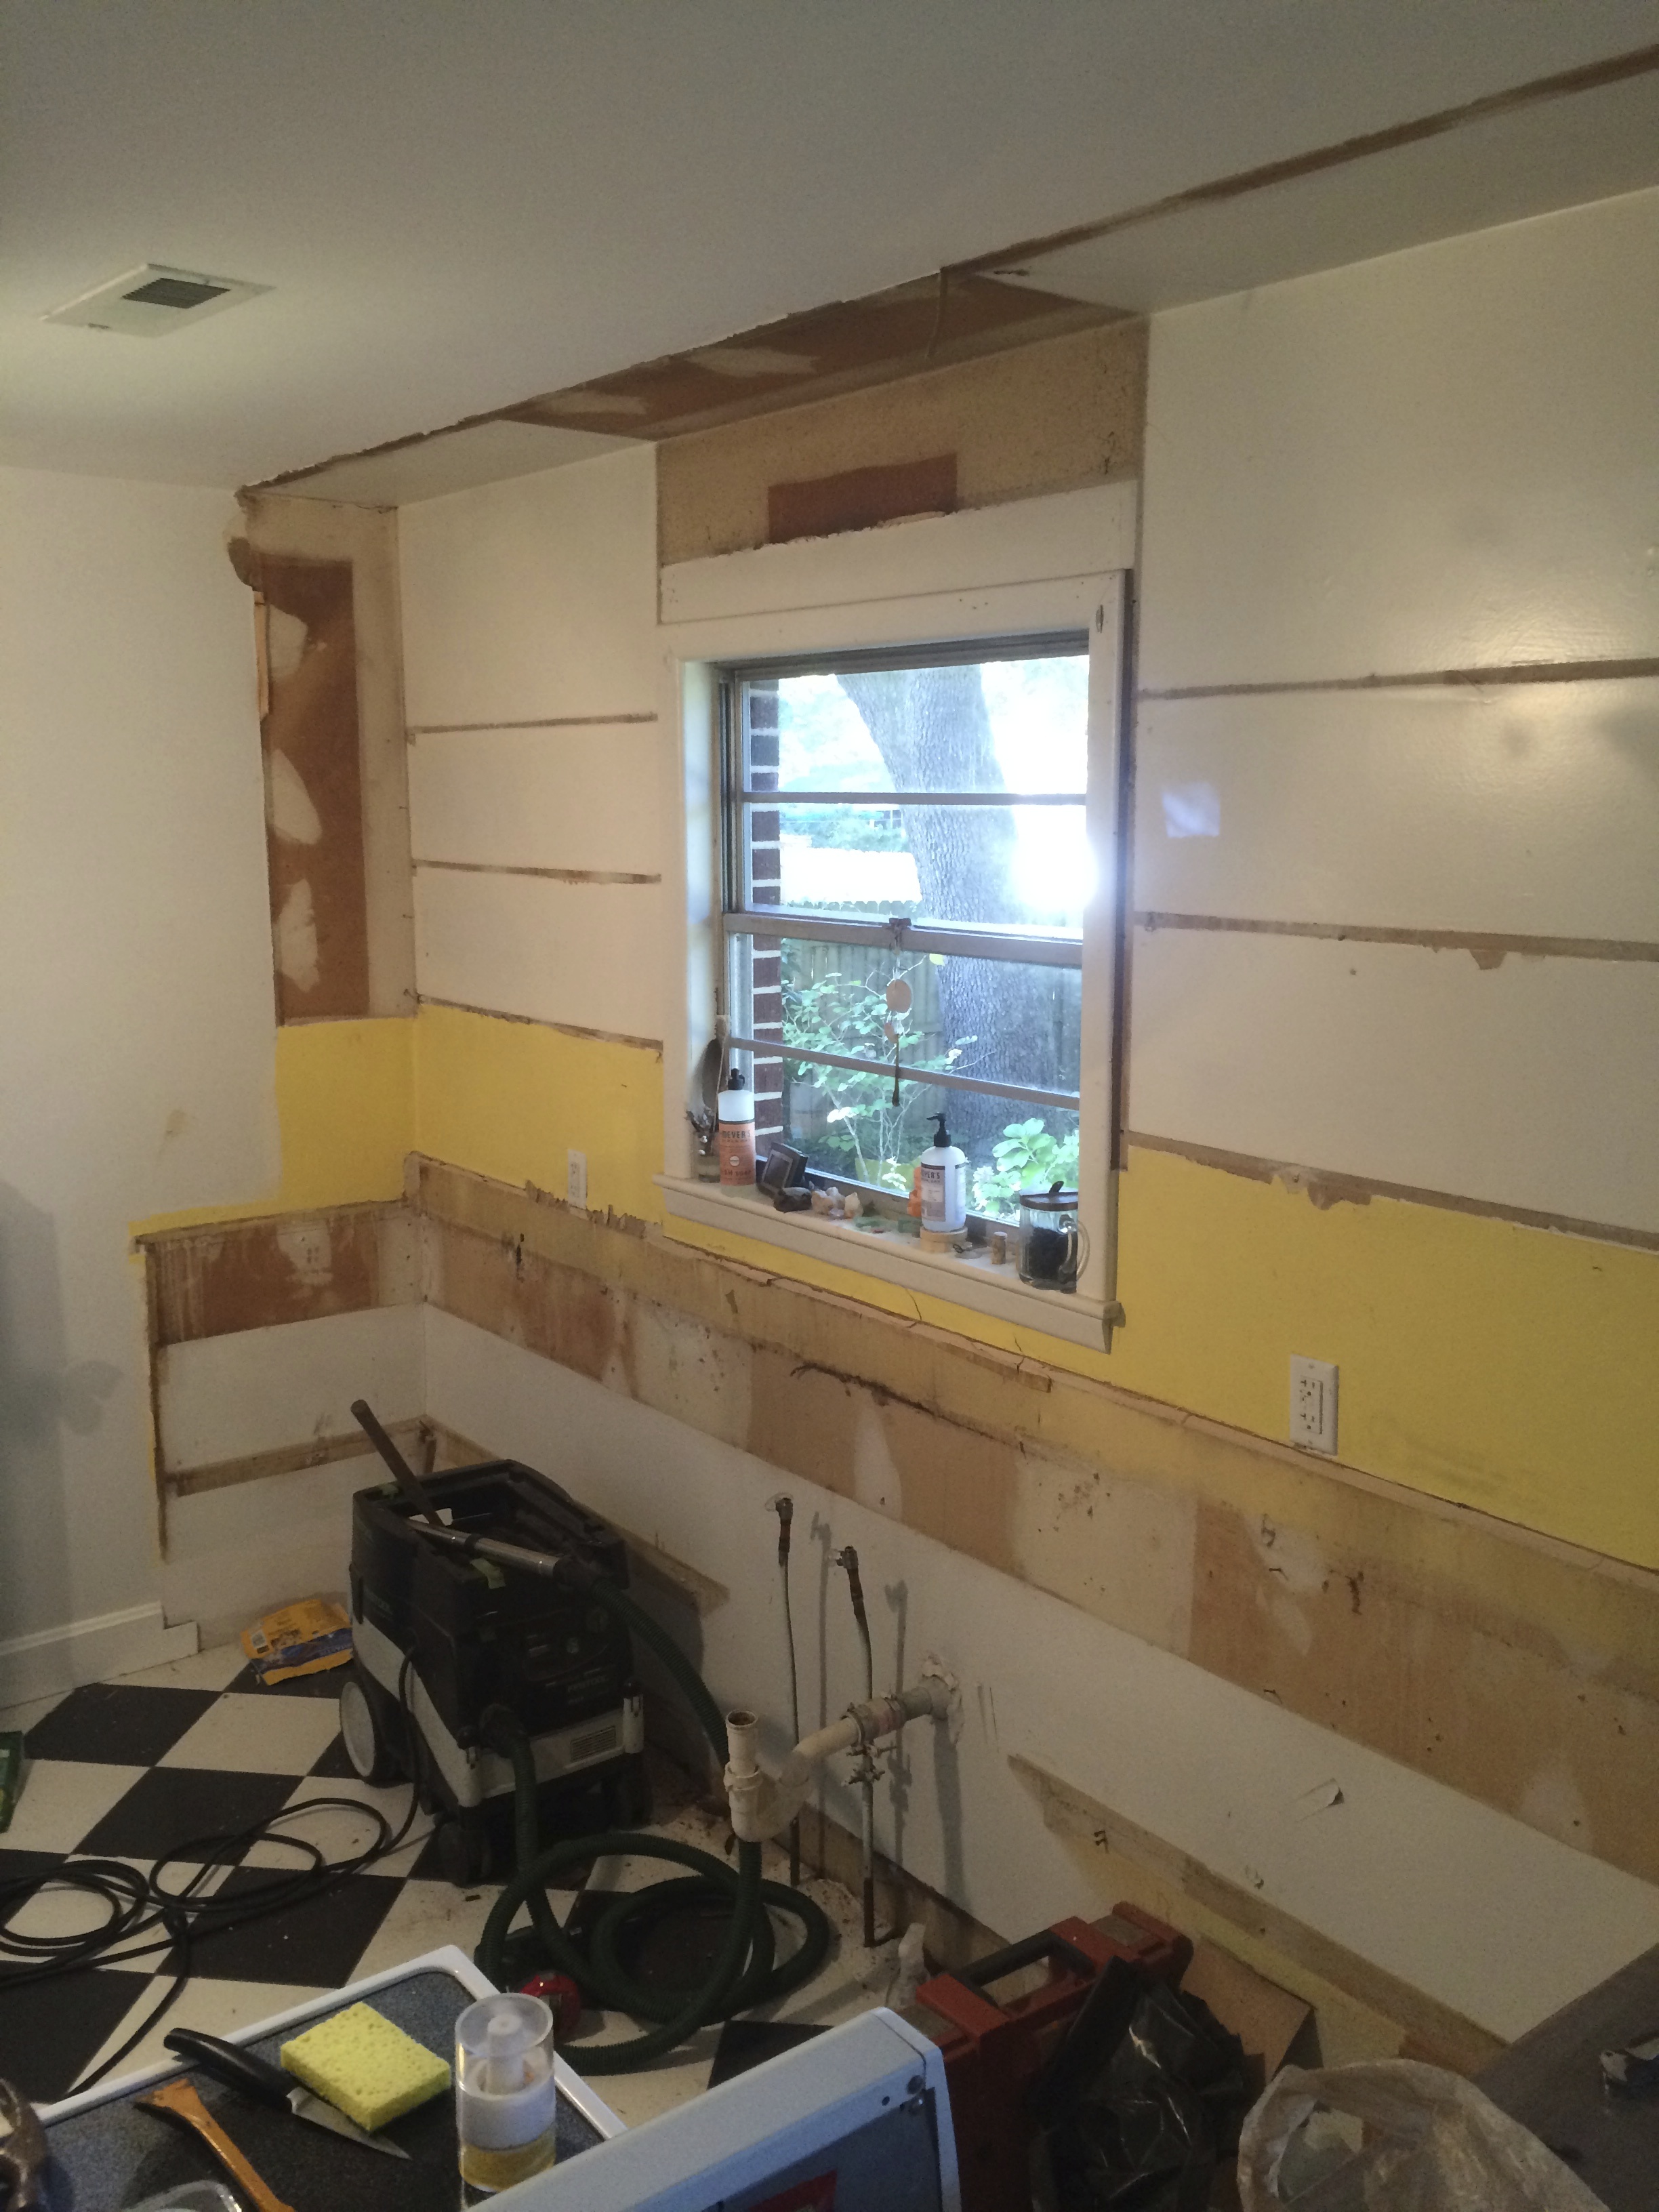
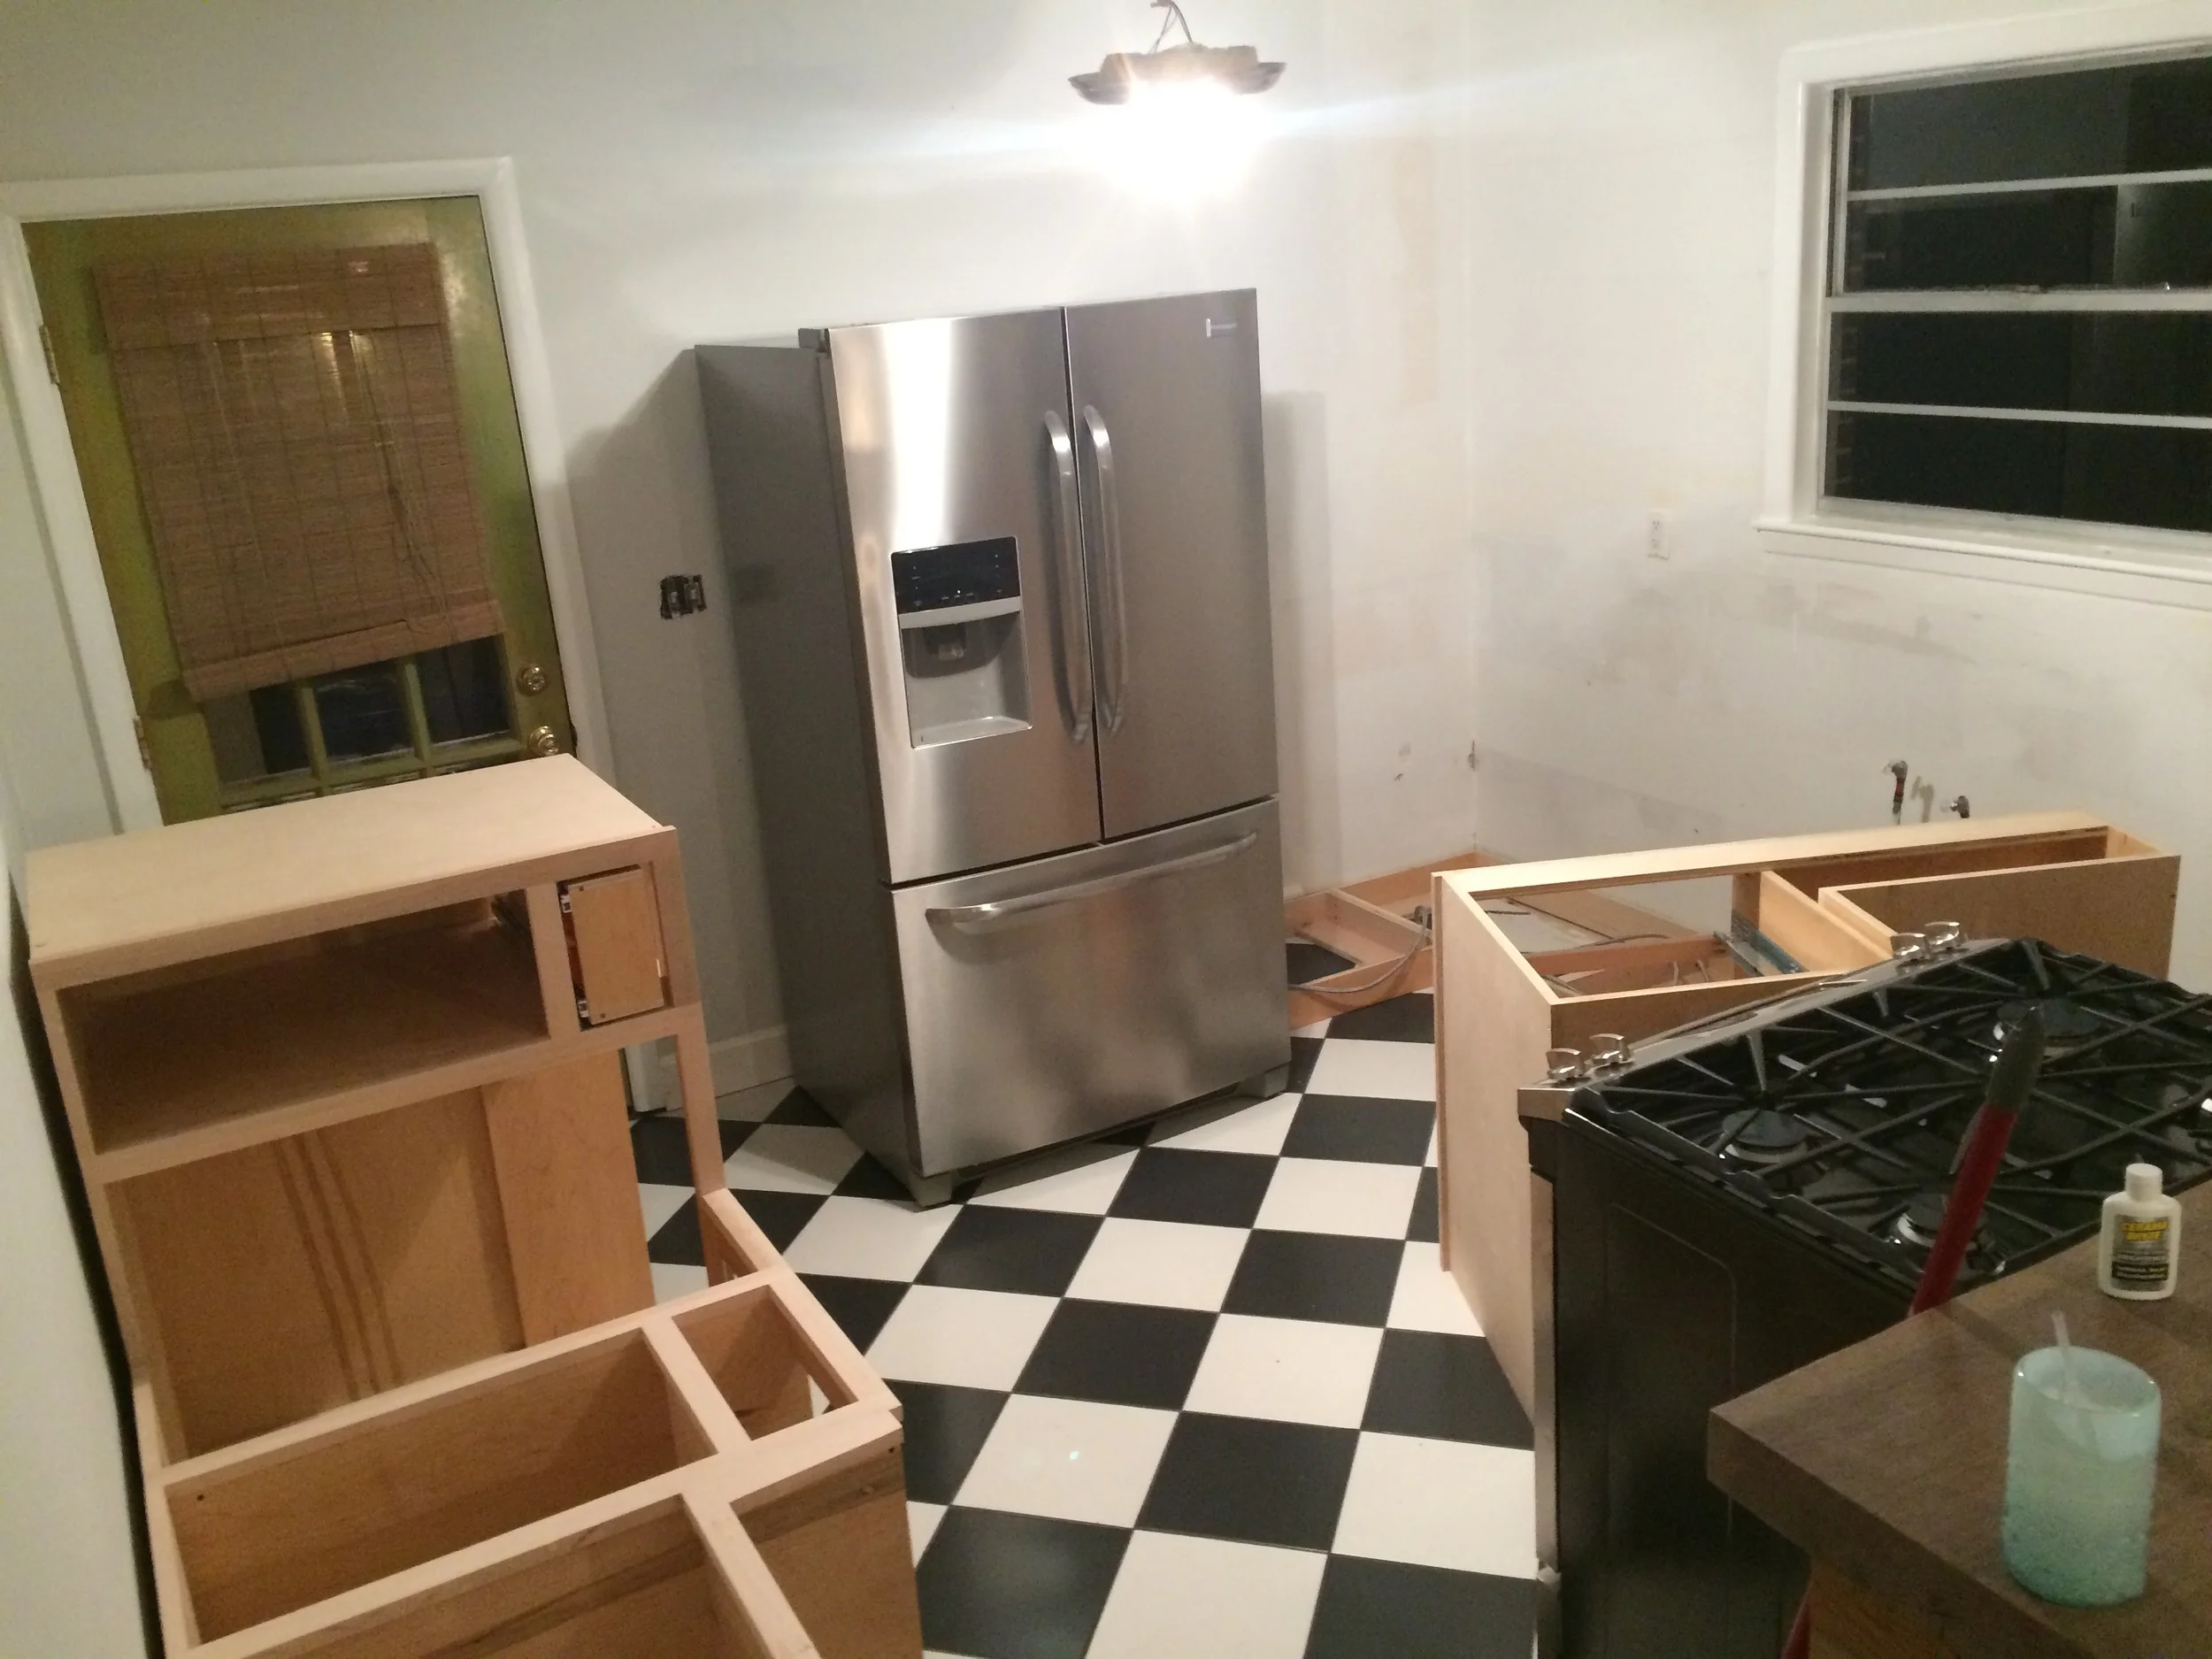
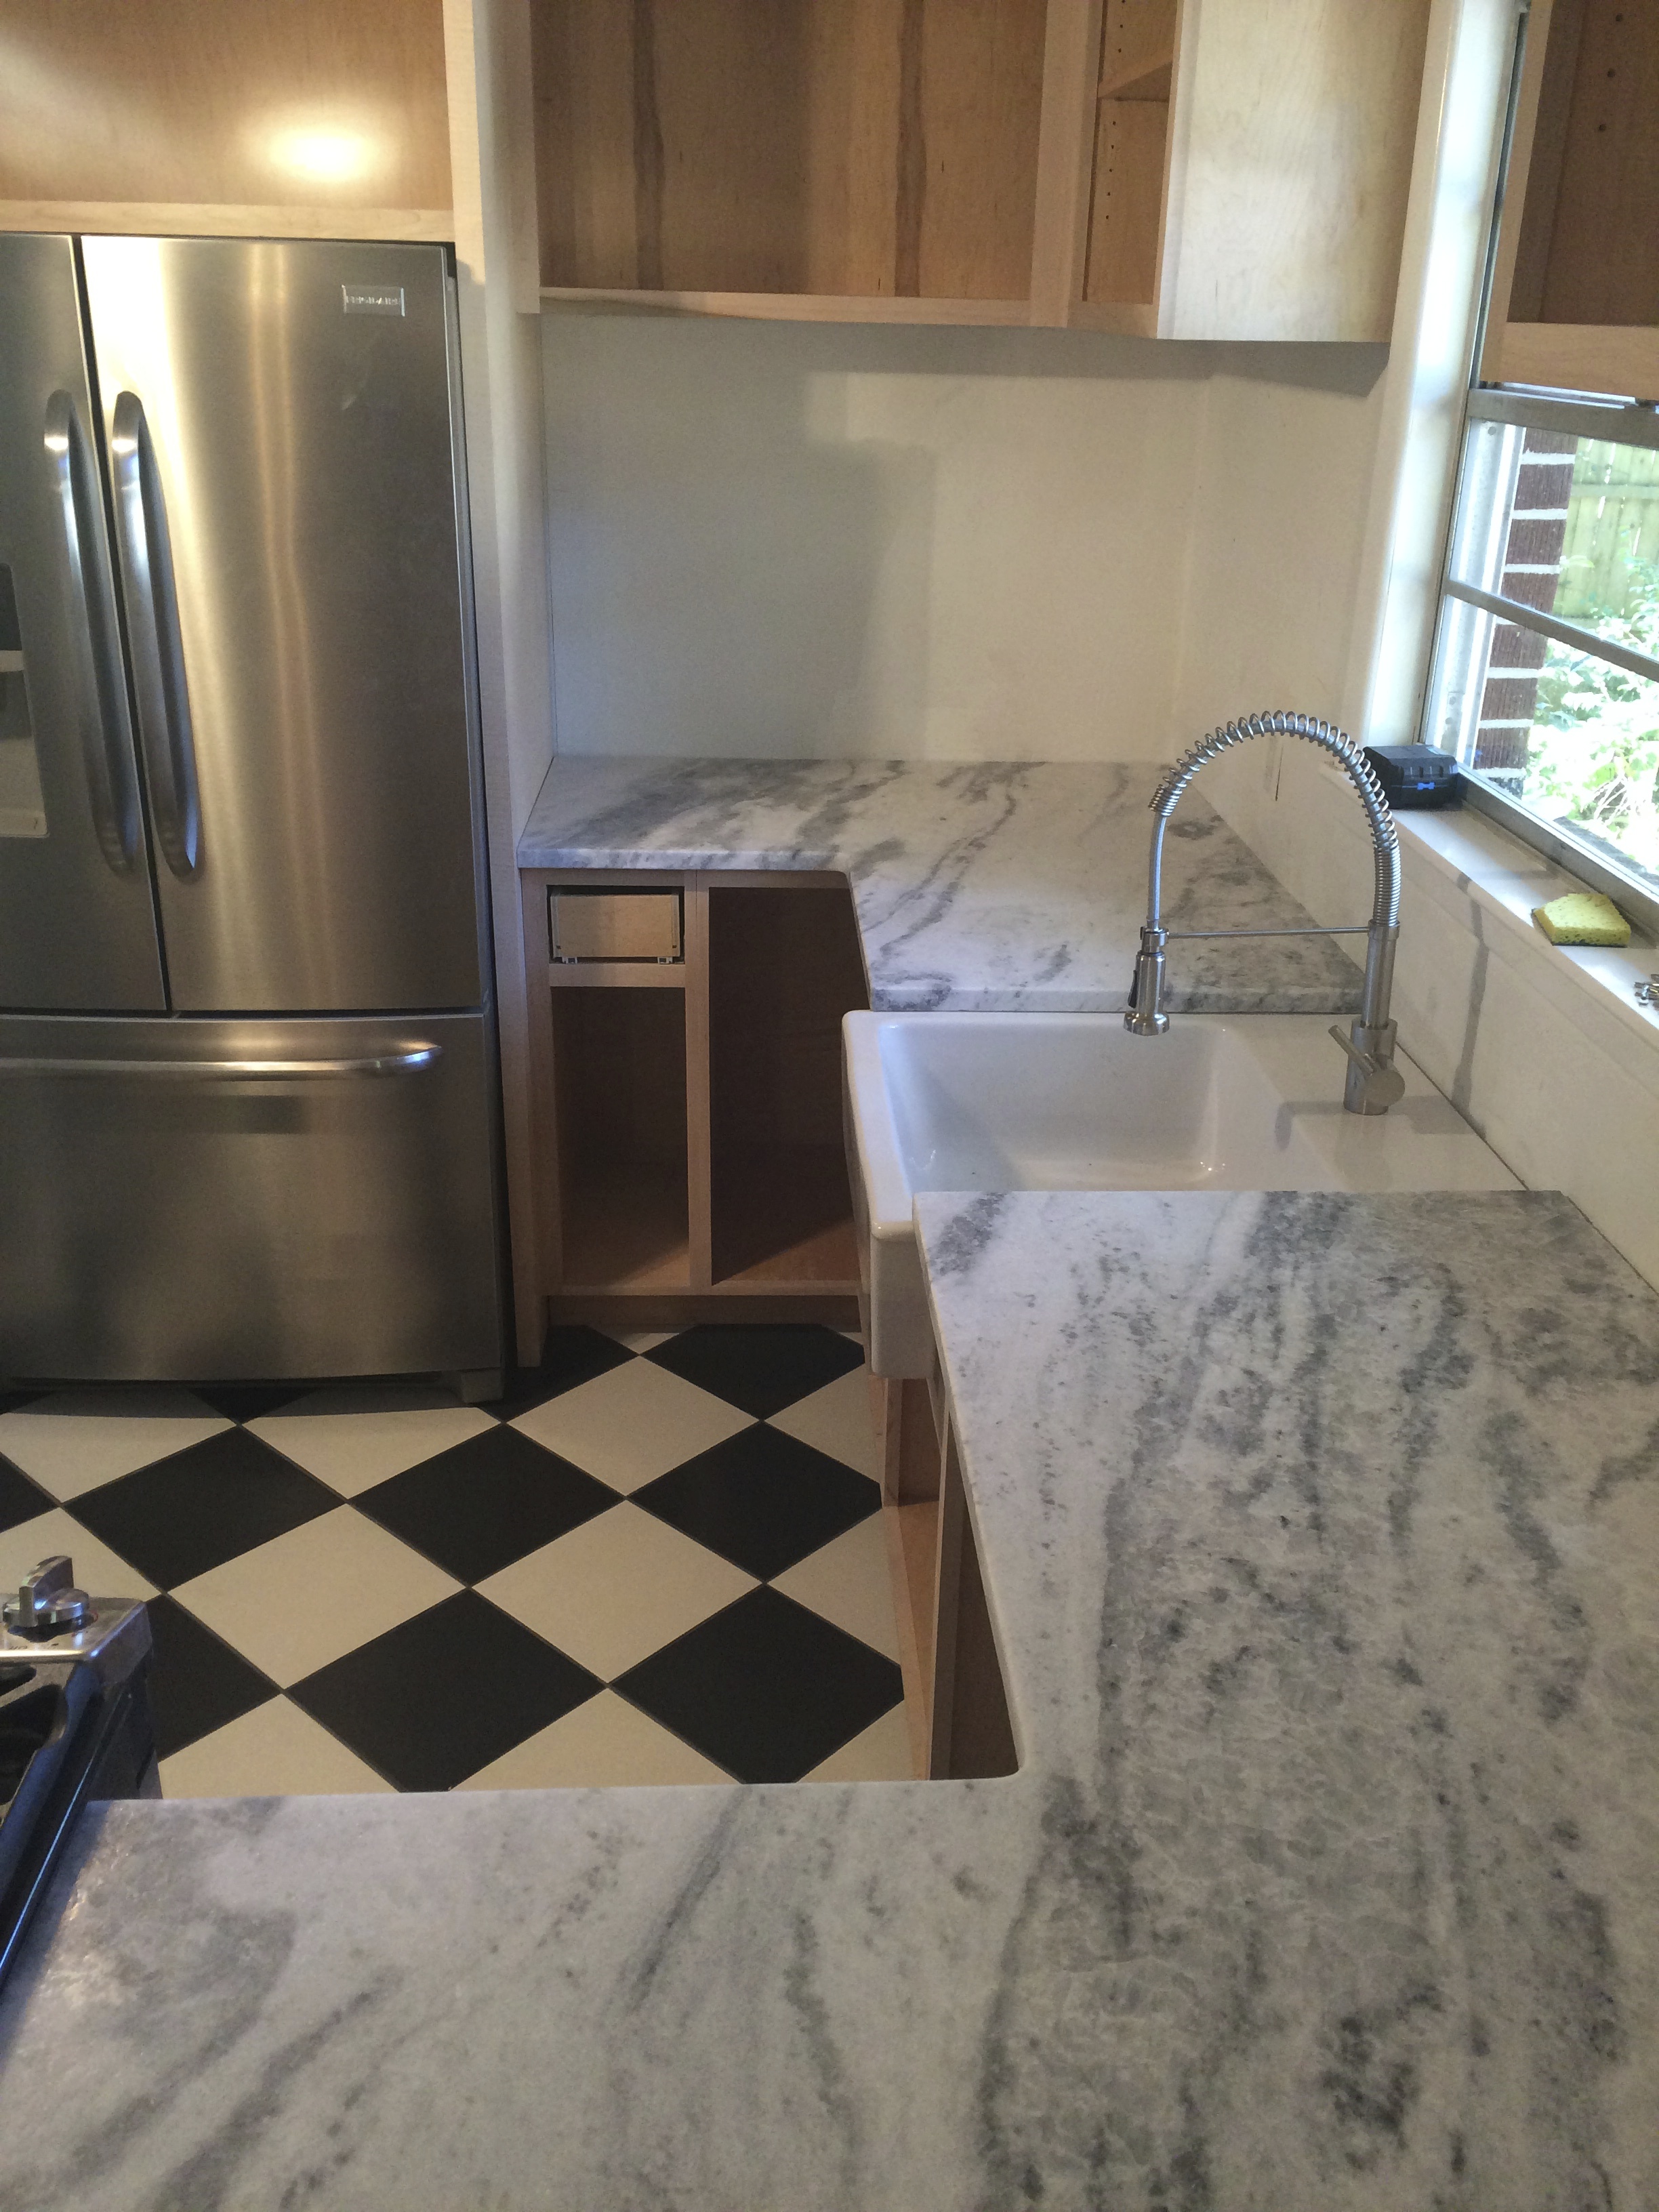
For this round of renovations....I came home from a weekend painting workshop in Greenville, SC to an even emptier kitchen - meaning no sink or lingering cantilevered cabinets still hanging on - but one with freshly painted walls and the new tile floor, of course (that's what started this whole kitchen renovation movement: "Let's redo the kitchen floor!").
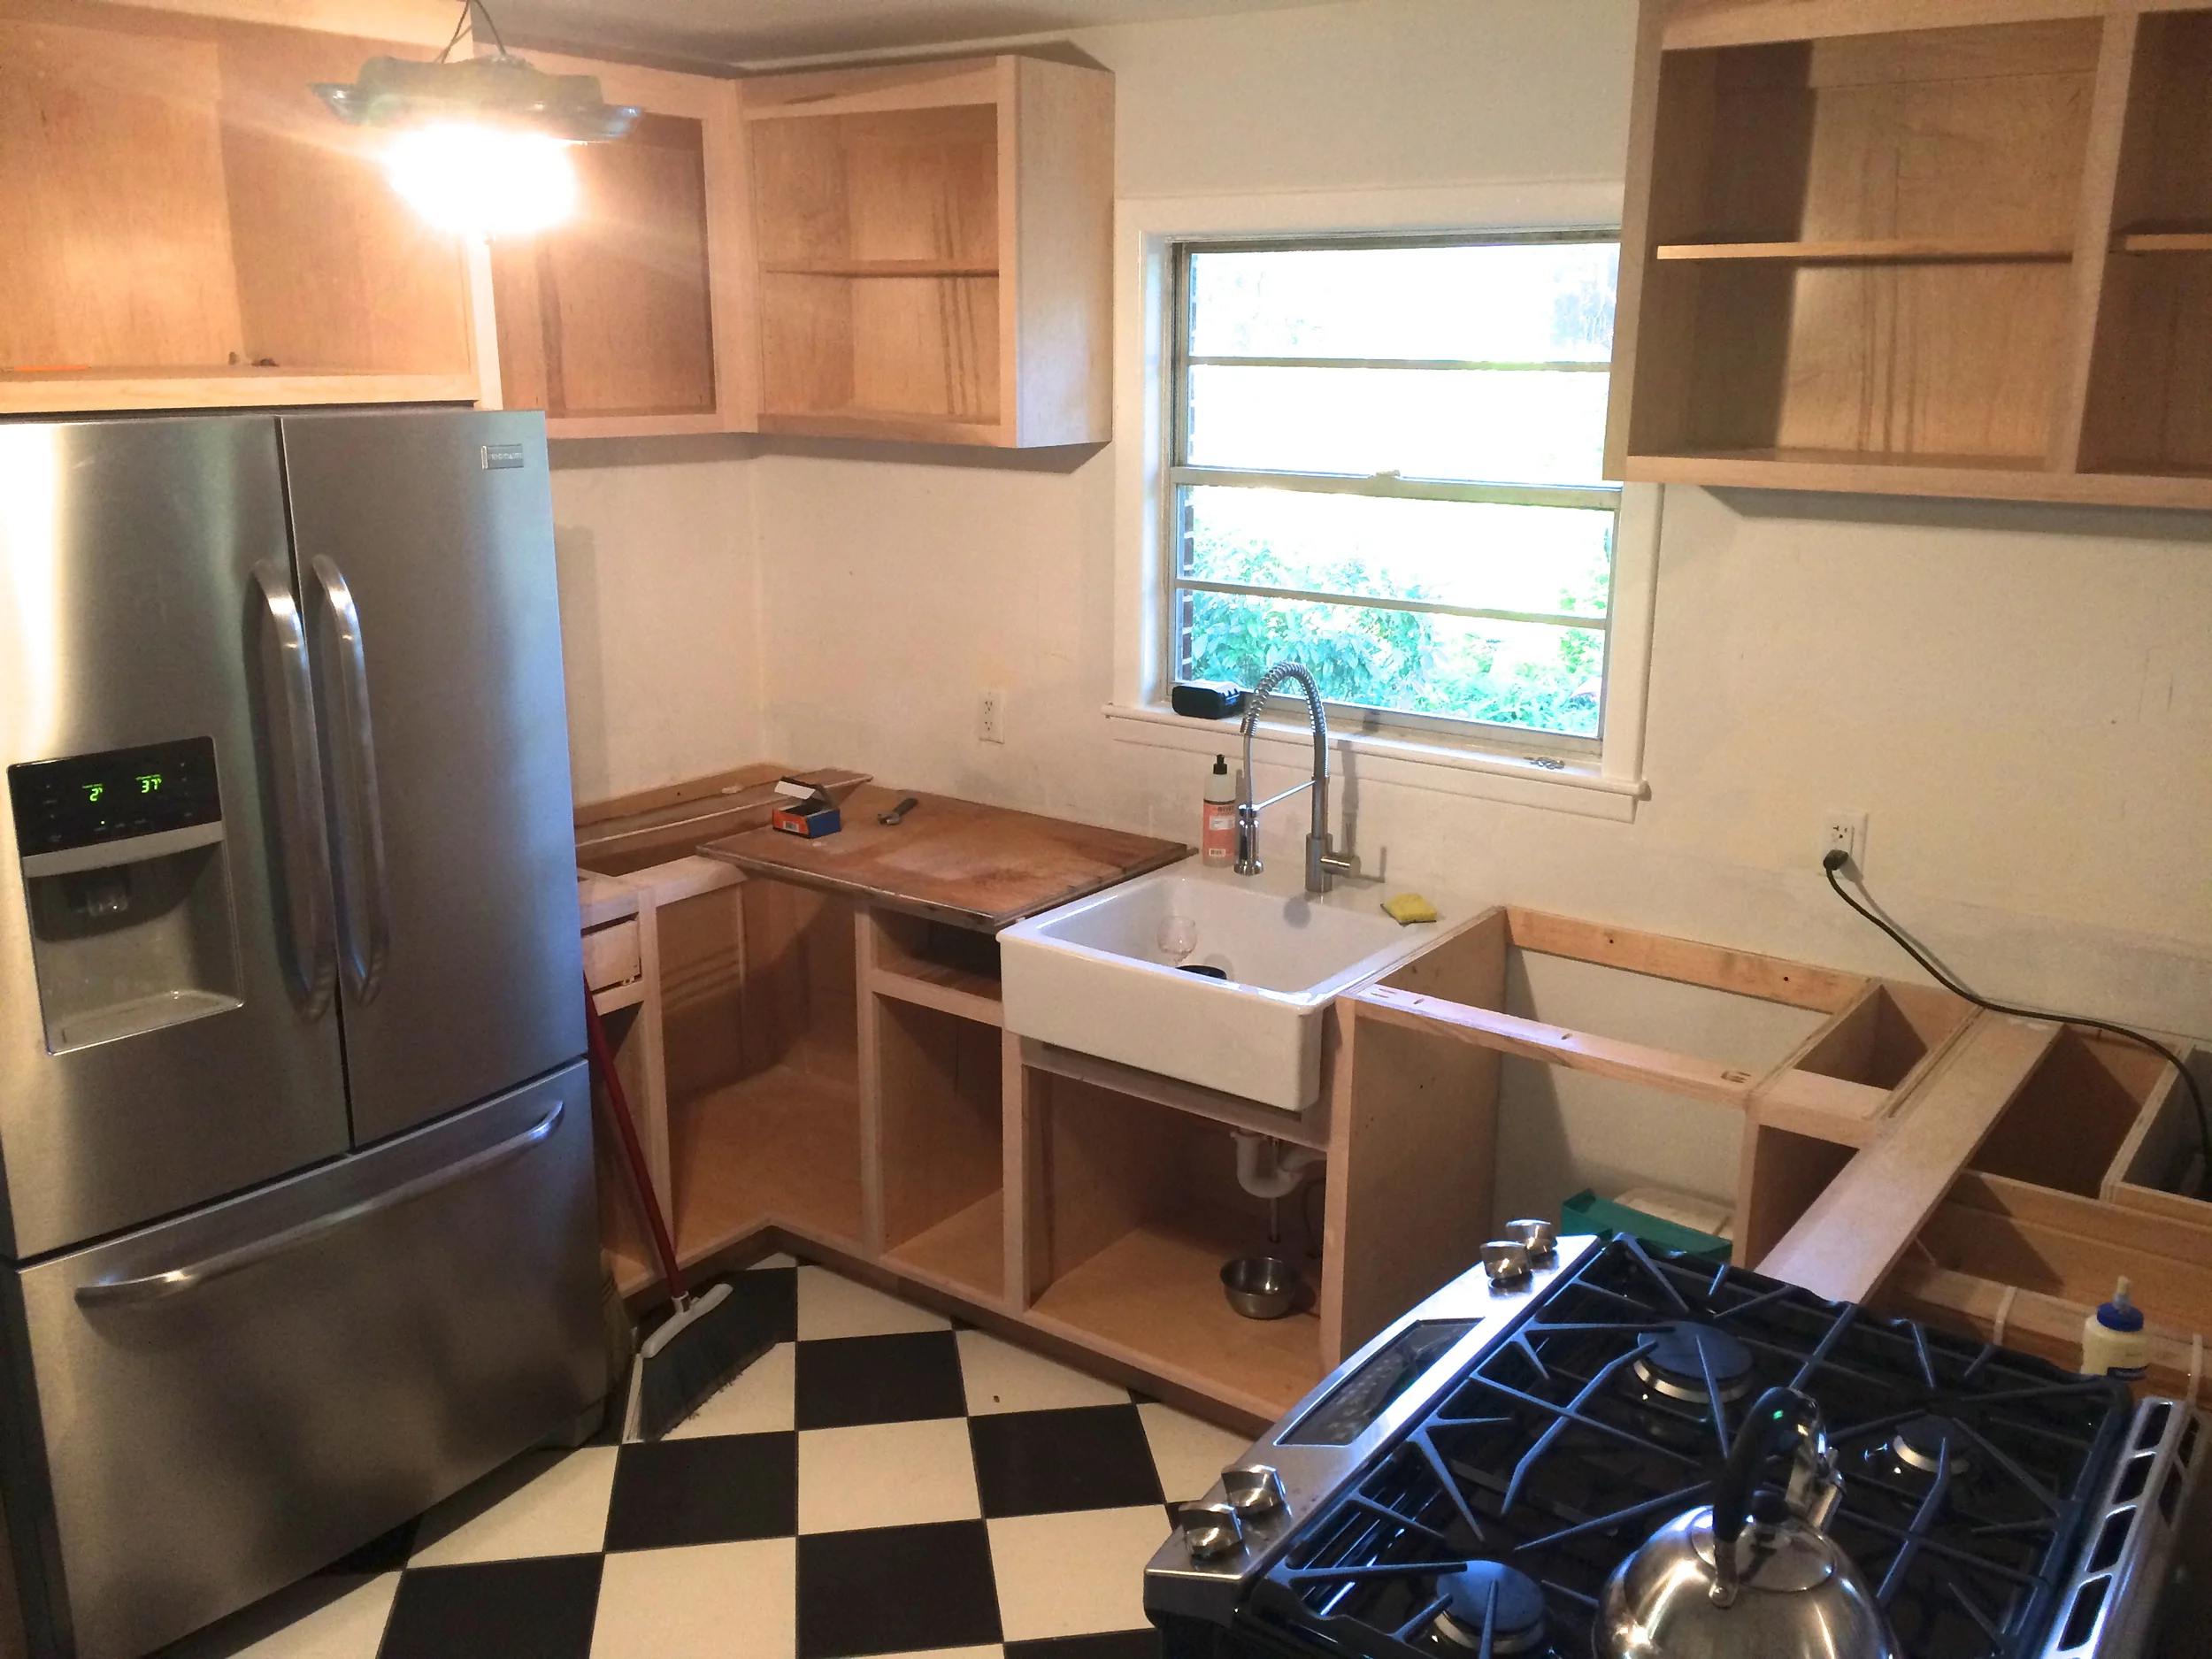
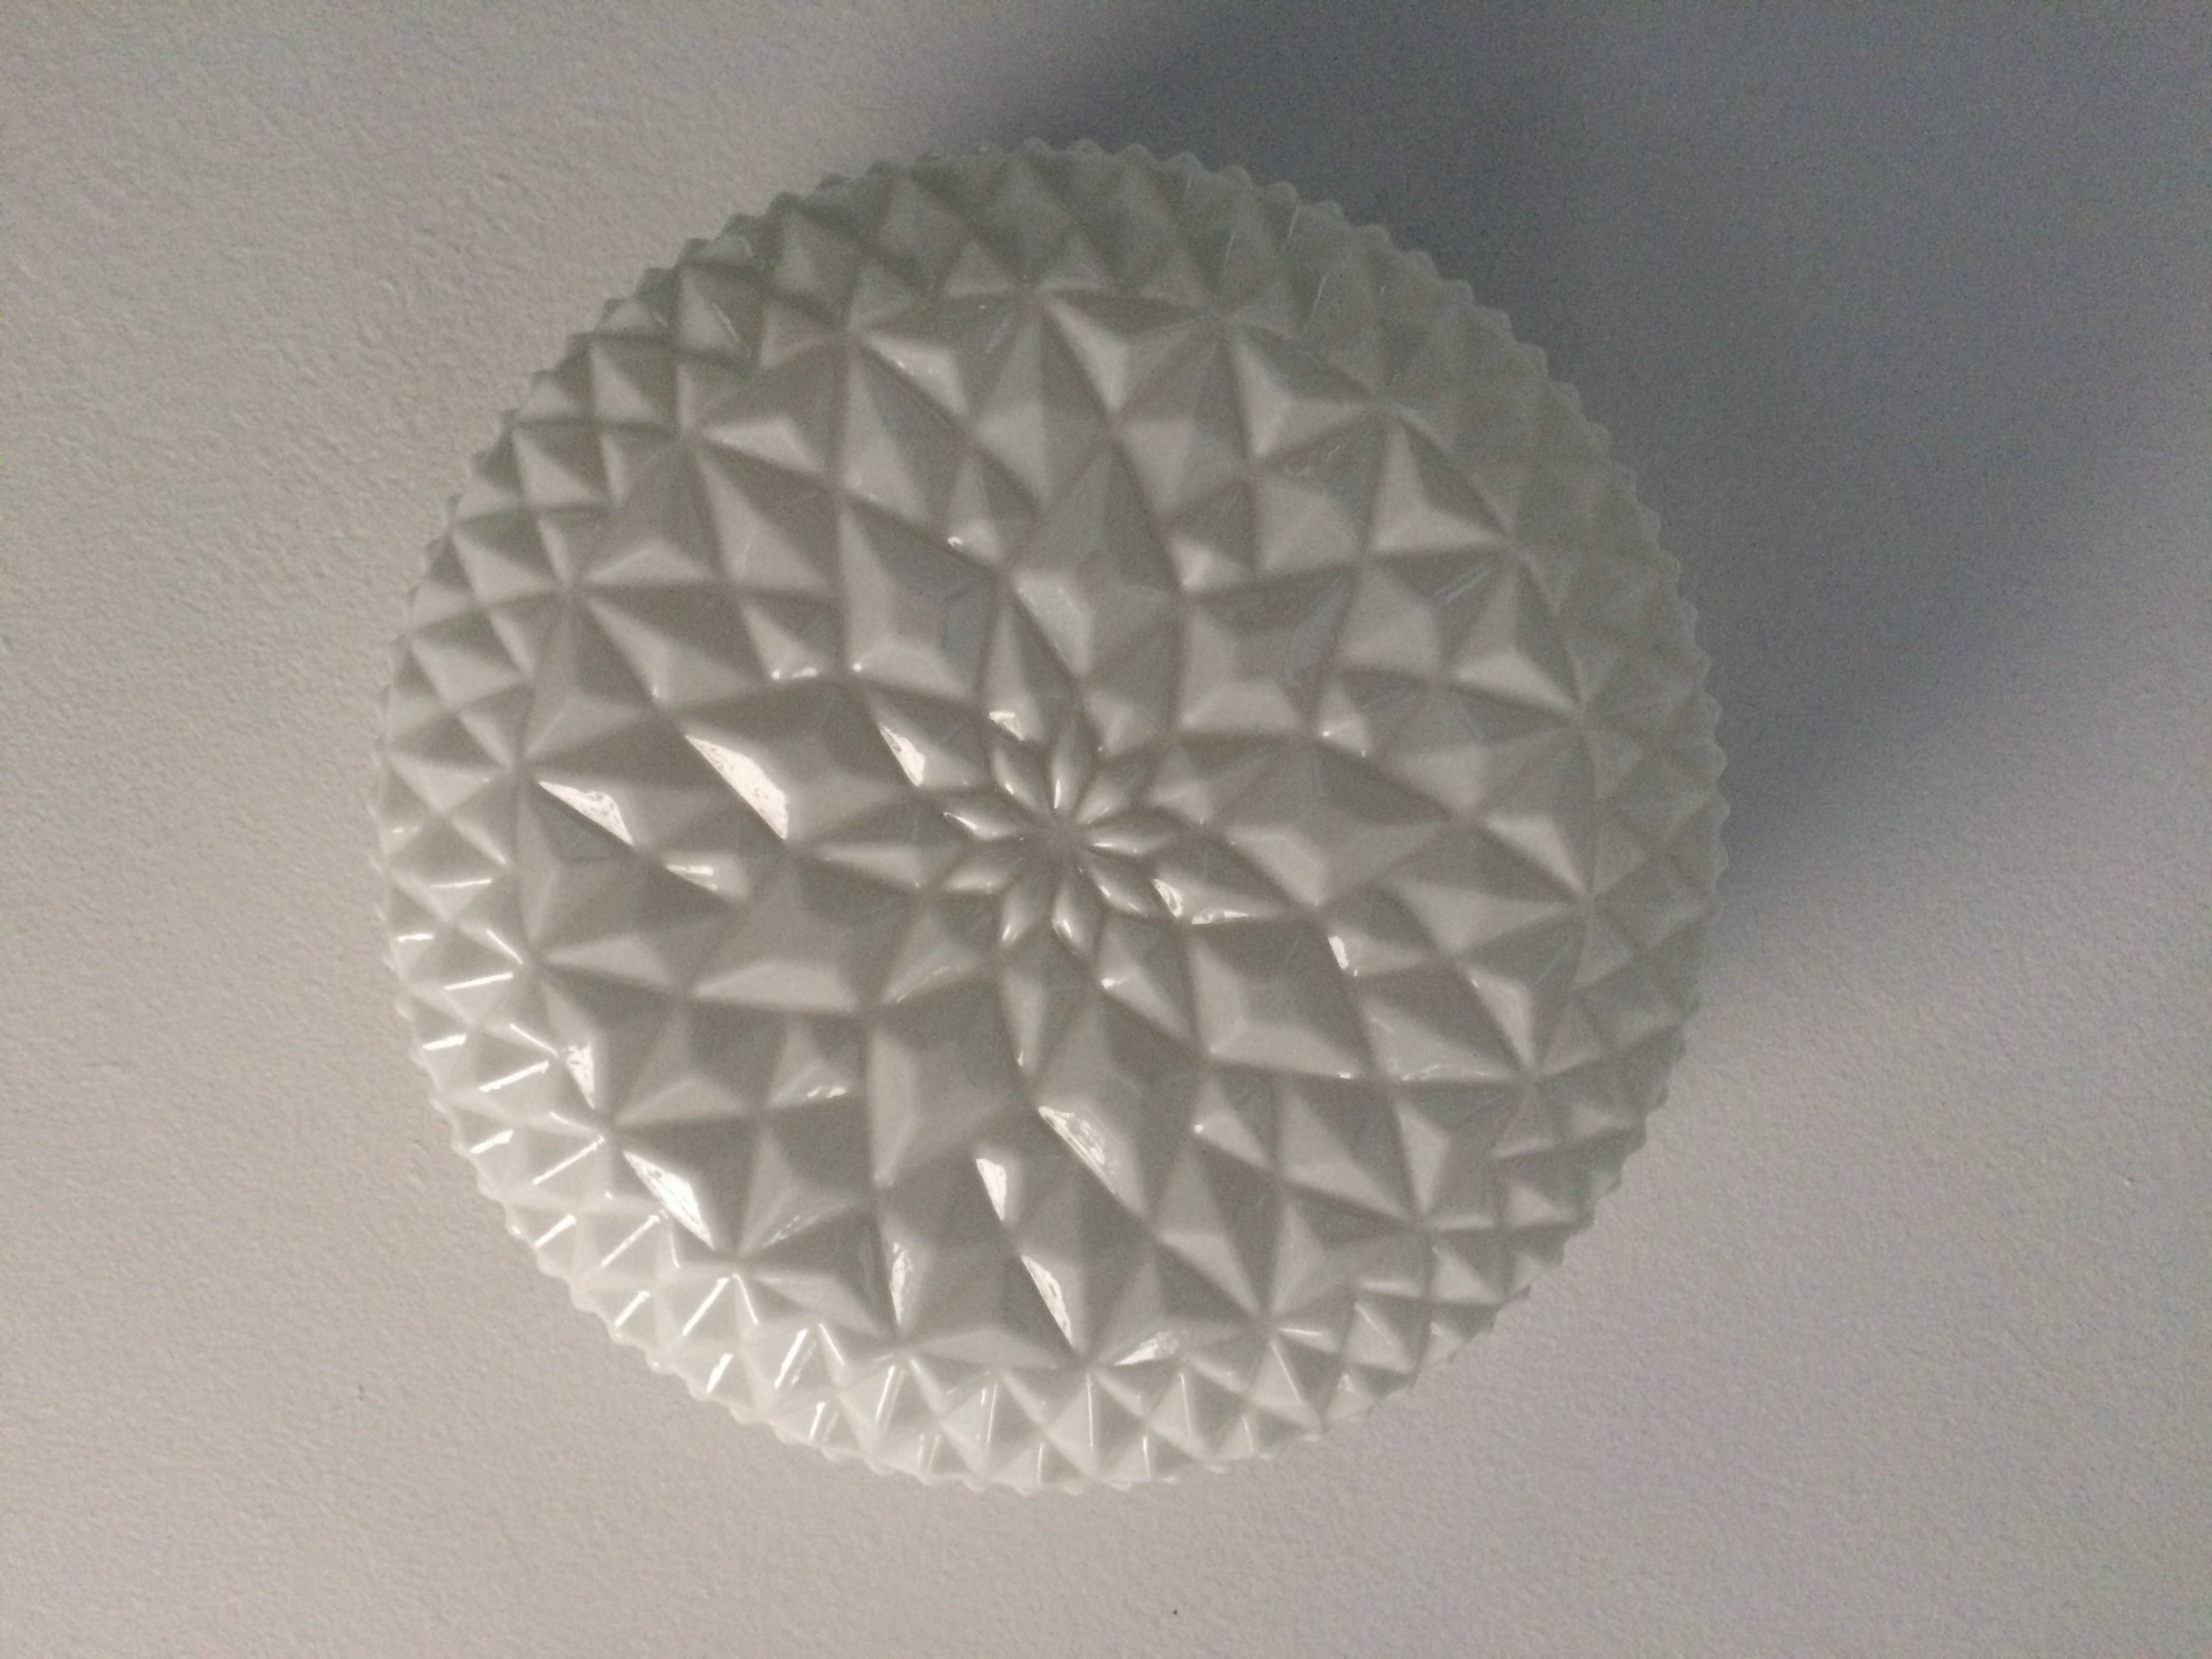
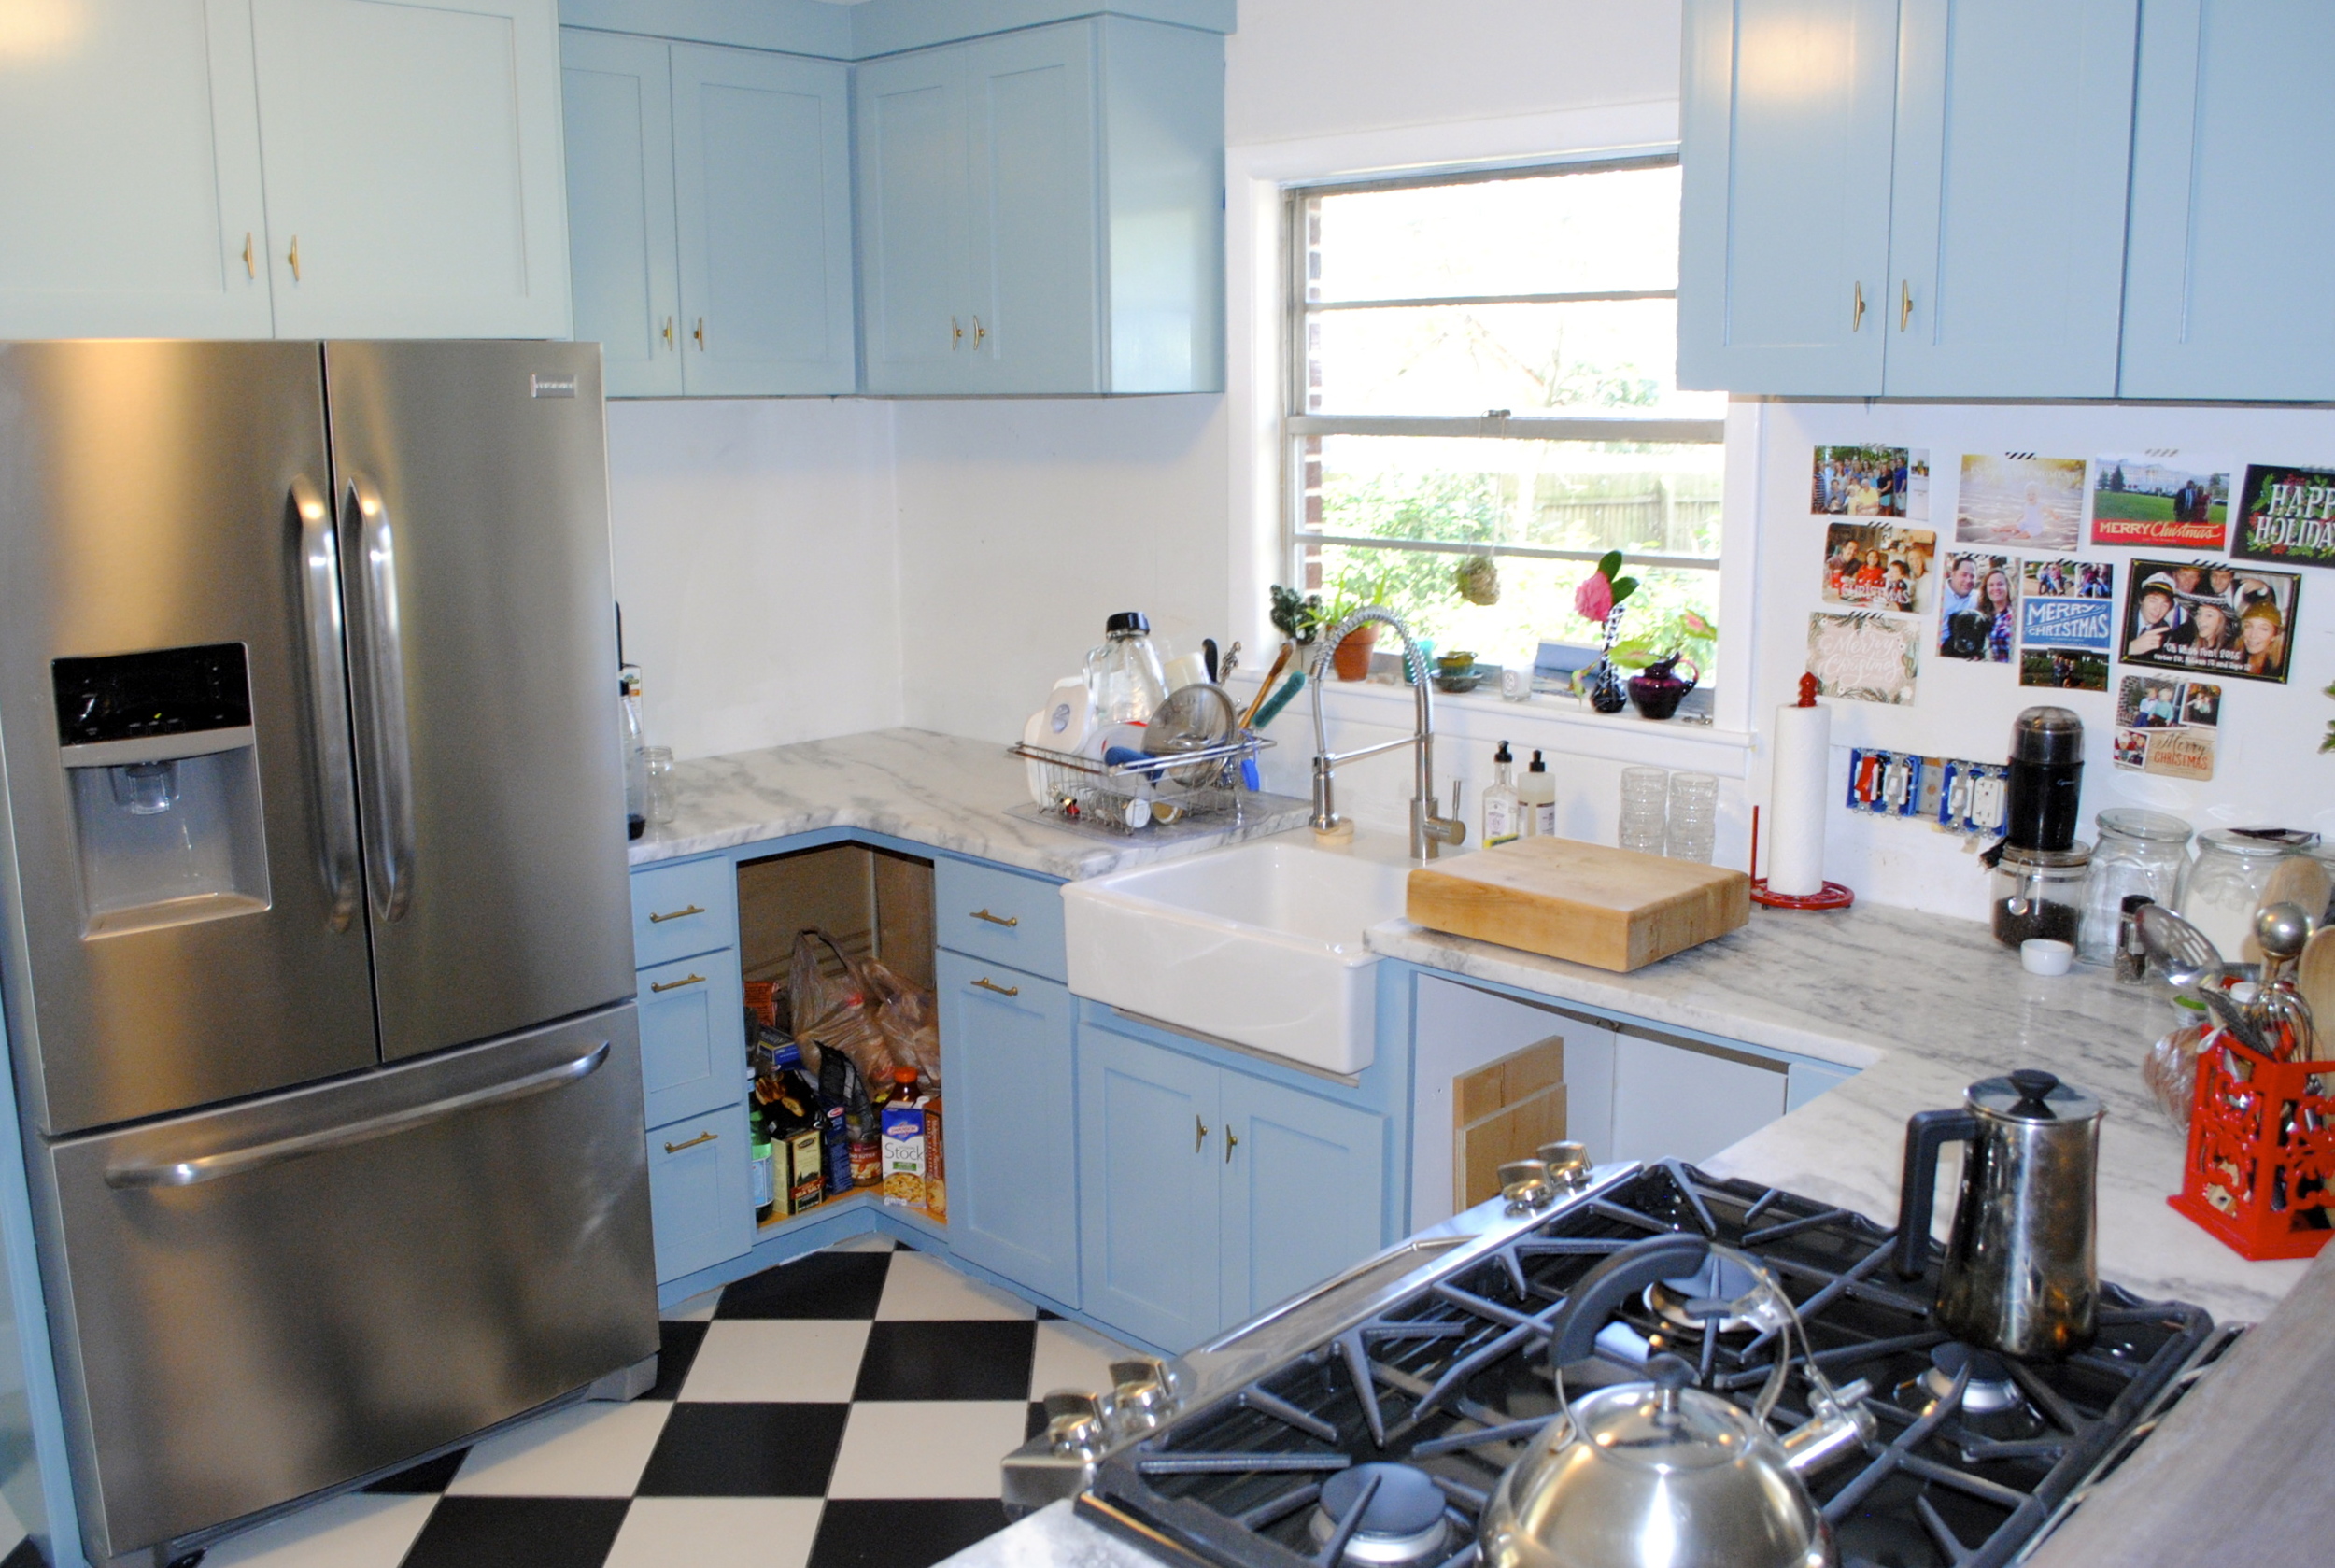
Over the next few weeks we slowly replaced the refrigerator and the range (Black Friday sales! Yesss.) while the cabinets were being built at Perrin Woodworking (downtown Charleston) - and while using the (one, tiny, pedestal) bathroom sink for everything and eating out A LOT. I also made my very first trip to Ikea (wow?!) to purchase the farmhouse sink and look at light fixtures...among the other billion things in there - a little bit much, in my opinion, but highly recommend enduring the experience if there's something specific you're looking for, otherwise, it could be a giant Target-style trap as far as money traps go BUT the farmhouse sink was just as perfect in person and I found a simple overhead (white cut glass) ceiling light for the kitchen for about $40.
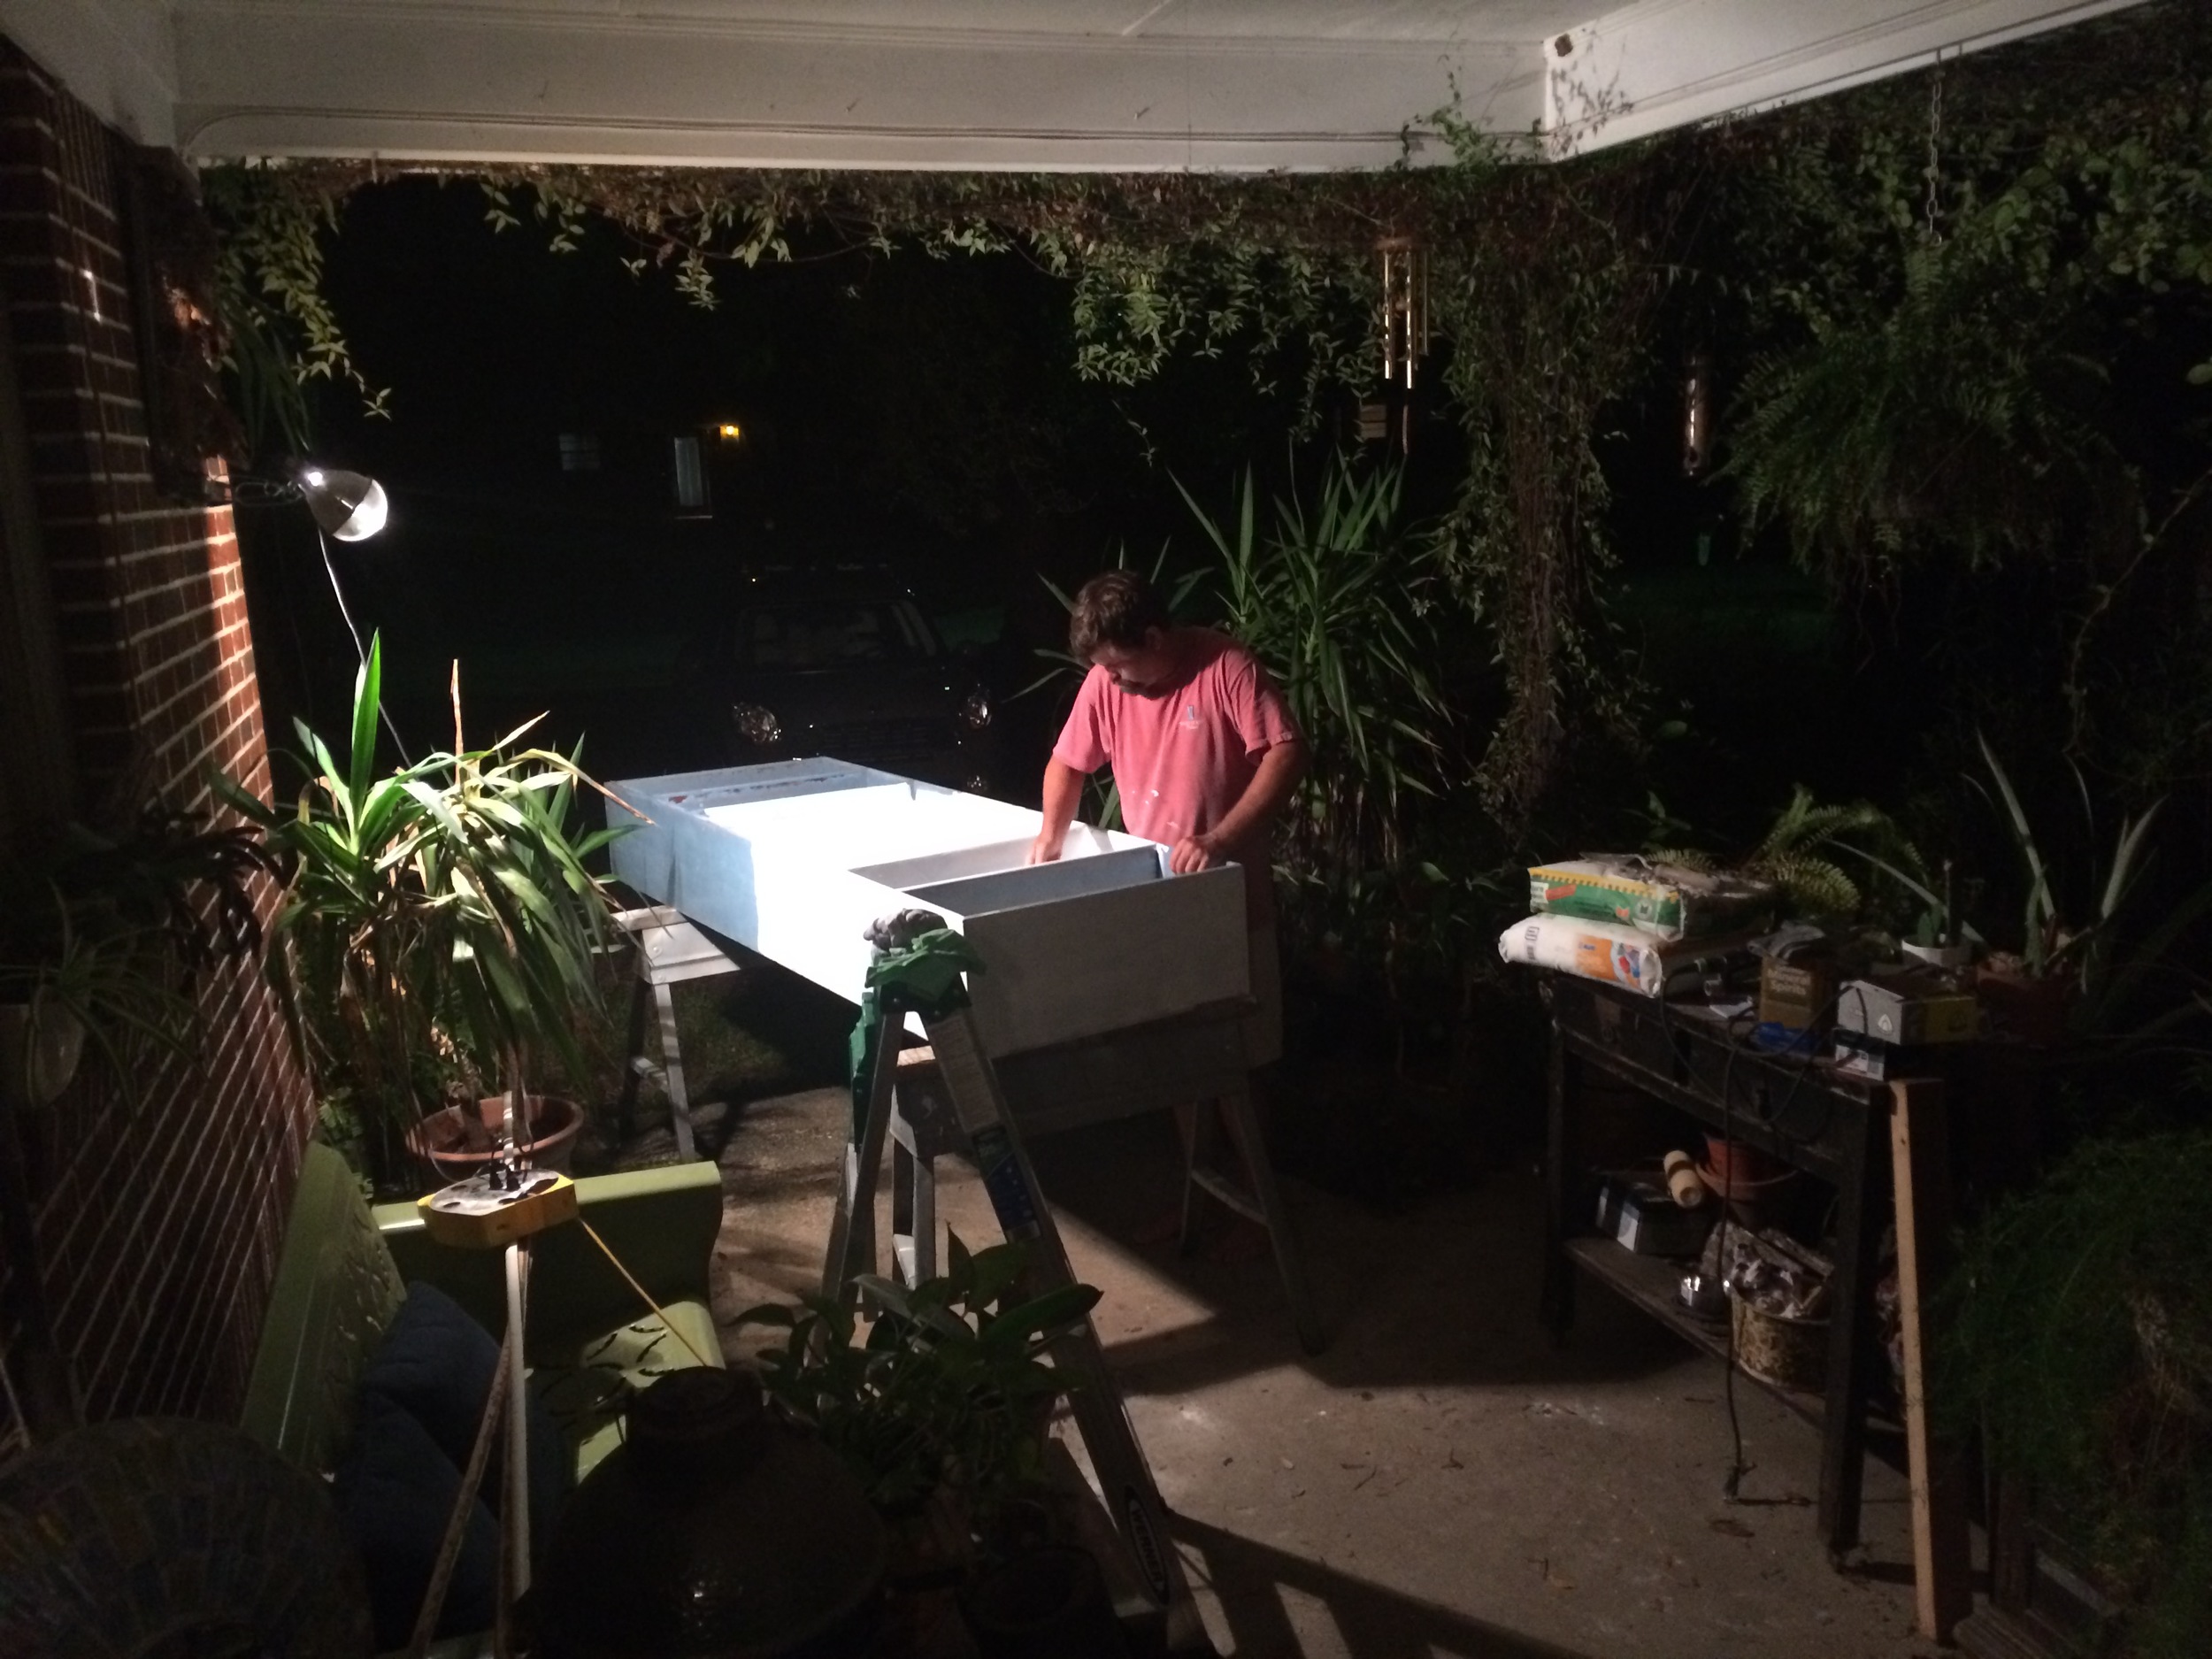
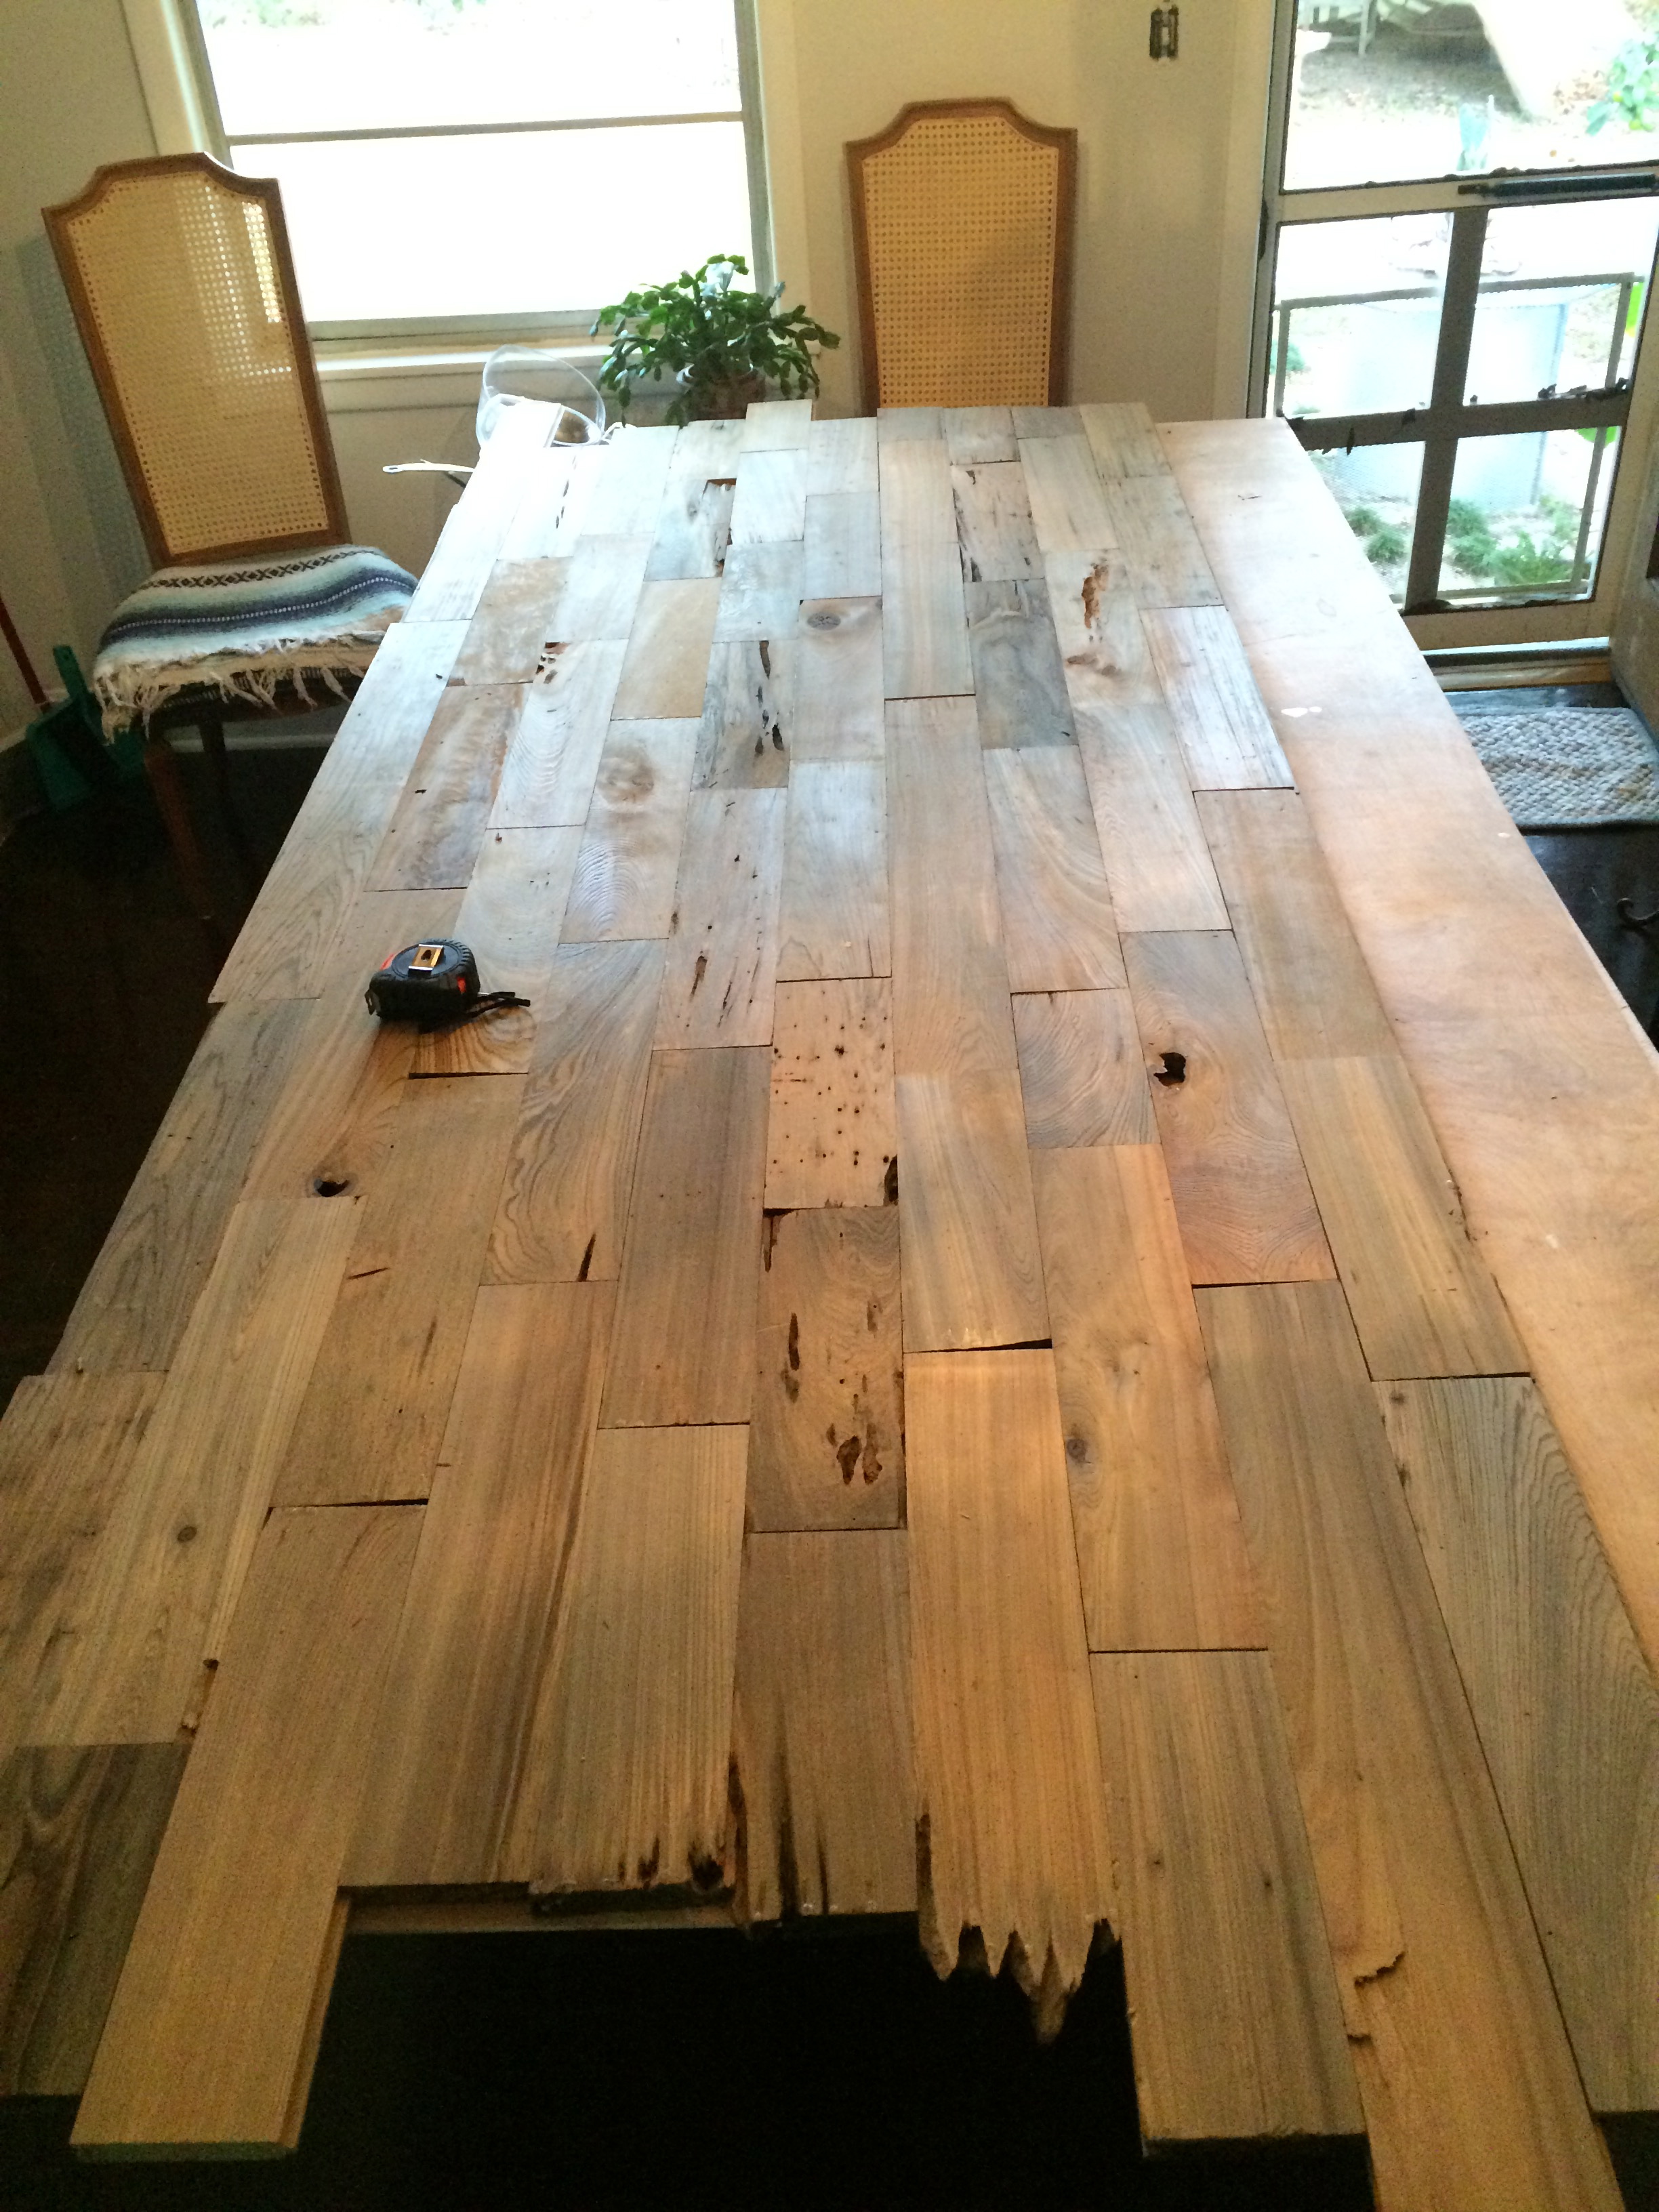
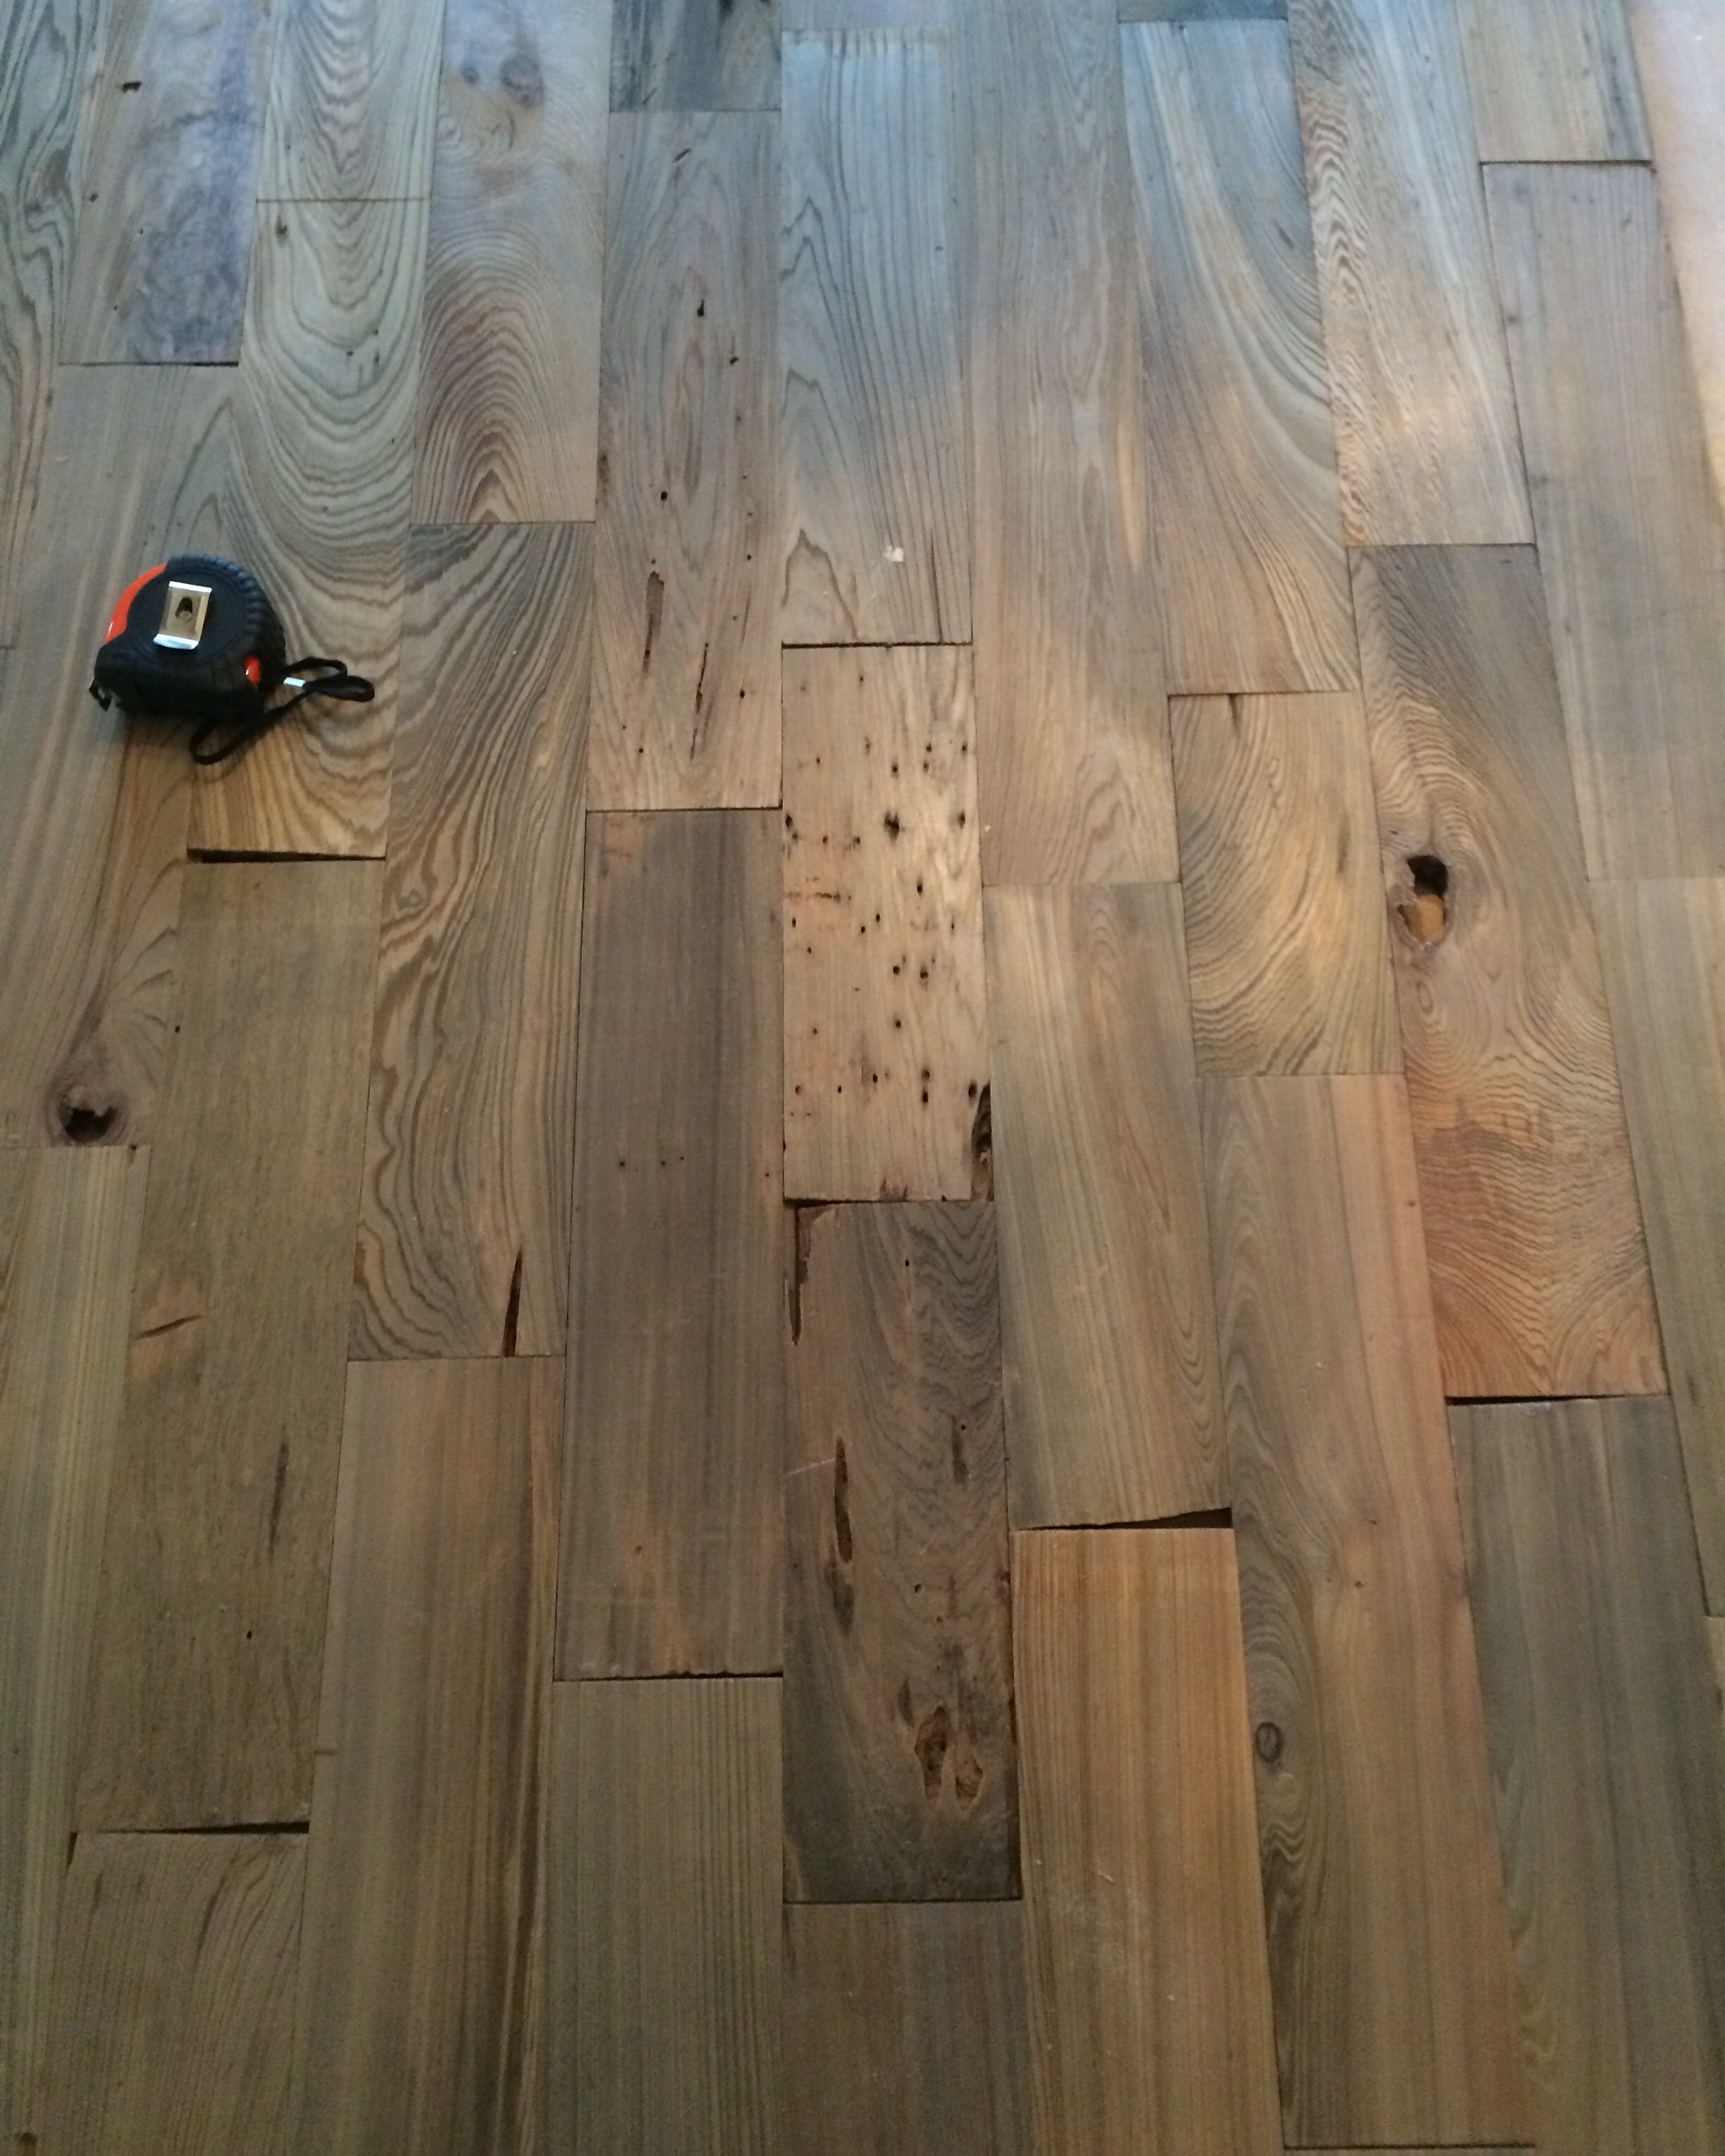
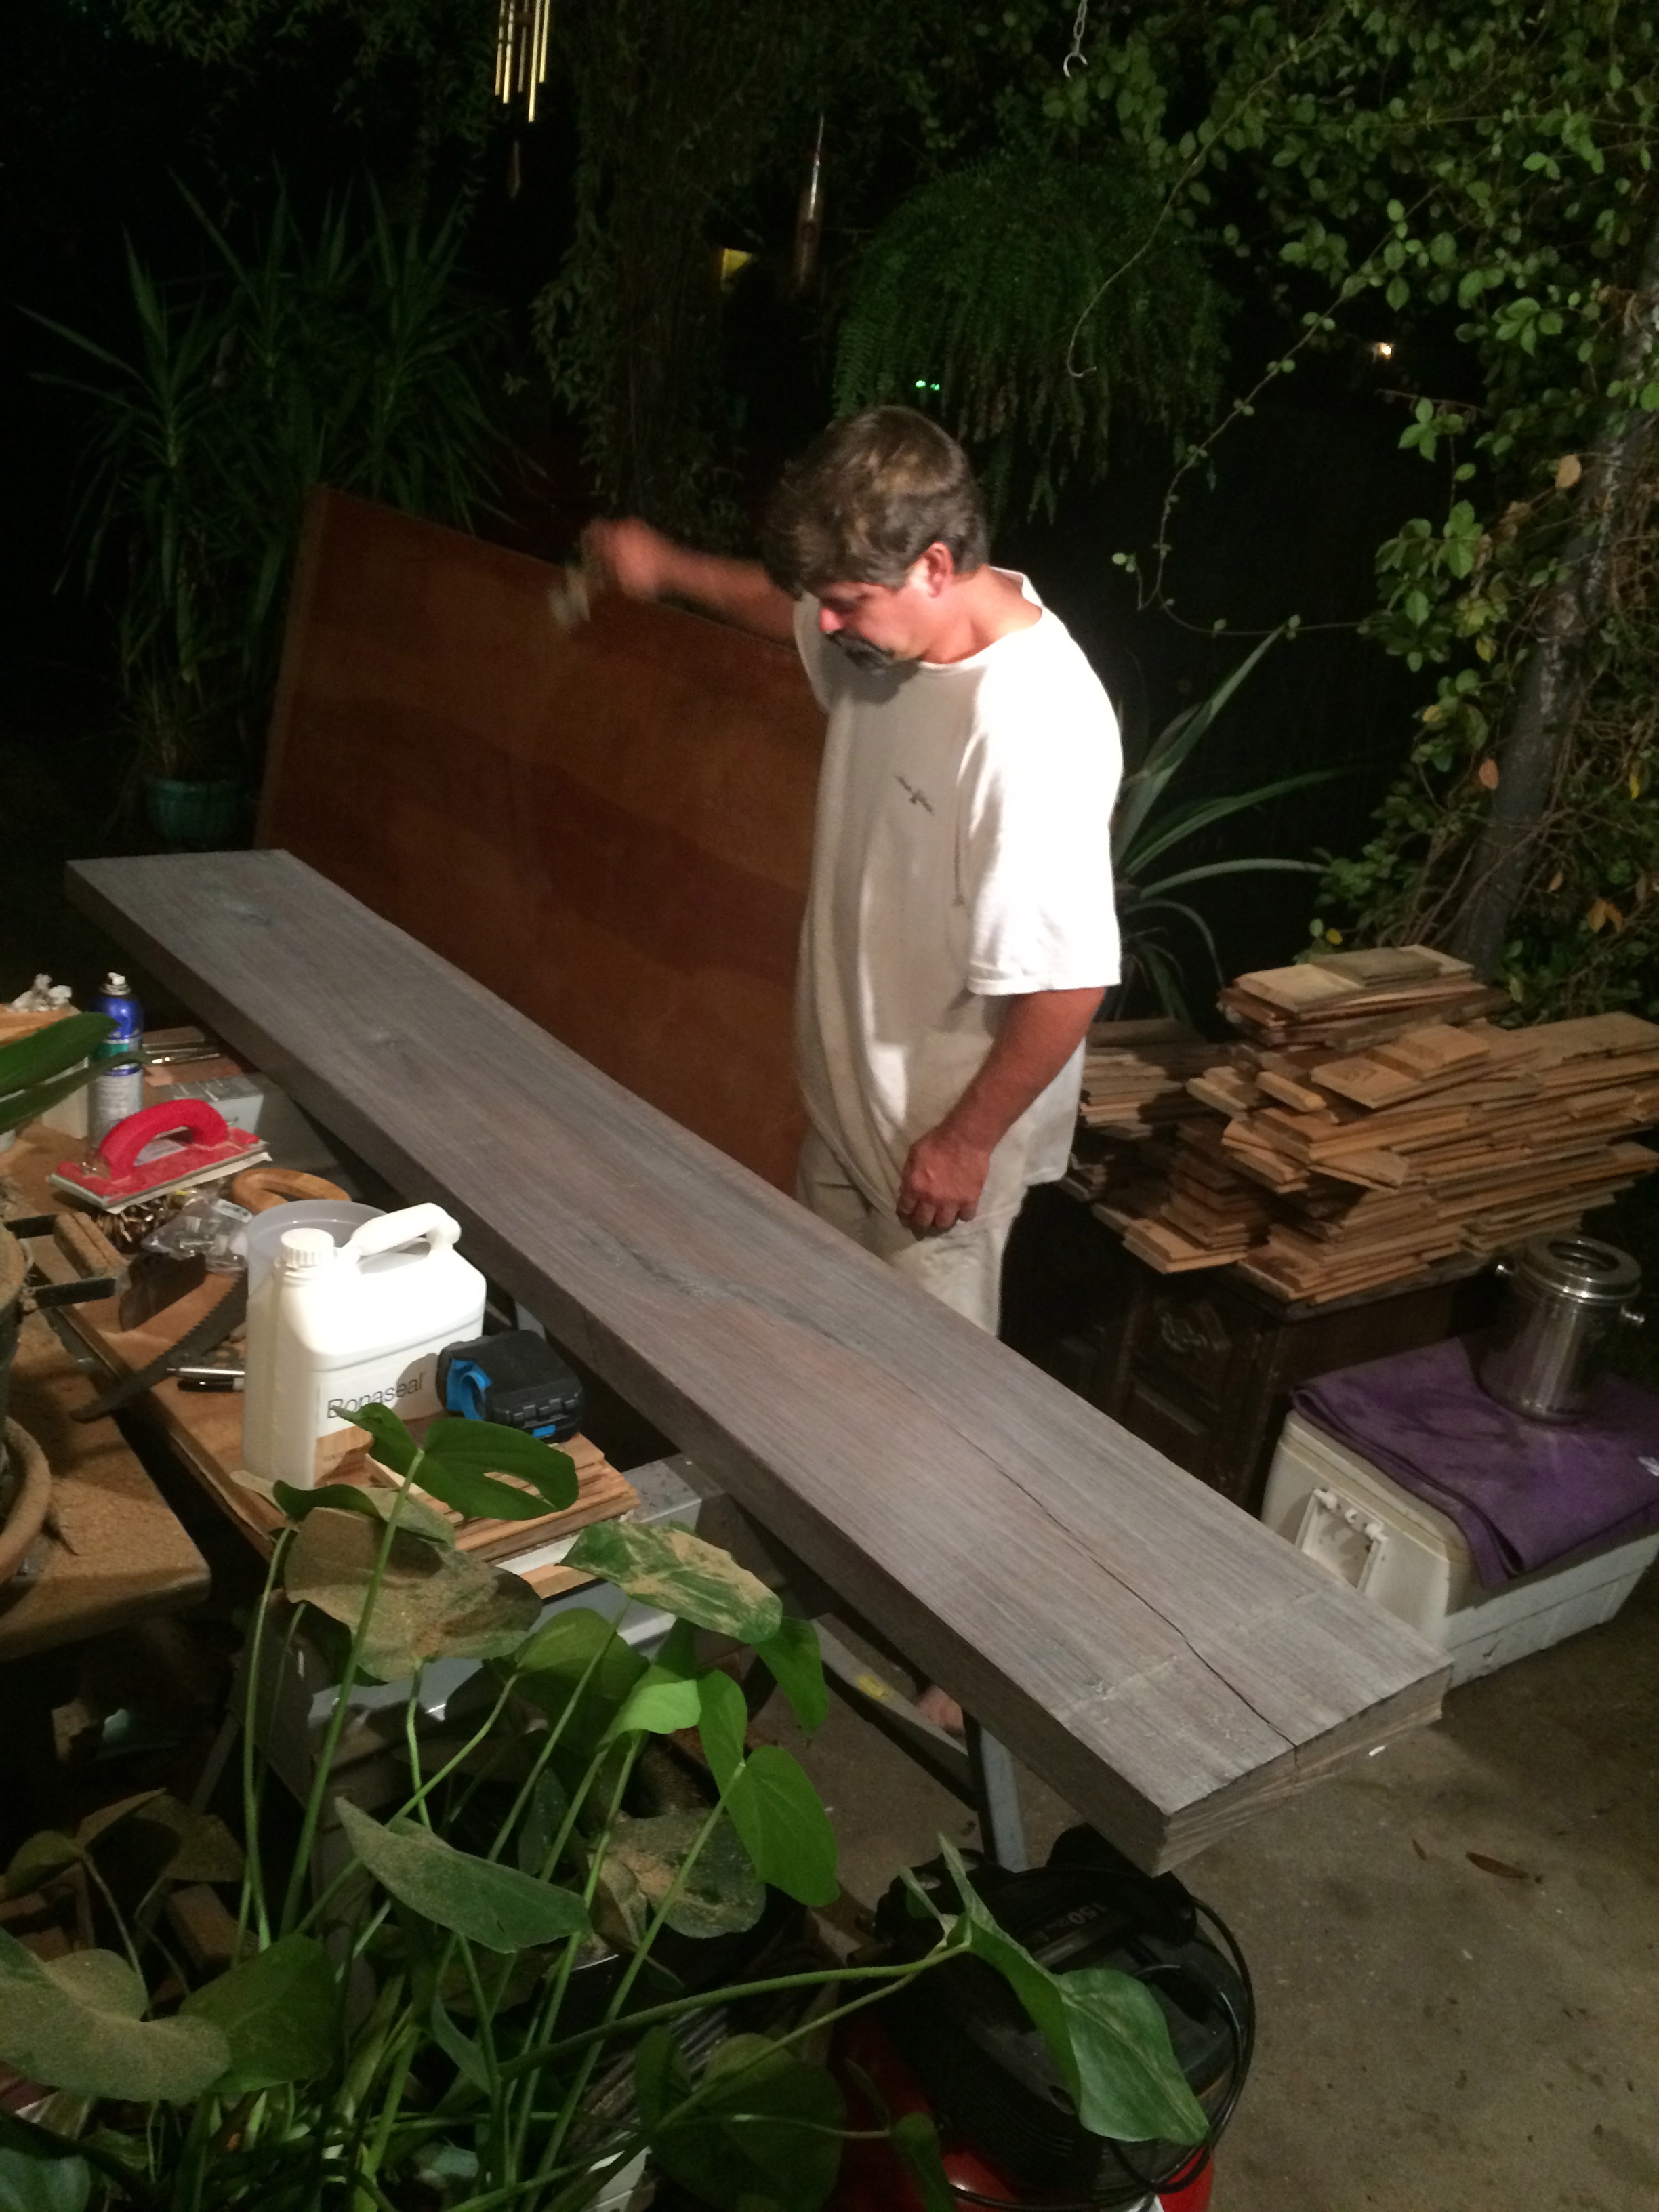
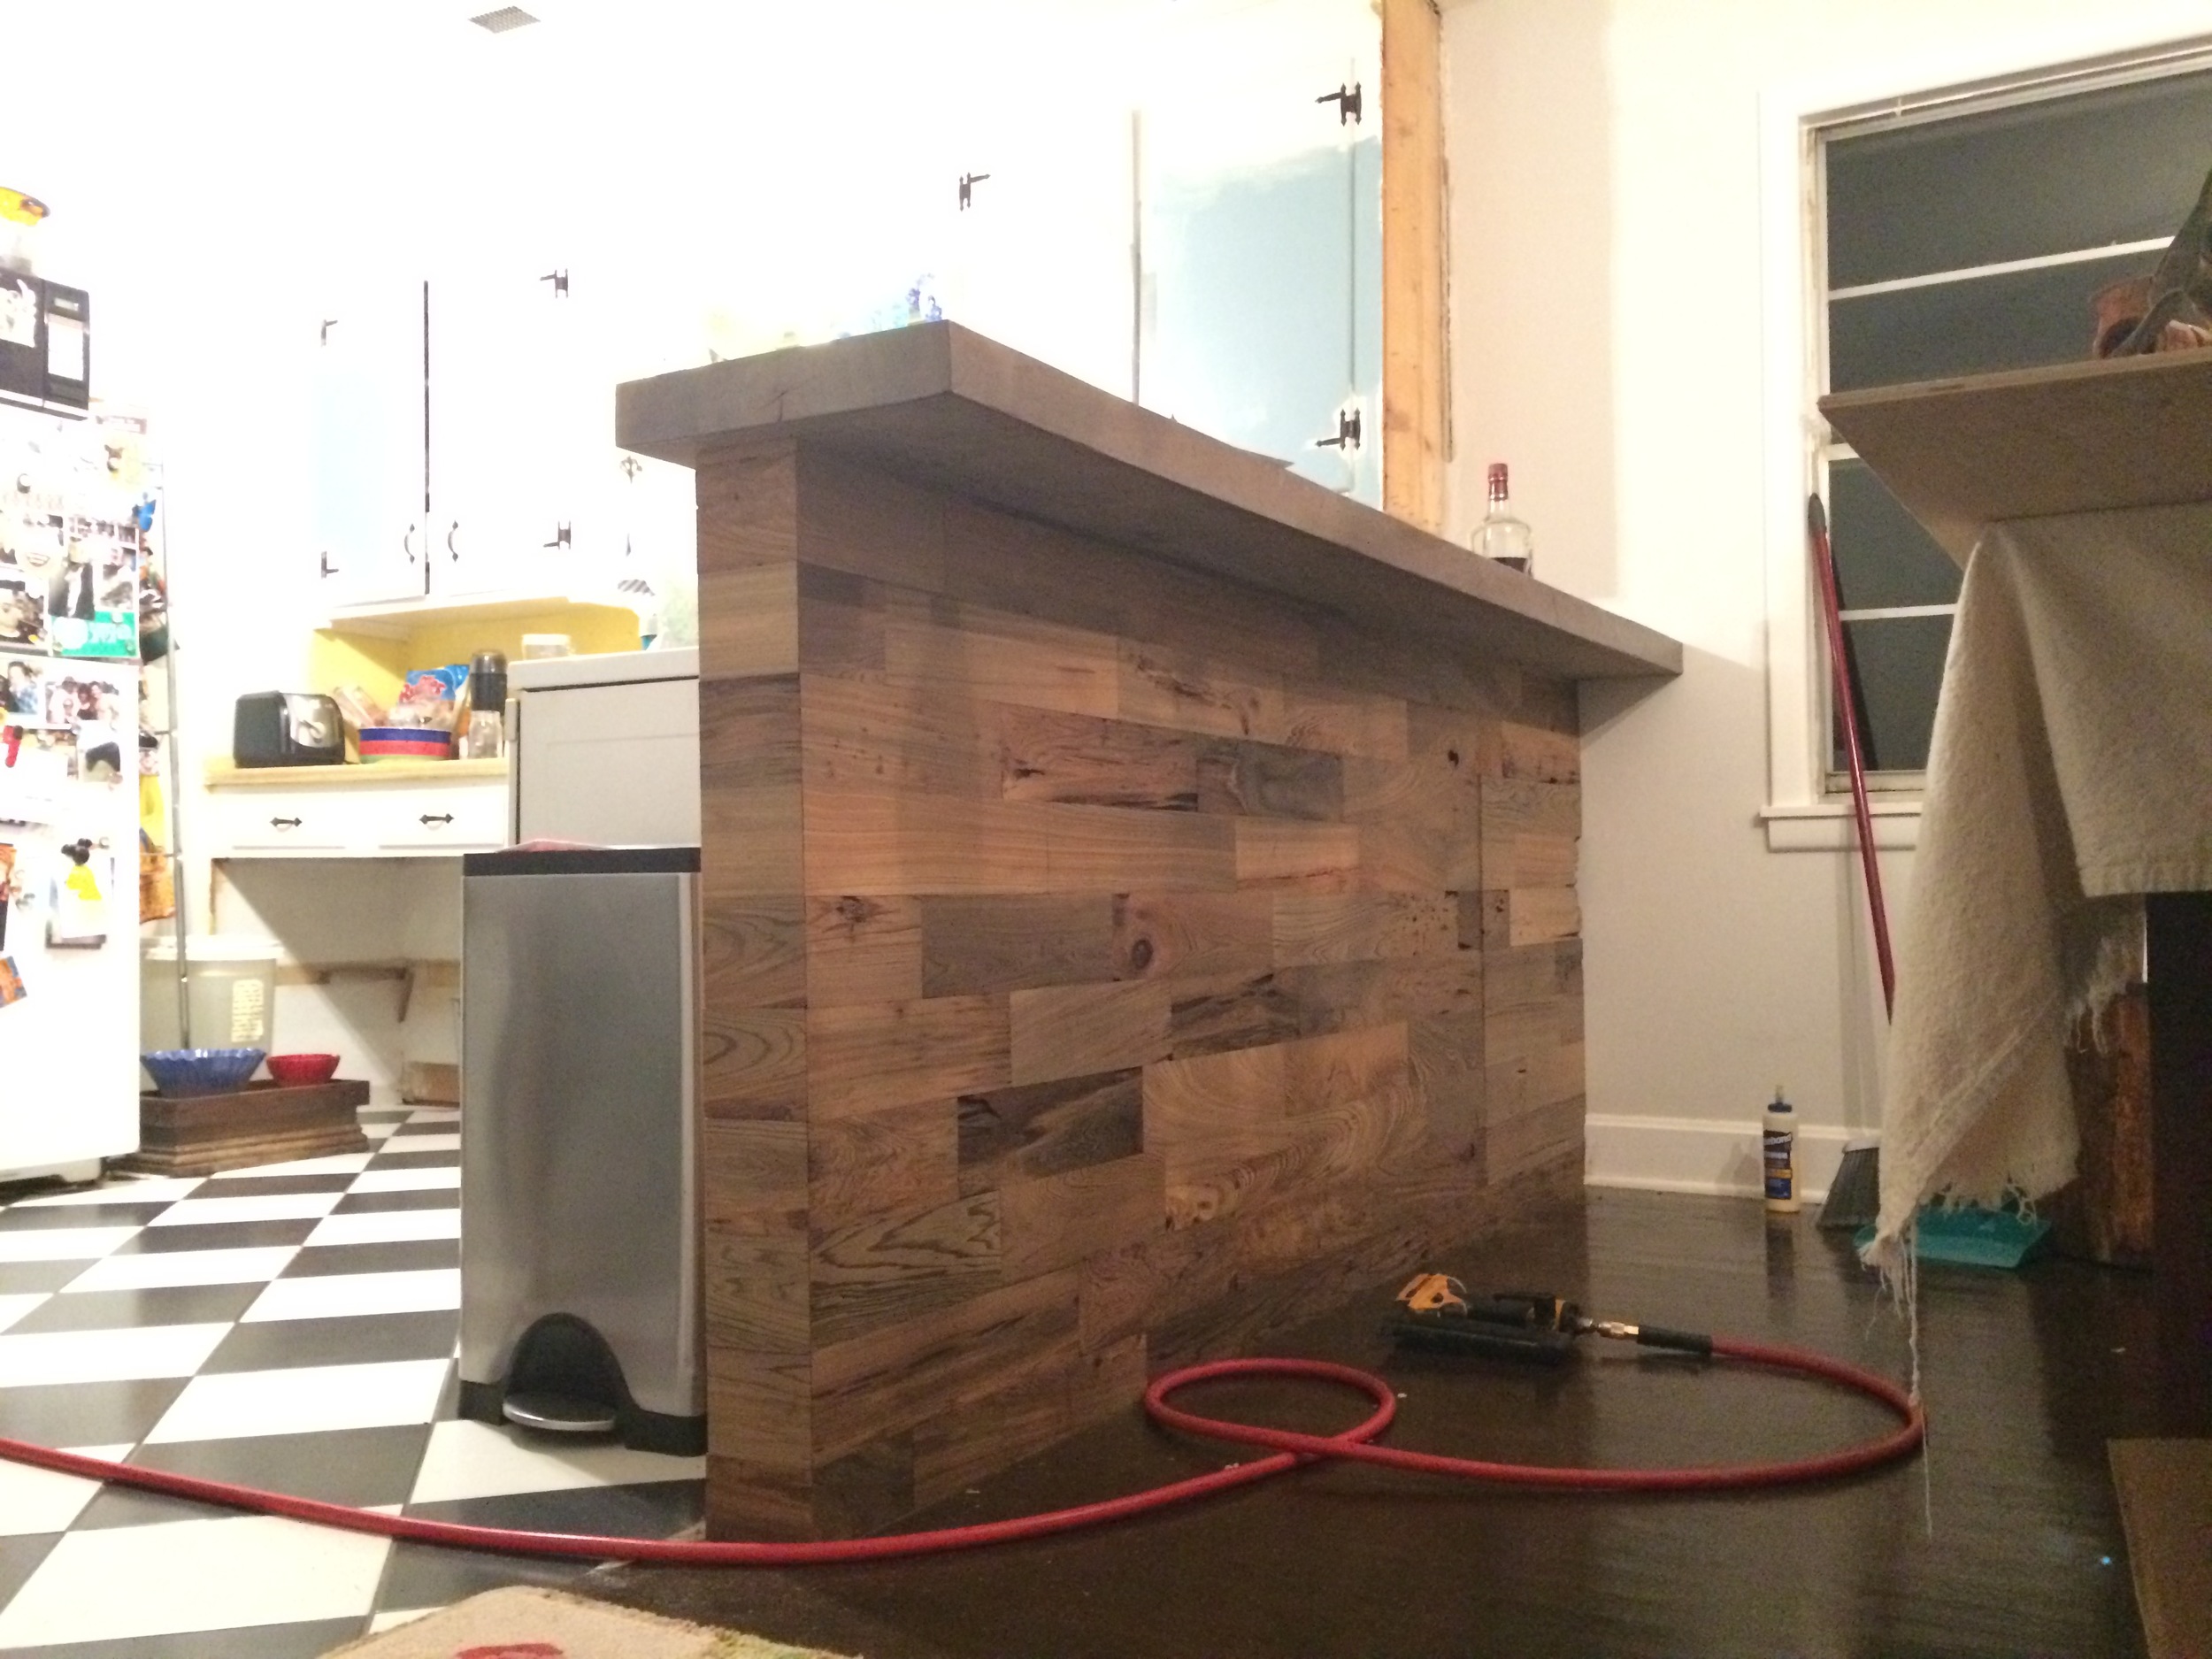
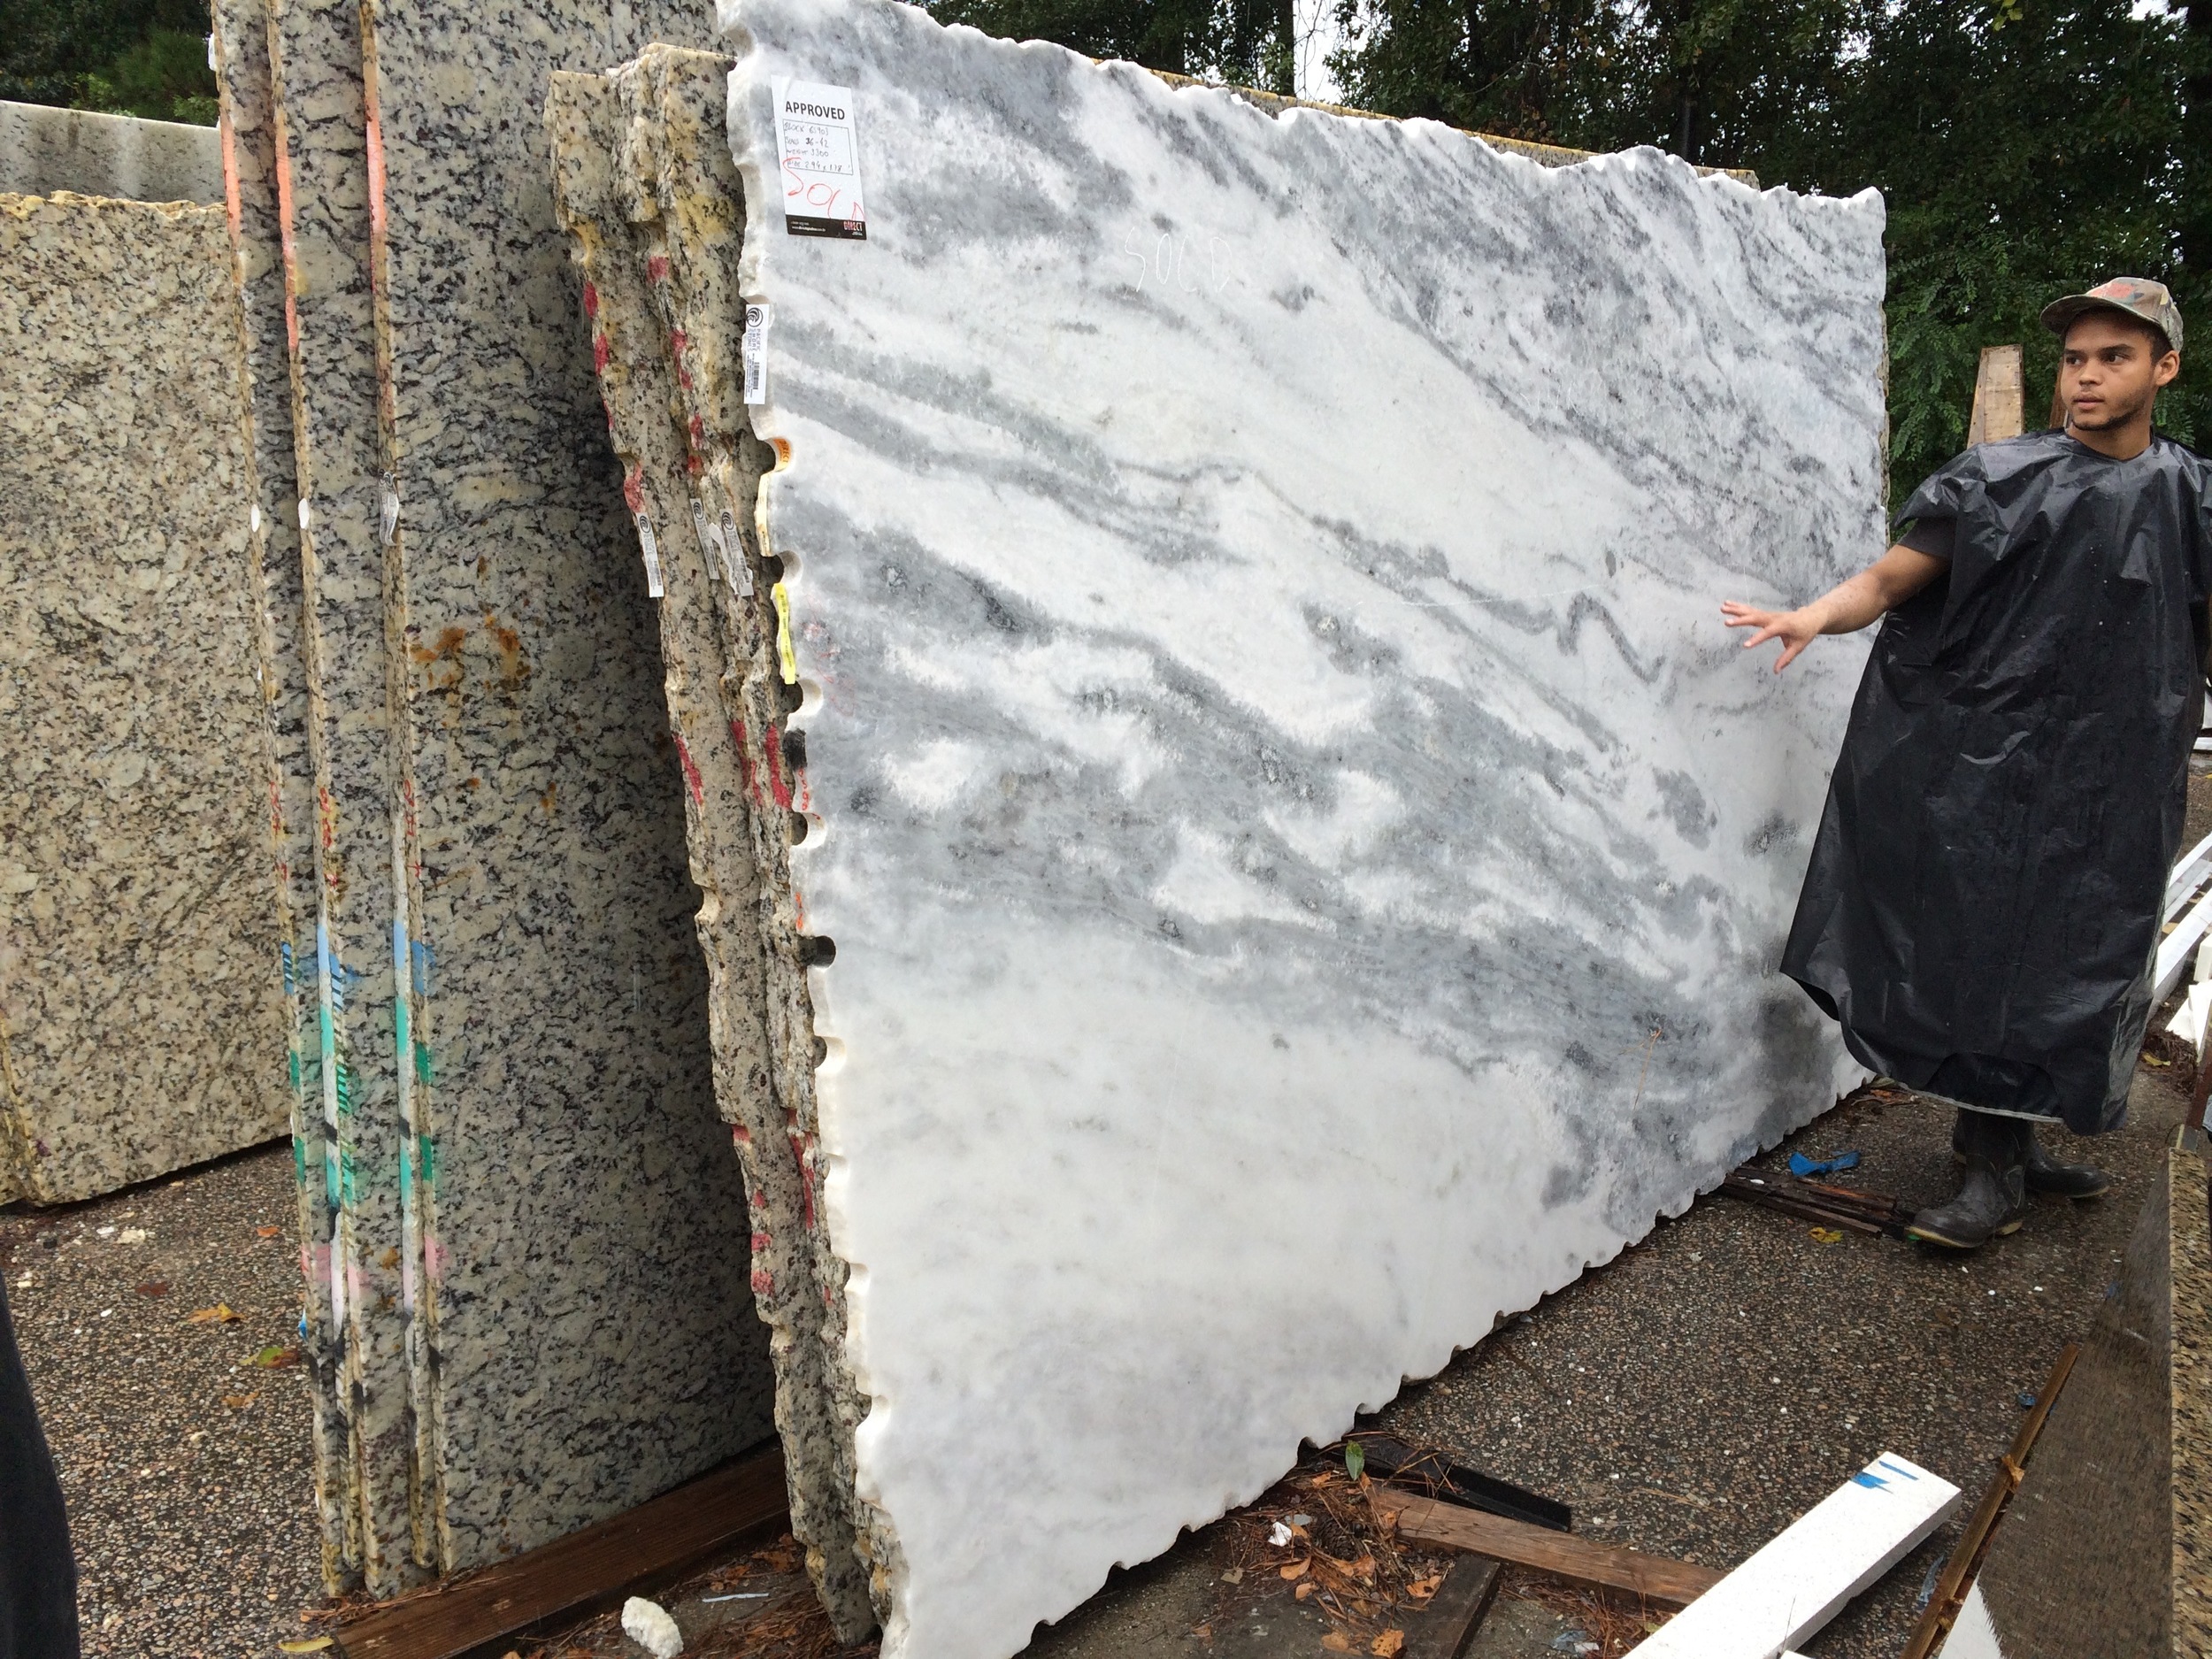
One of my favorite parts of the kitchen experience was the search for the perfect countertops. With the help of Peter Martol, we toured both a warehouse in North Charleston and also a collection at his shop in West Ashley looking for the right piece - beautiful but durable, and it had to be economical. I could have spent all day in that warehouse being the rock & mineral lover that I am. I can't even begin to describe the amount of beautiful slabs...with different colored veins running through them, from all over the world....but we knew we wanted something light in color and price was a big factor for us. We ended up finding the perfect piece (Quartz!) at the Martol shop (which meant it was also a smidge cheaper, since he buys at wholesale - and we have pieces leftover for future bathroom reno's. Bonus!).
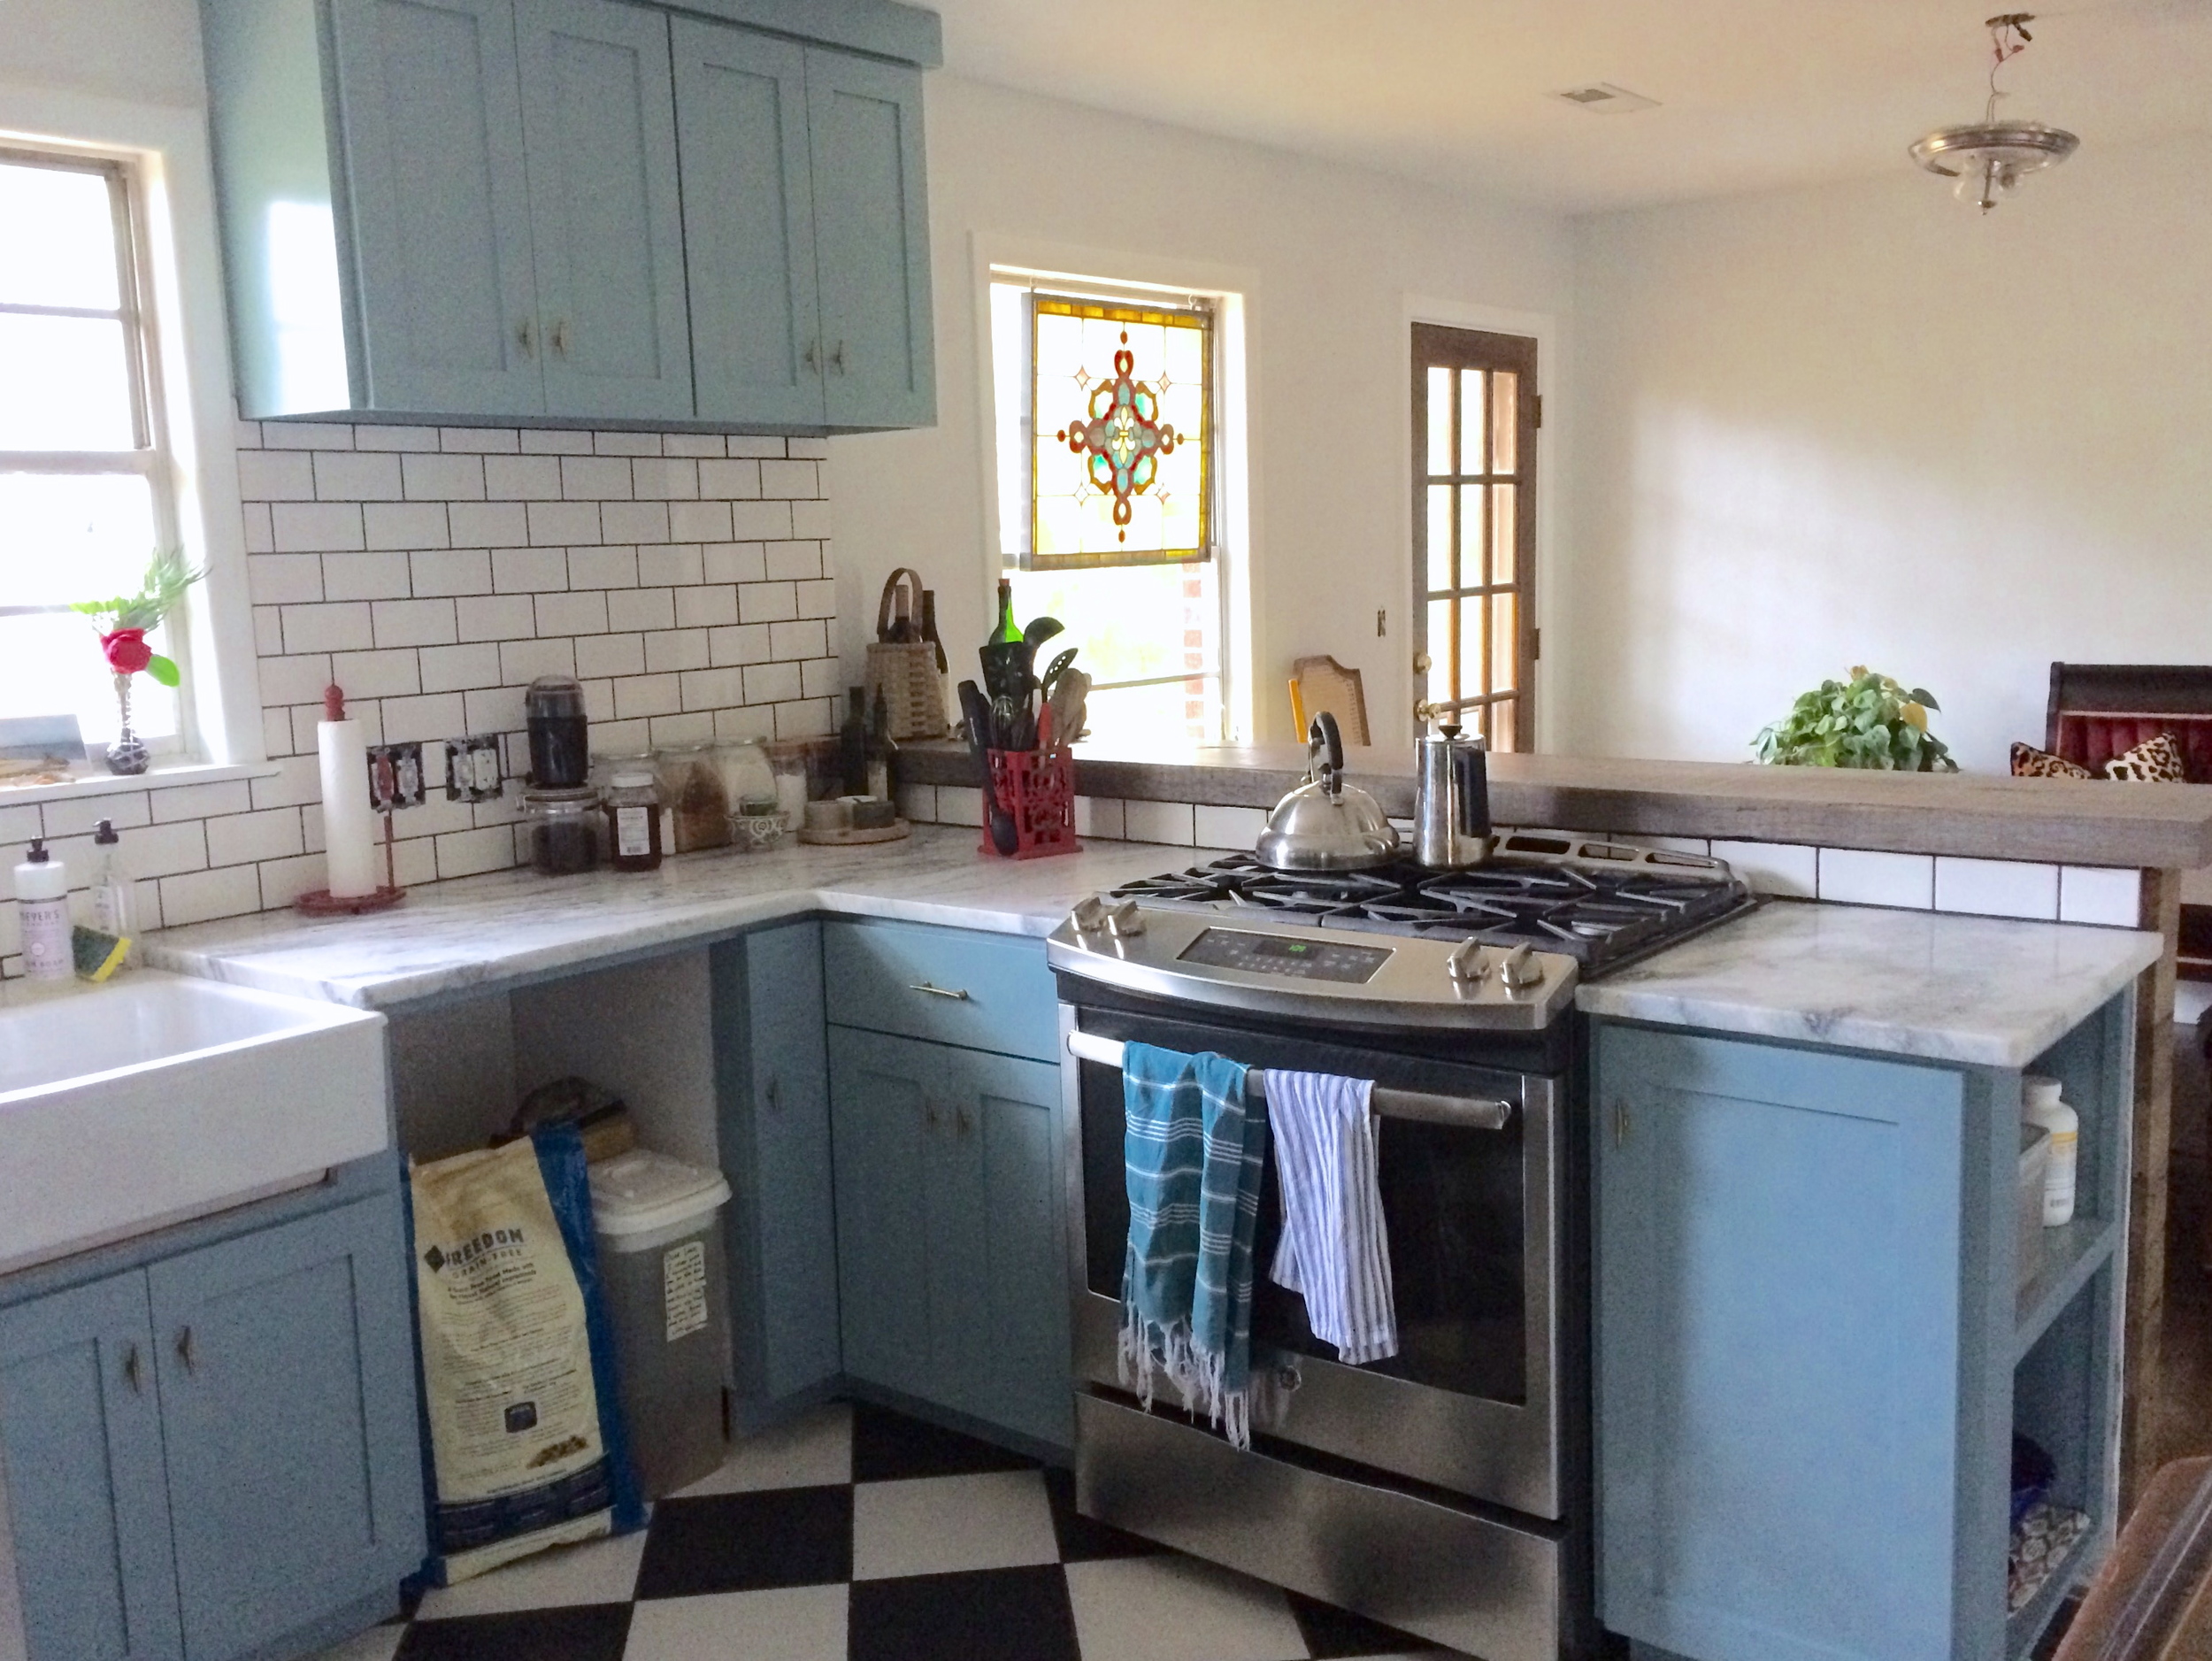
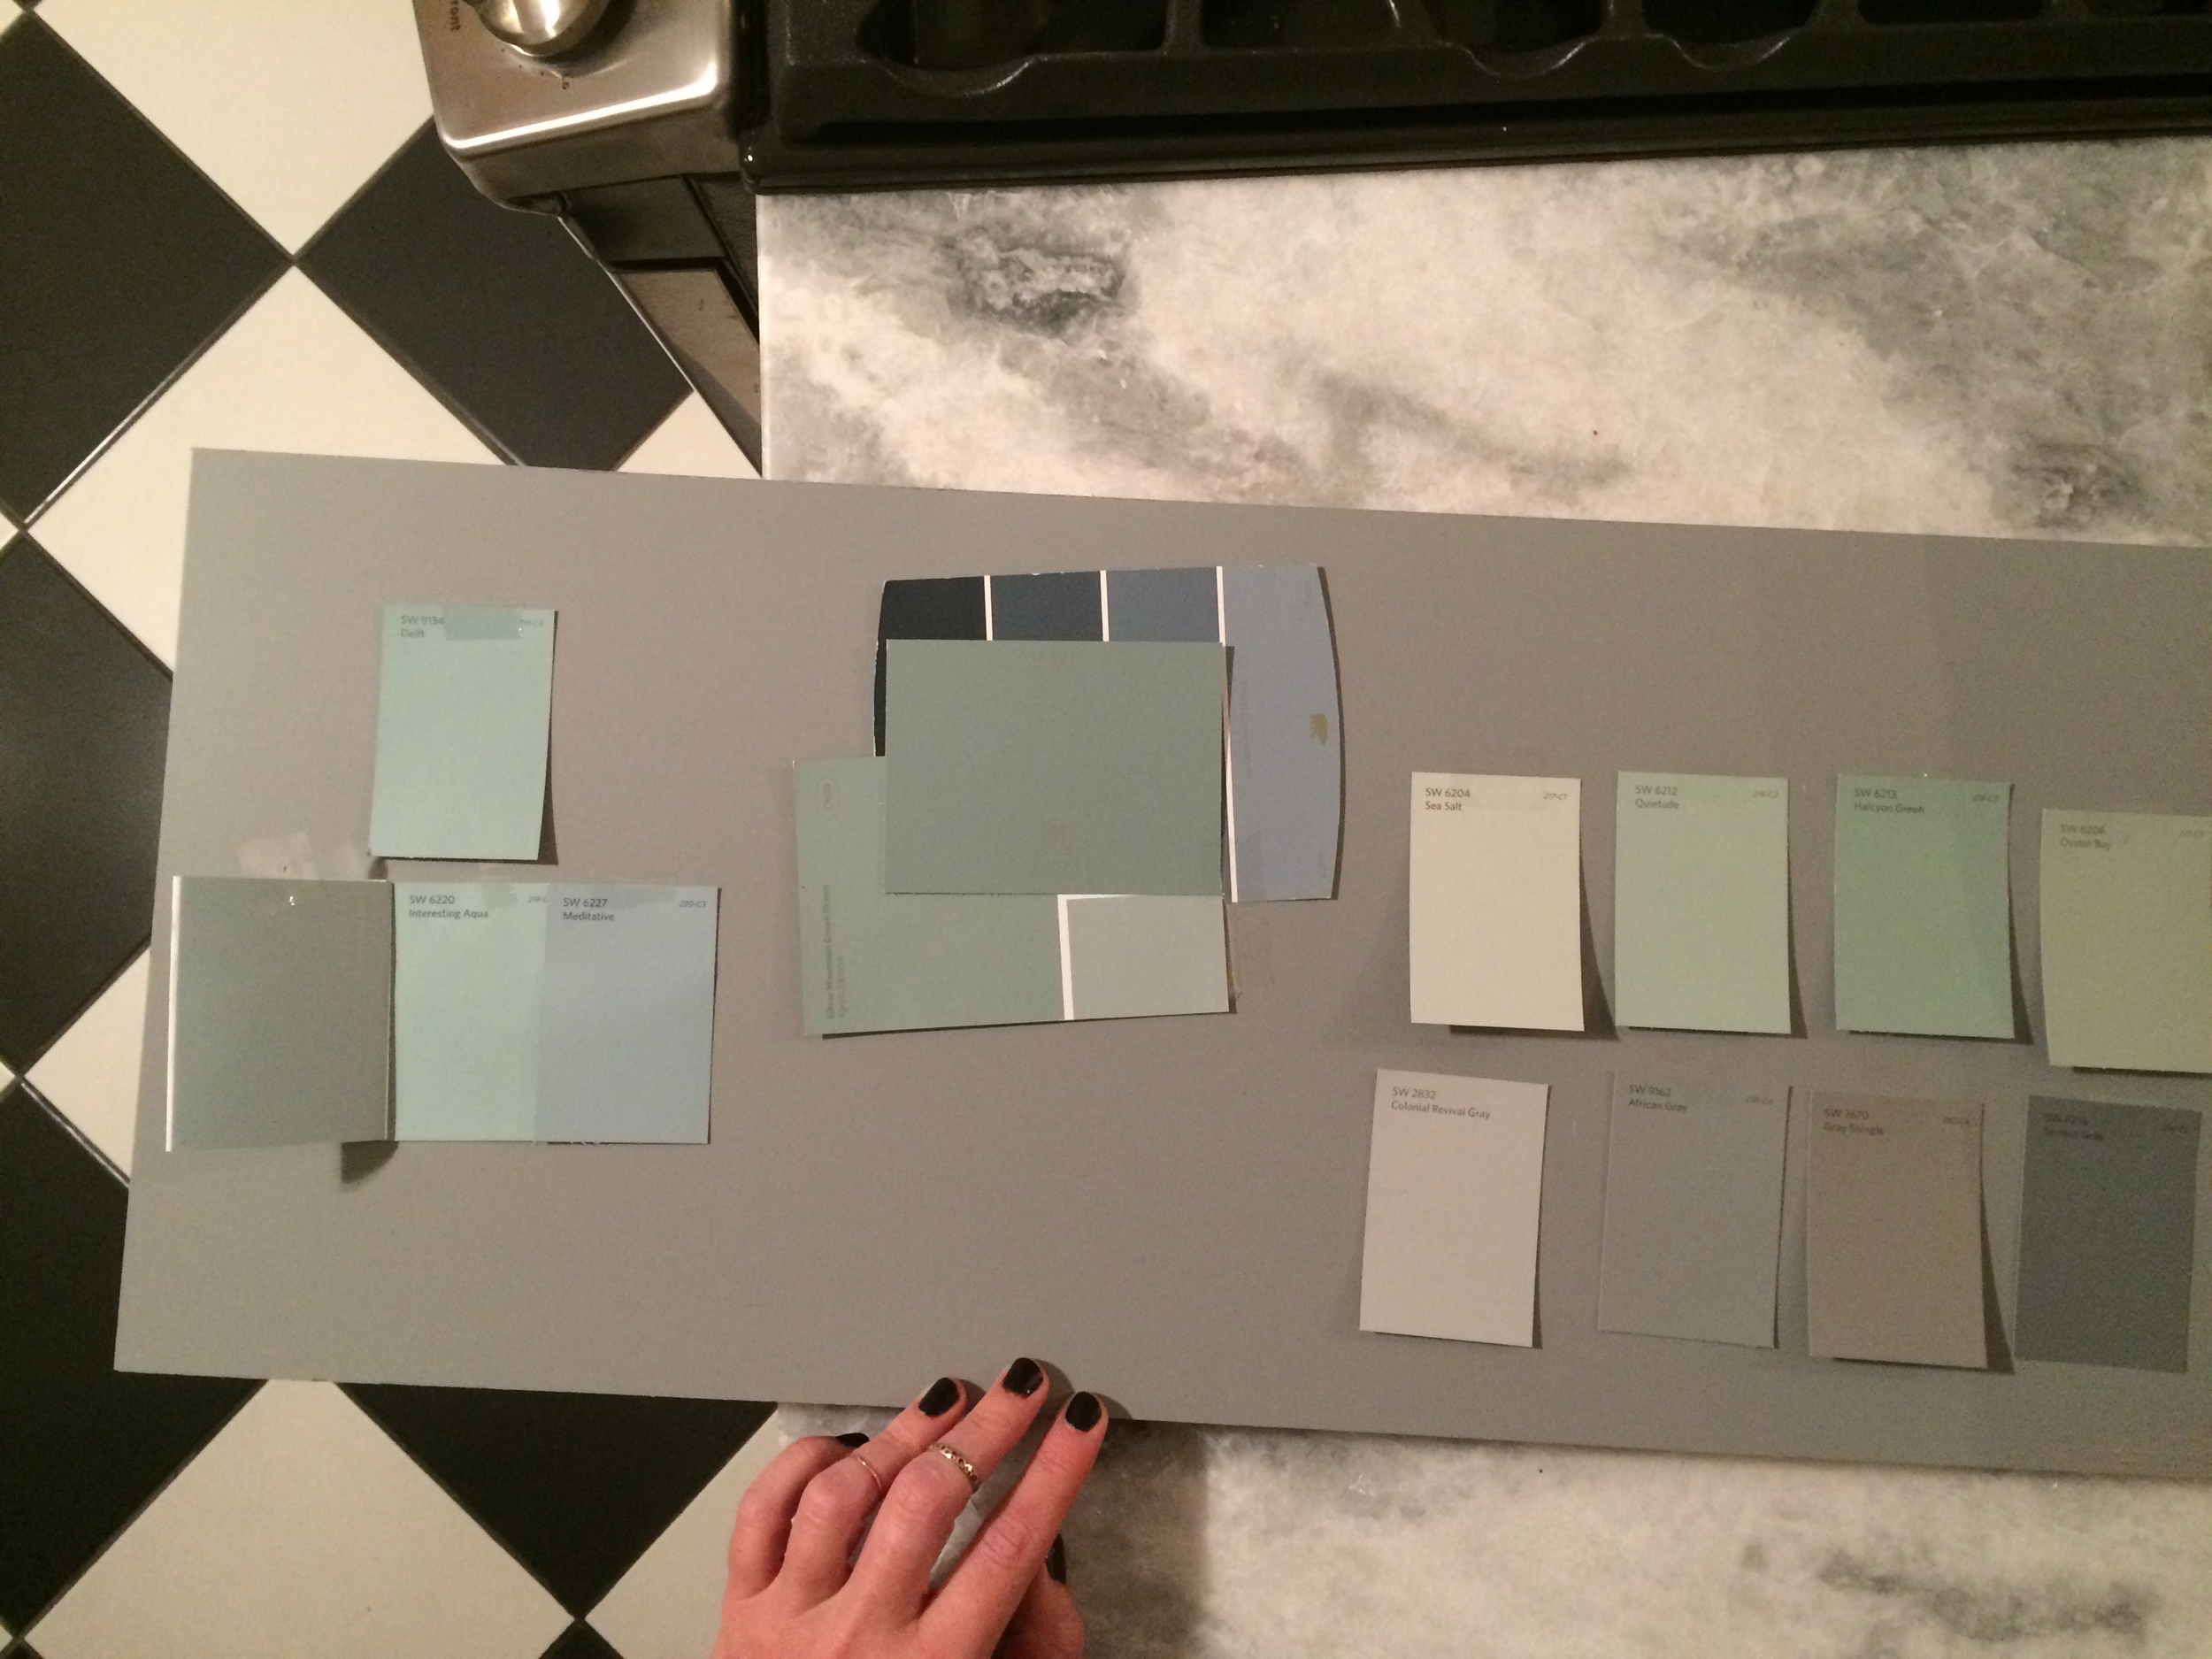
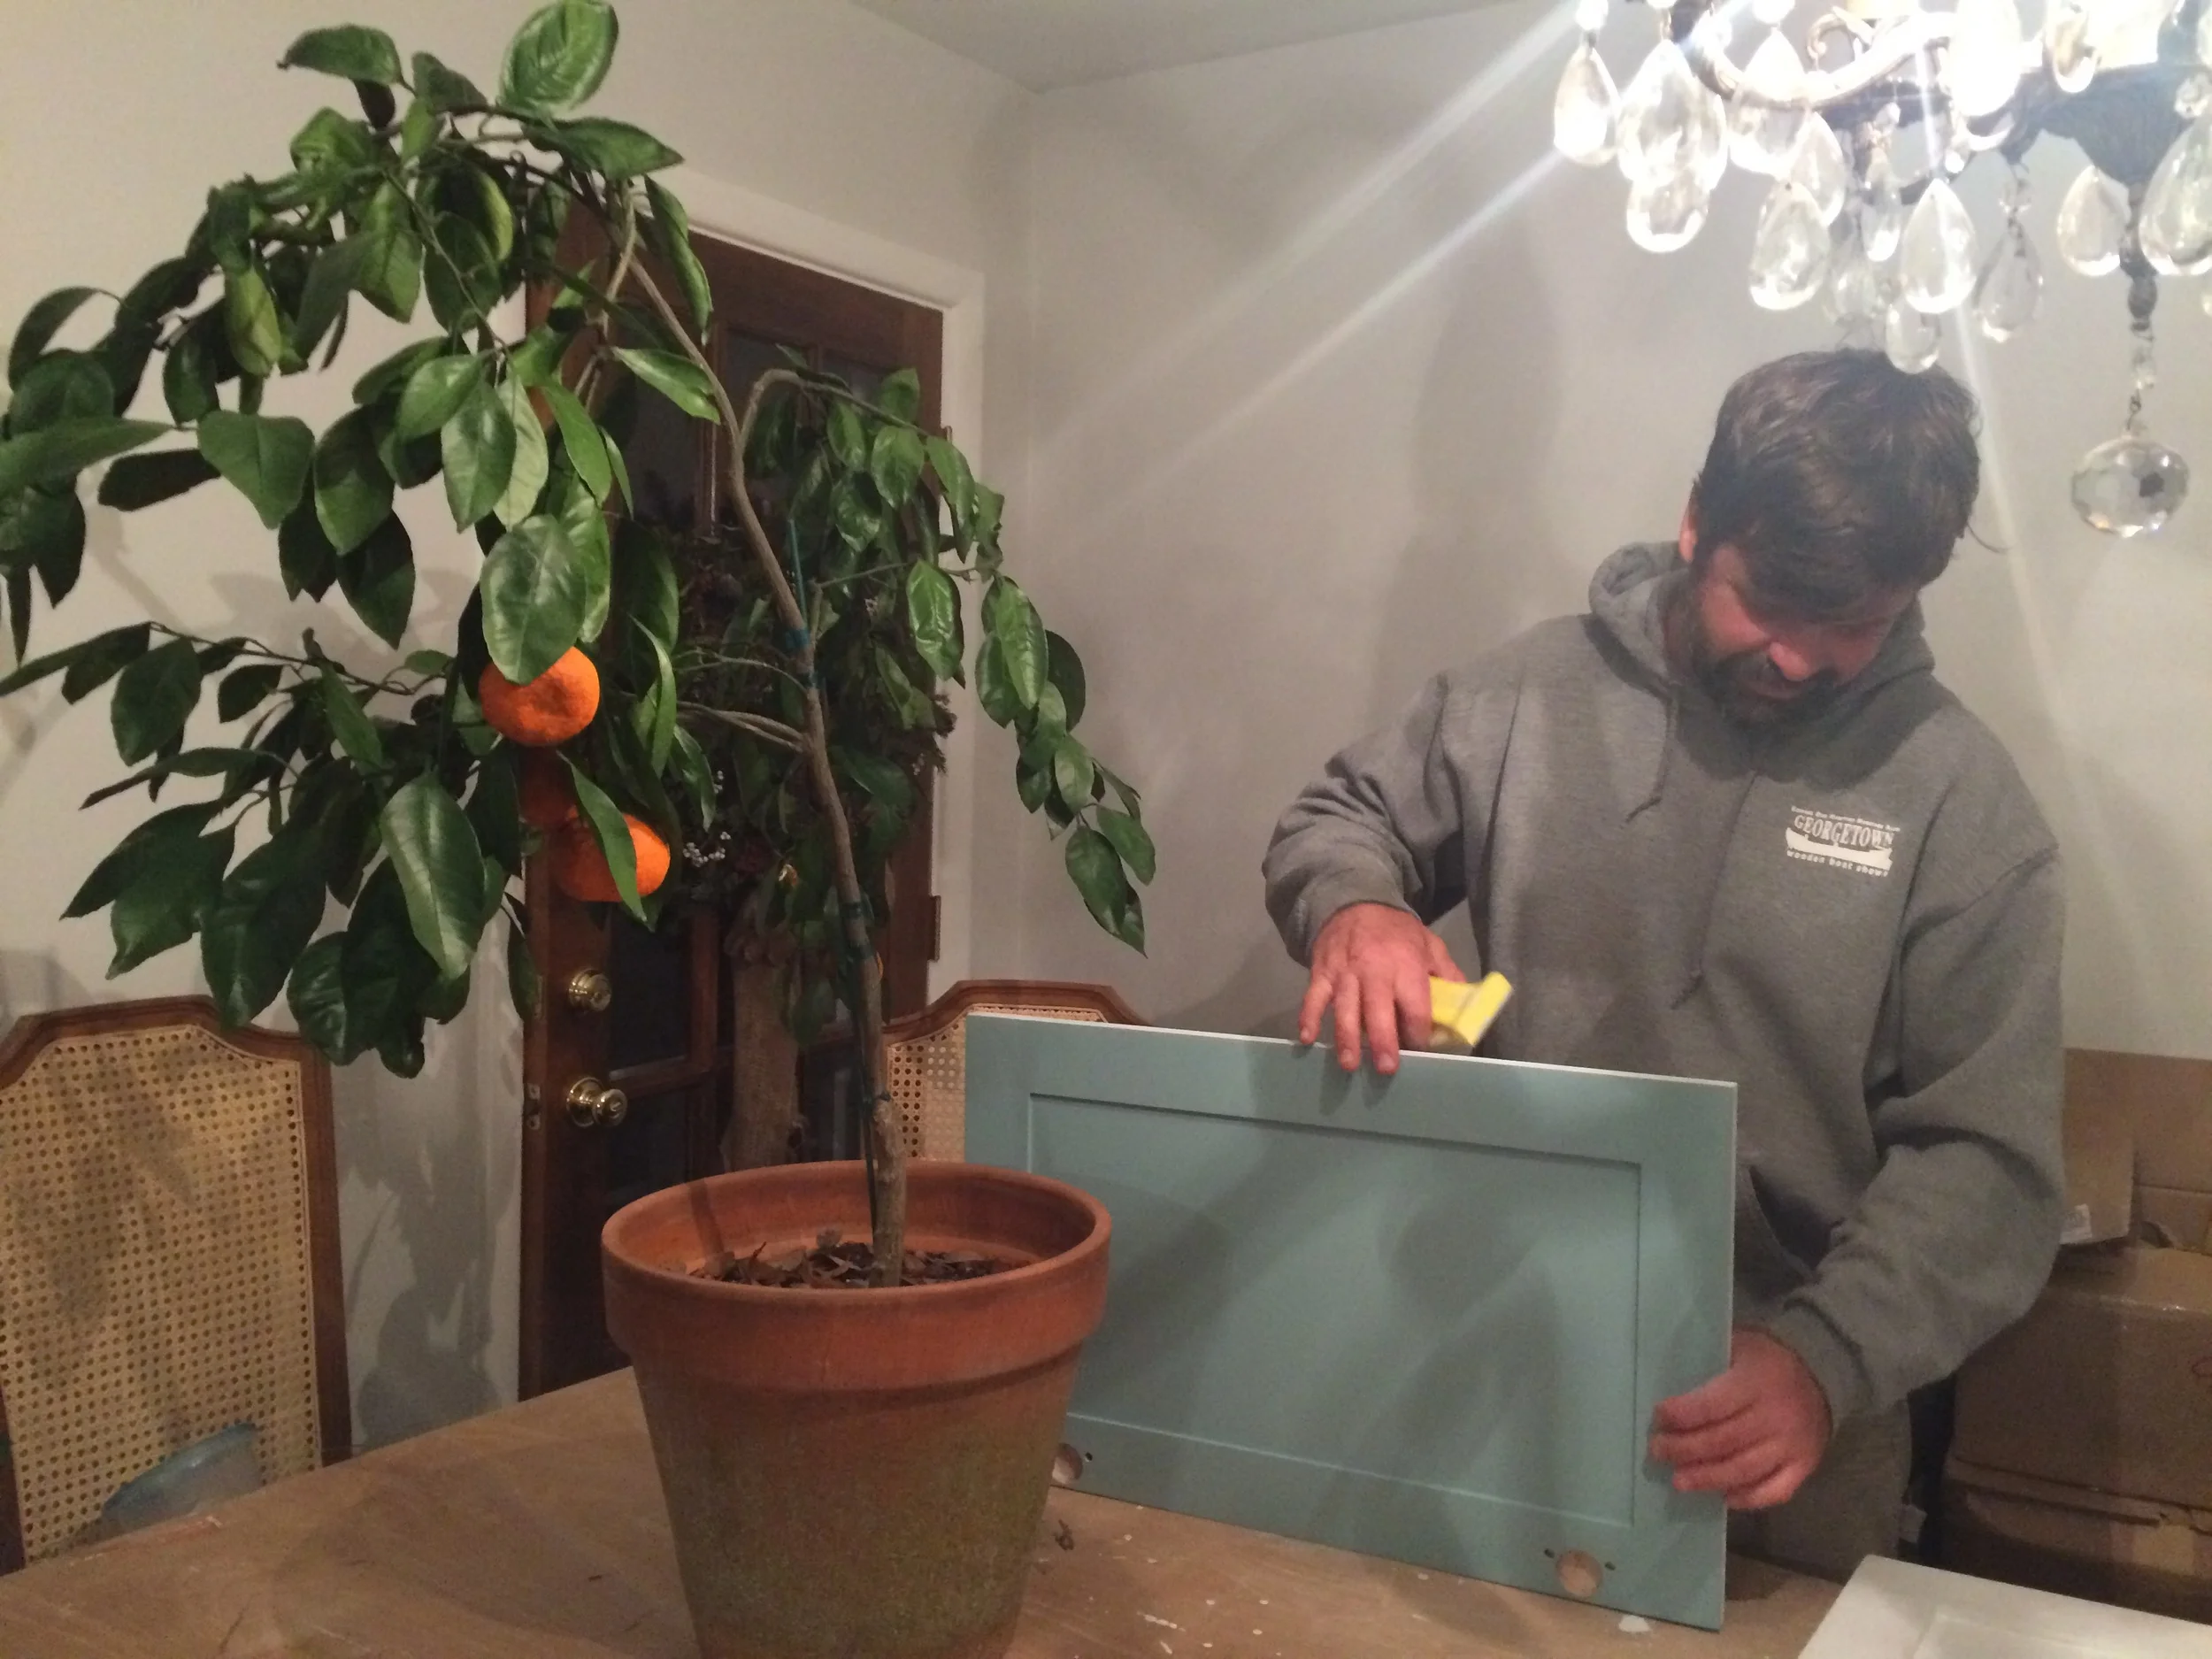
The choosing of the cabinet color was a lot more difficult than I anticipated. Many samples were purchased and tested. They all looked so different at different times of day - too blue, too green, too gray, etc.
We actually ended up going with 2! More of a green tint on the uppers, and a bluer hue on the lowers (Sherwin Williams' Interesting Aqua and Meditative Blue, to be exact). They're so similar that it's usually hard to notice but at certain times of the day they reveal themselves as different colors and I love it.
For the hardware, I knew I wanted brass, so the search began. I ended up finding some that fit the bill at Anthropologie and snatched it up on sale right before Christmas.
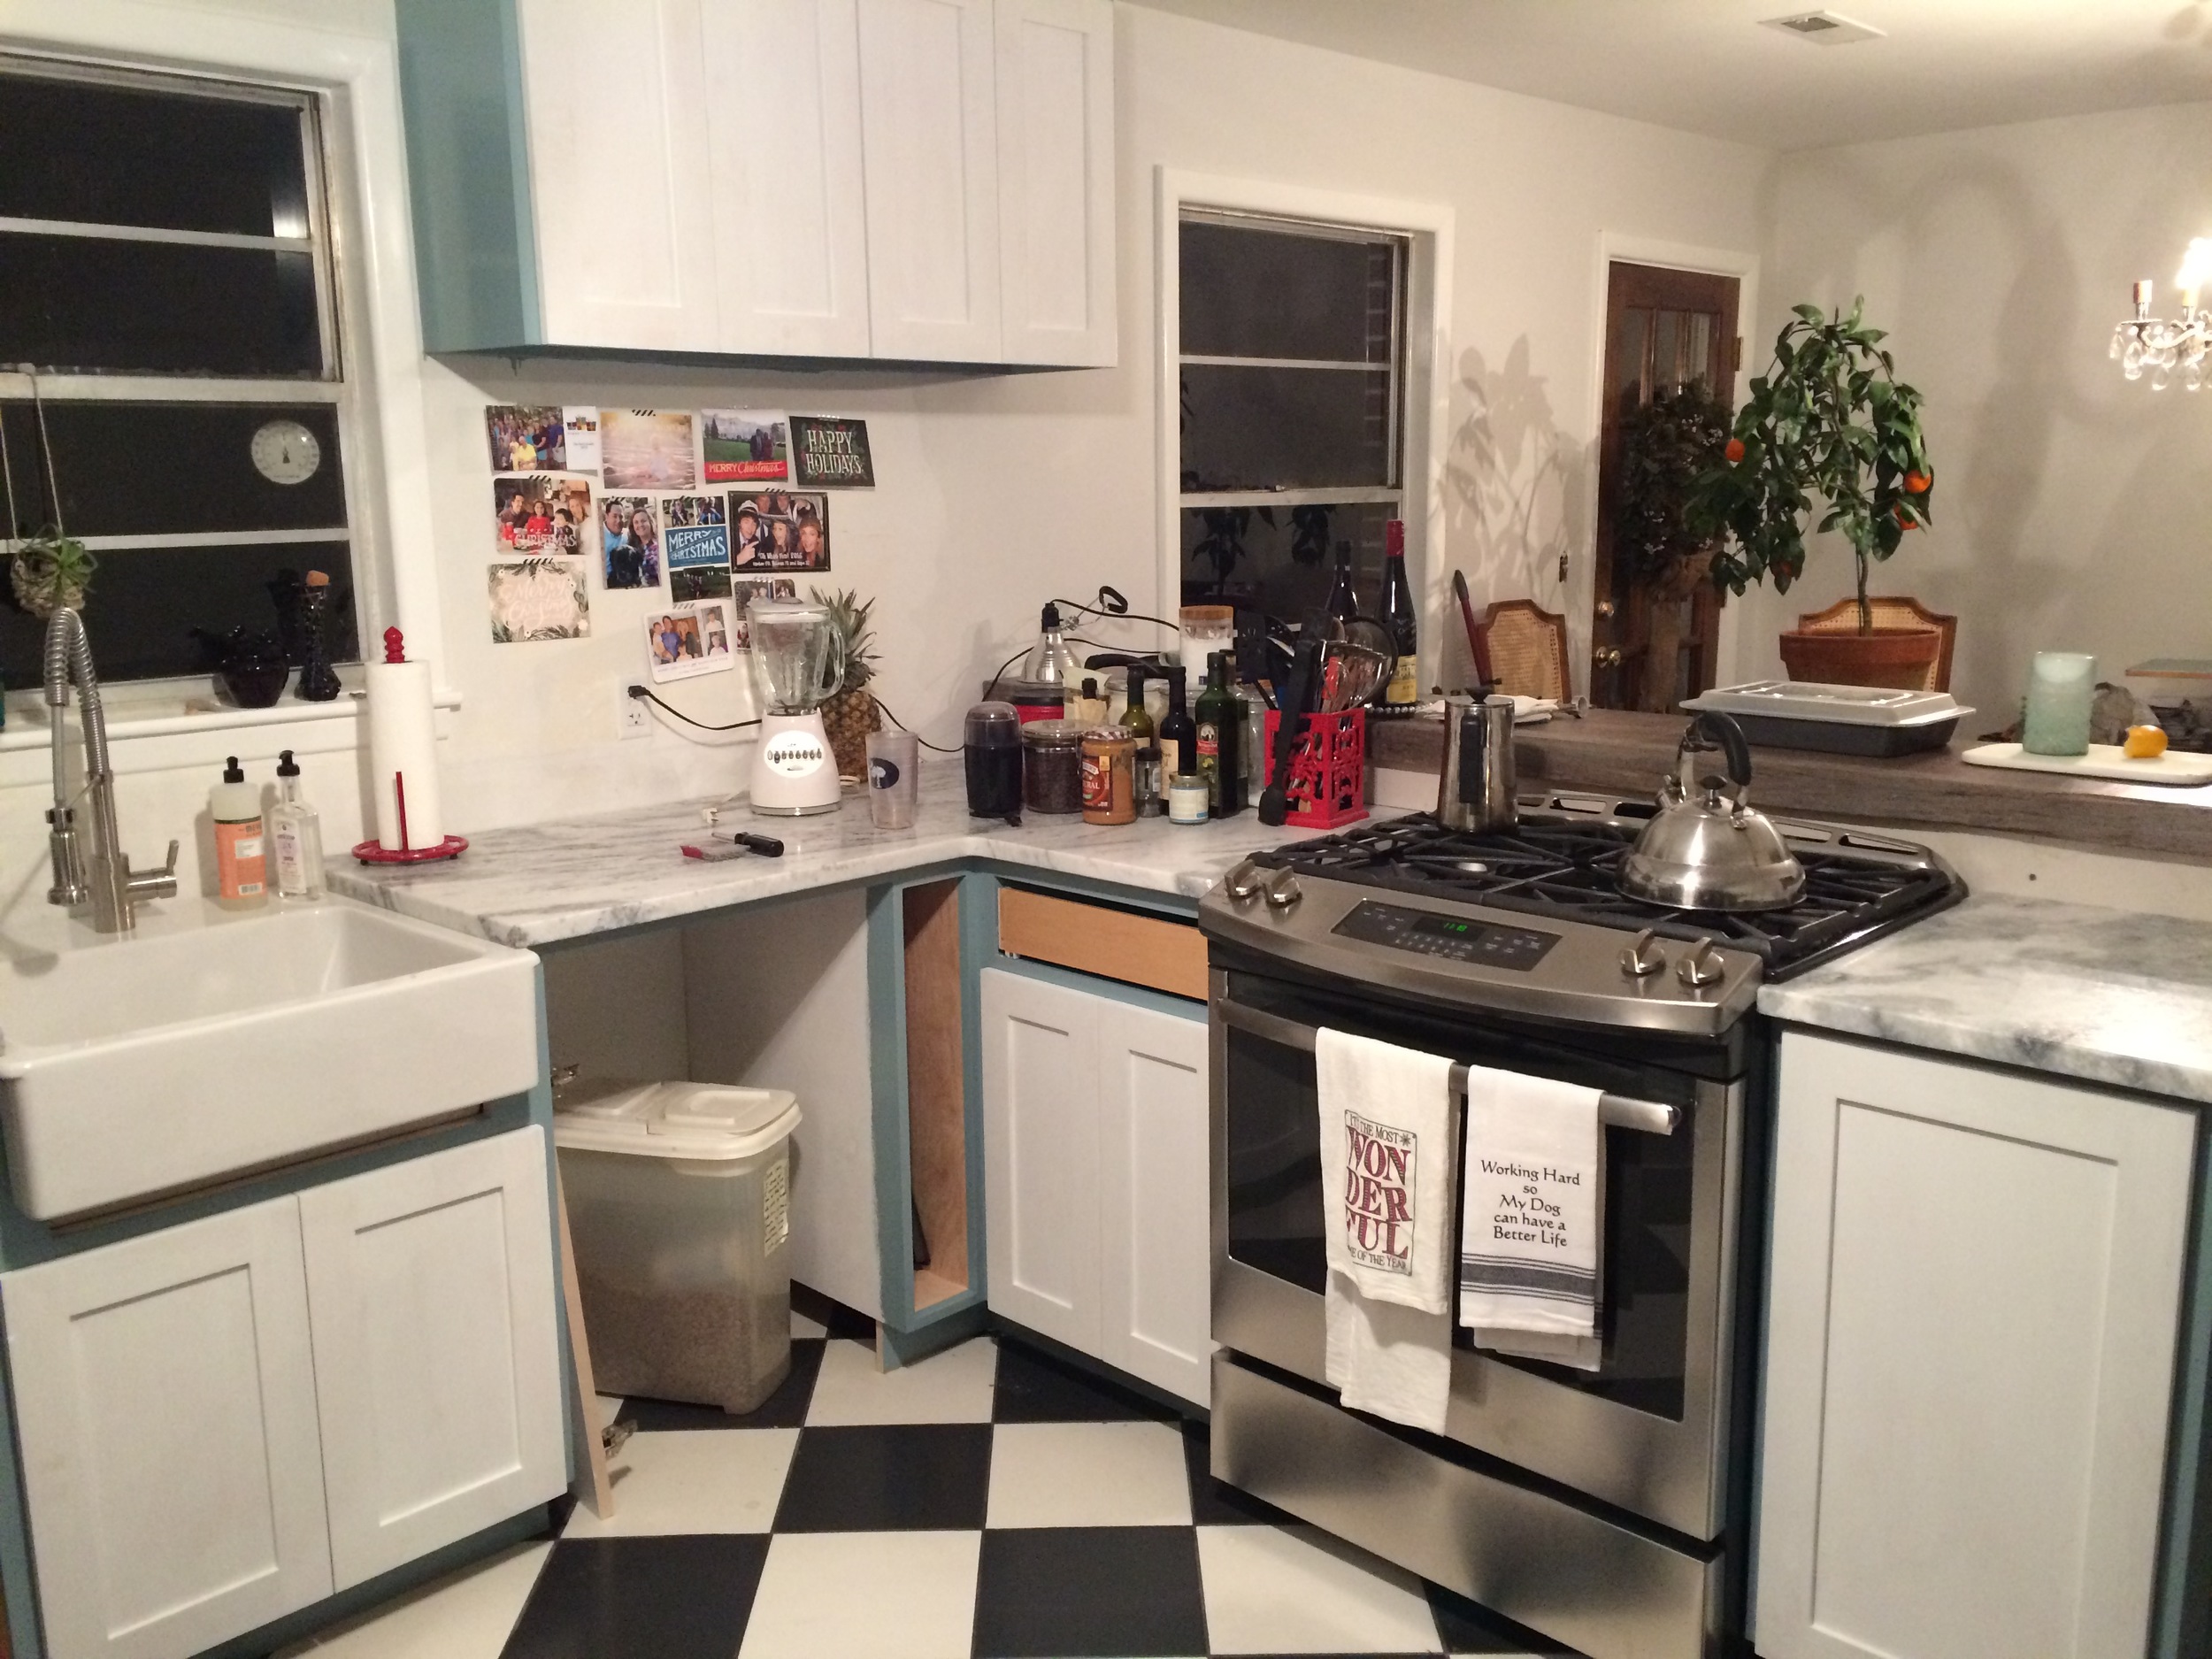

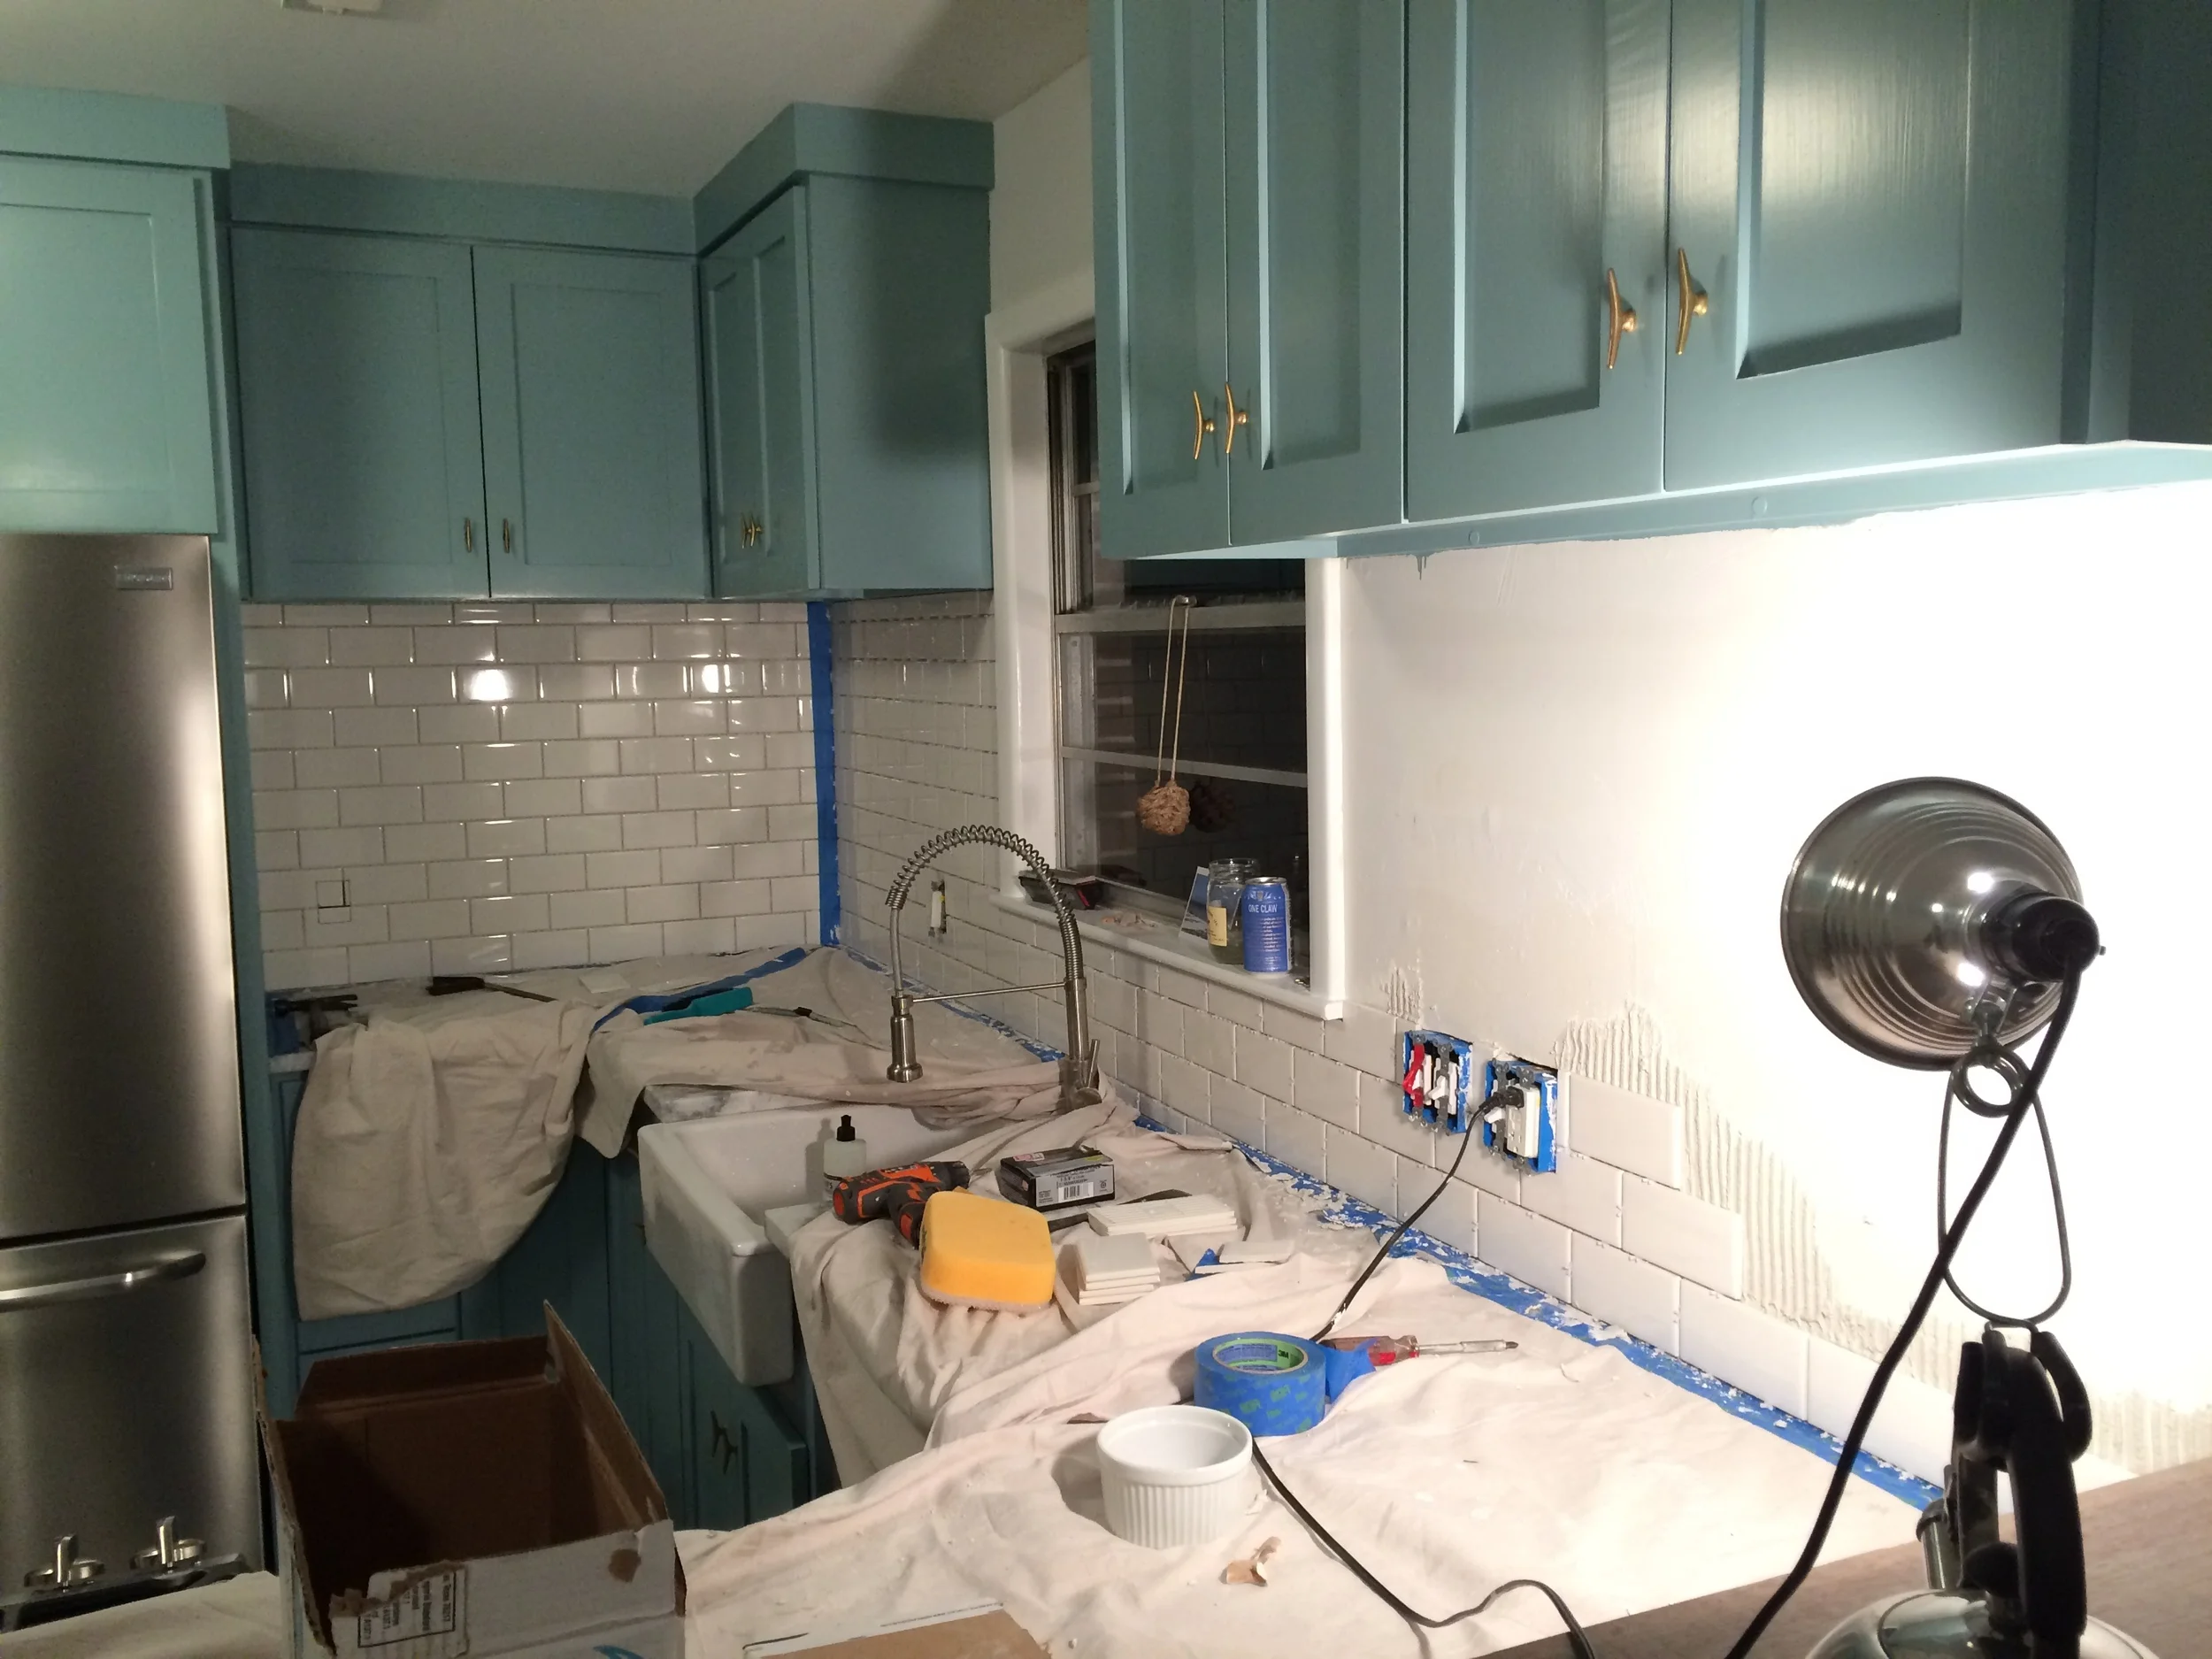
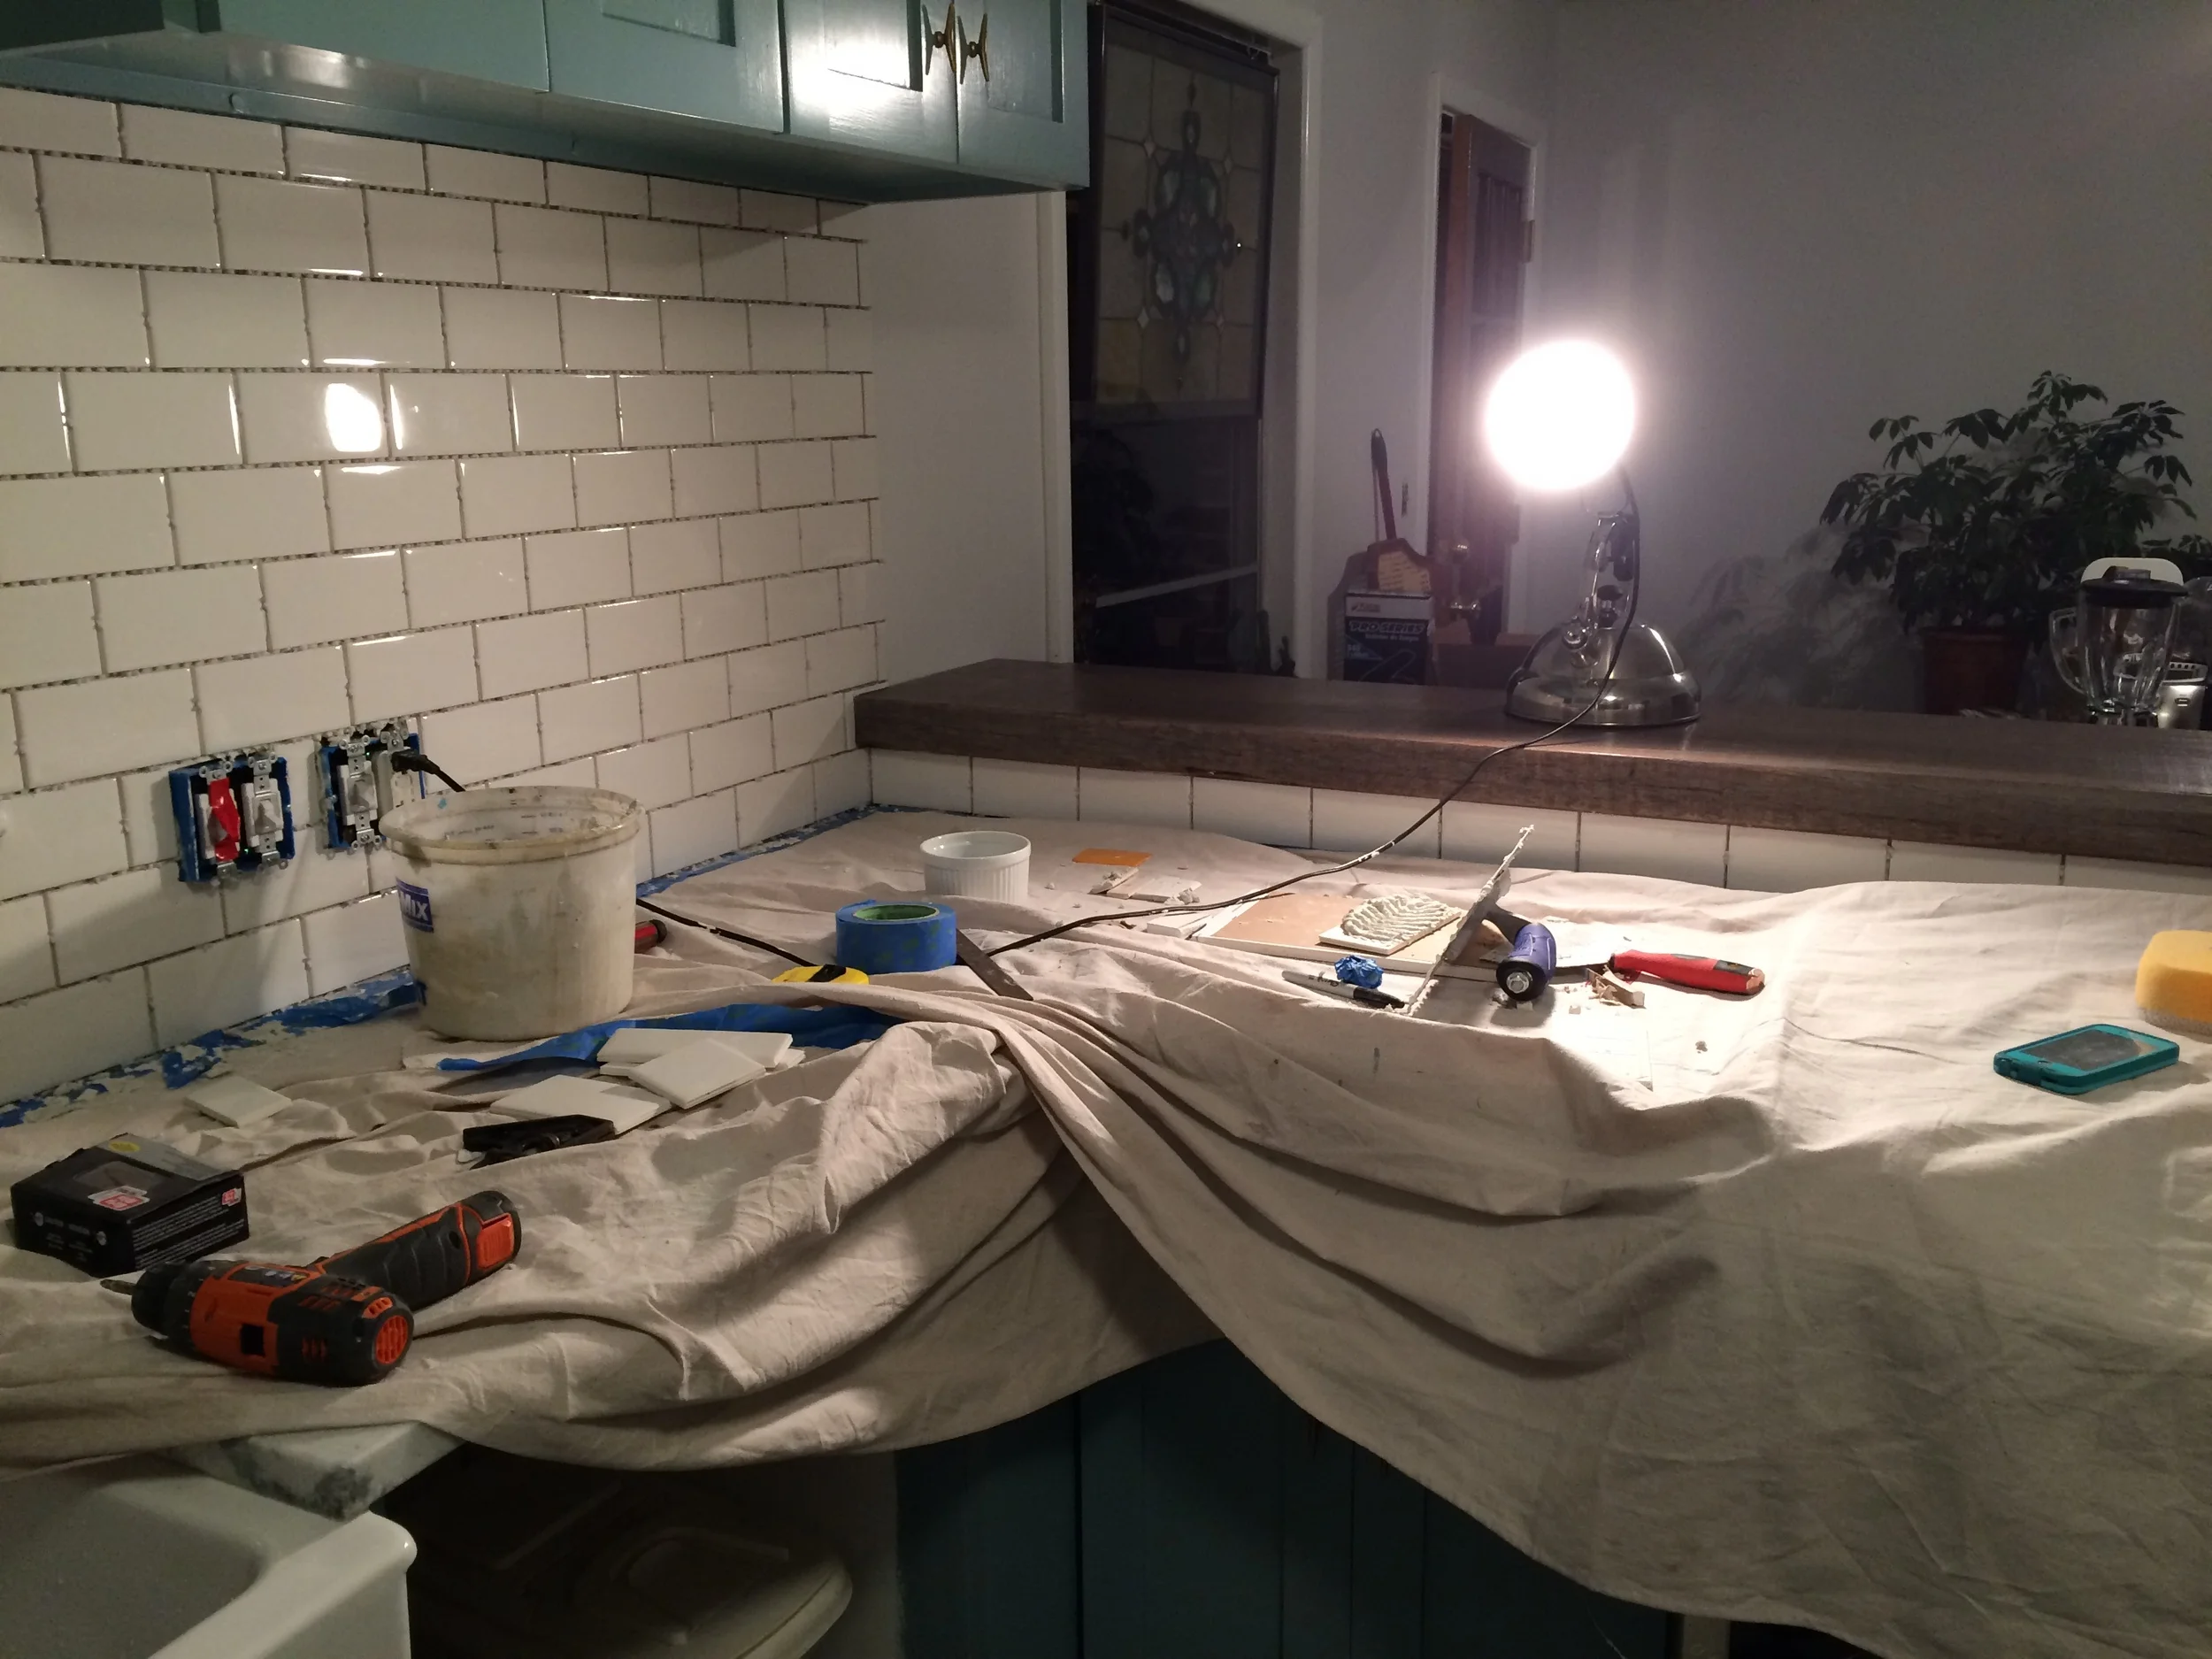
THE TILE. This was a pretty easy decision: white subway tile with black grout. Subway tile is cheap (total cost ~$80) and we had the black grout leftover from tiling the floor. The unforeseen hard part was finding a subway tile that also was available with the right bullnose because we weren't tiling "wall to wall". Learning things here, people, learning things. We ended up finding a bullnose that was available in a 6"x 6" tile that matched the 6" x 3" tile, SO, ted had to cut ALL of the bullnose pieces down to size (luckily, we also had a tile cutting saw from doing the floor).


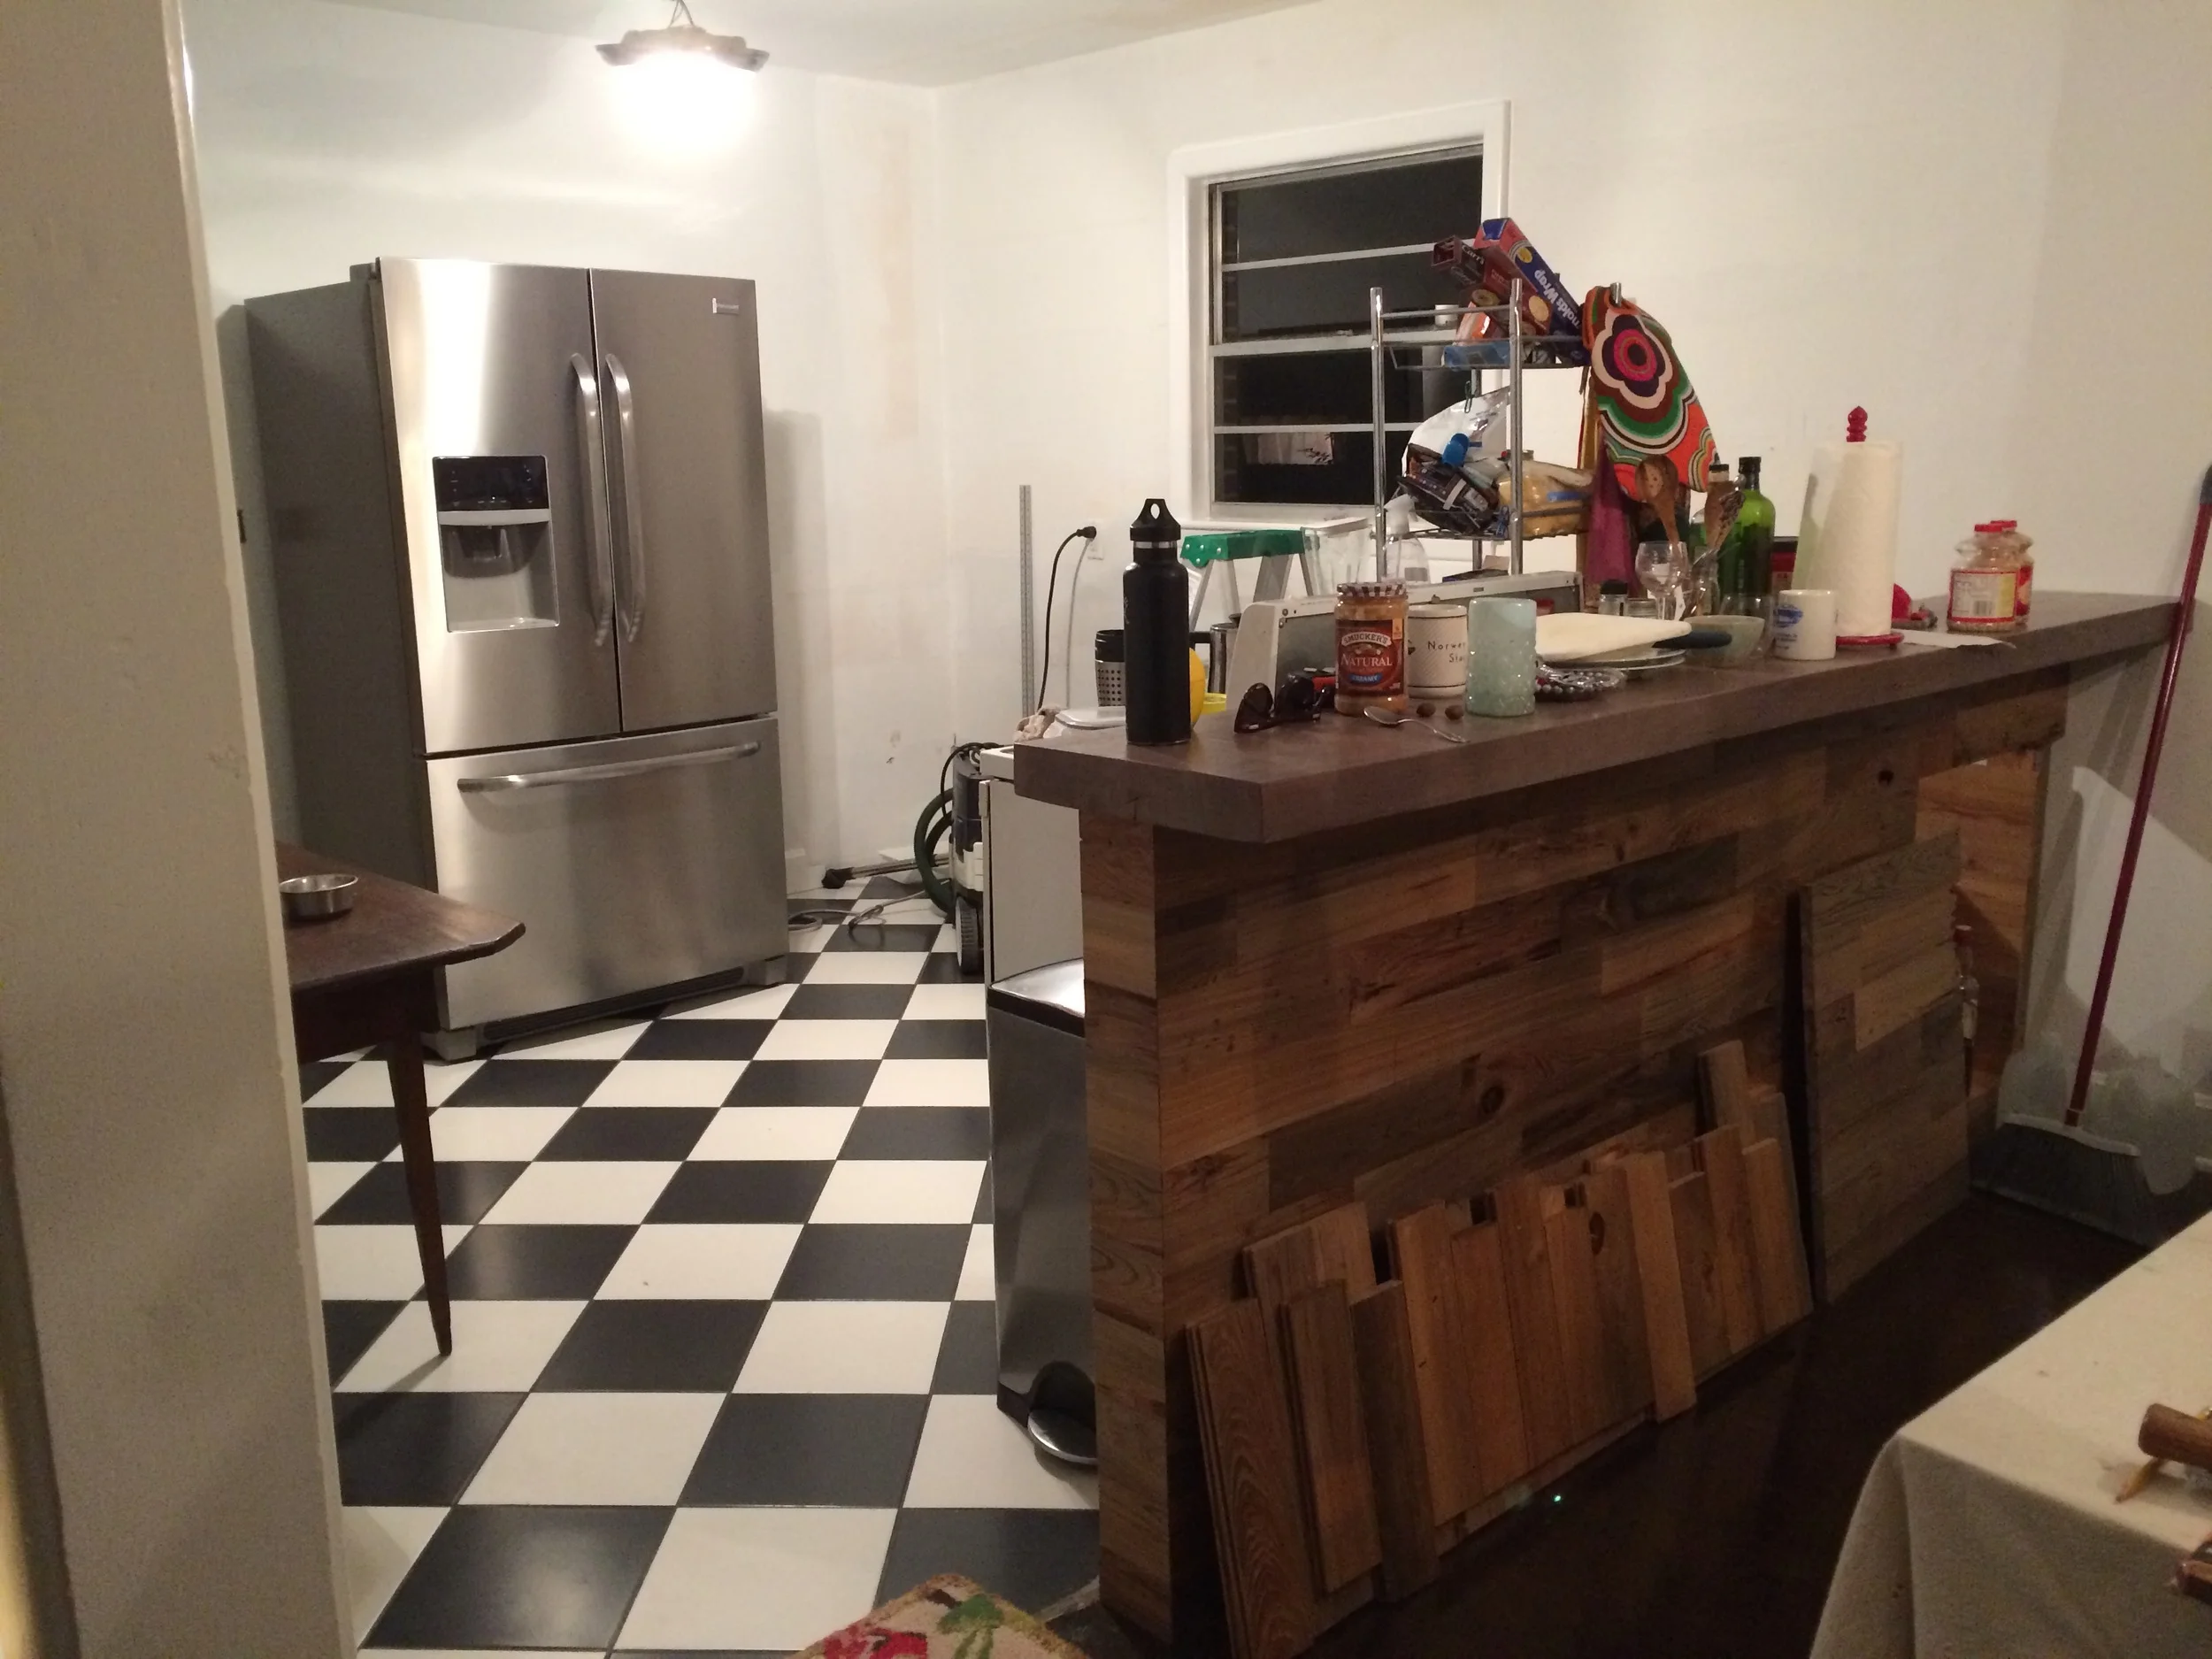
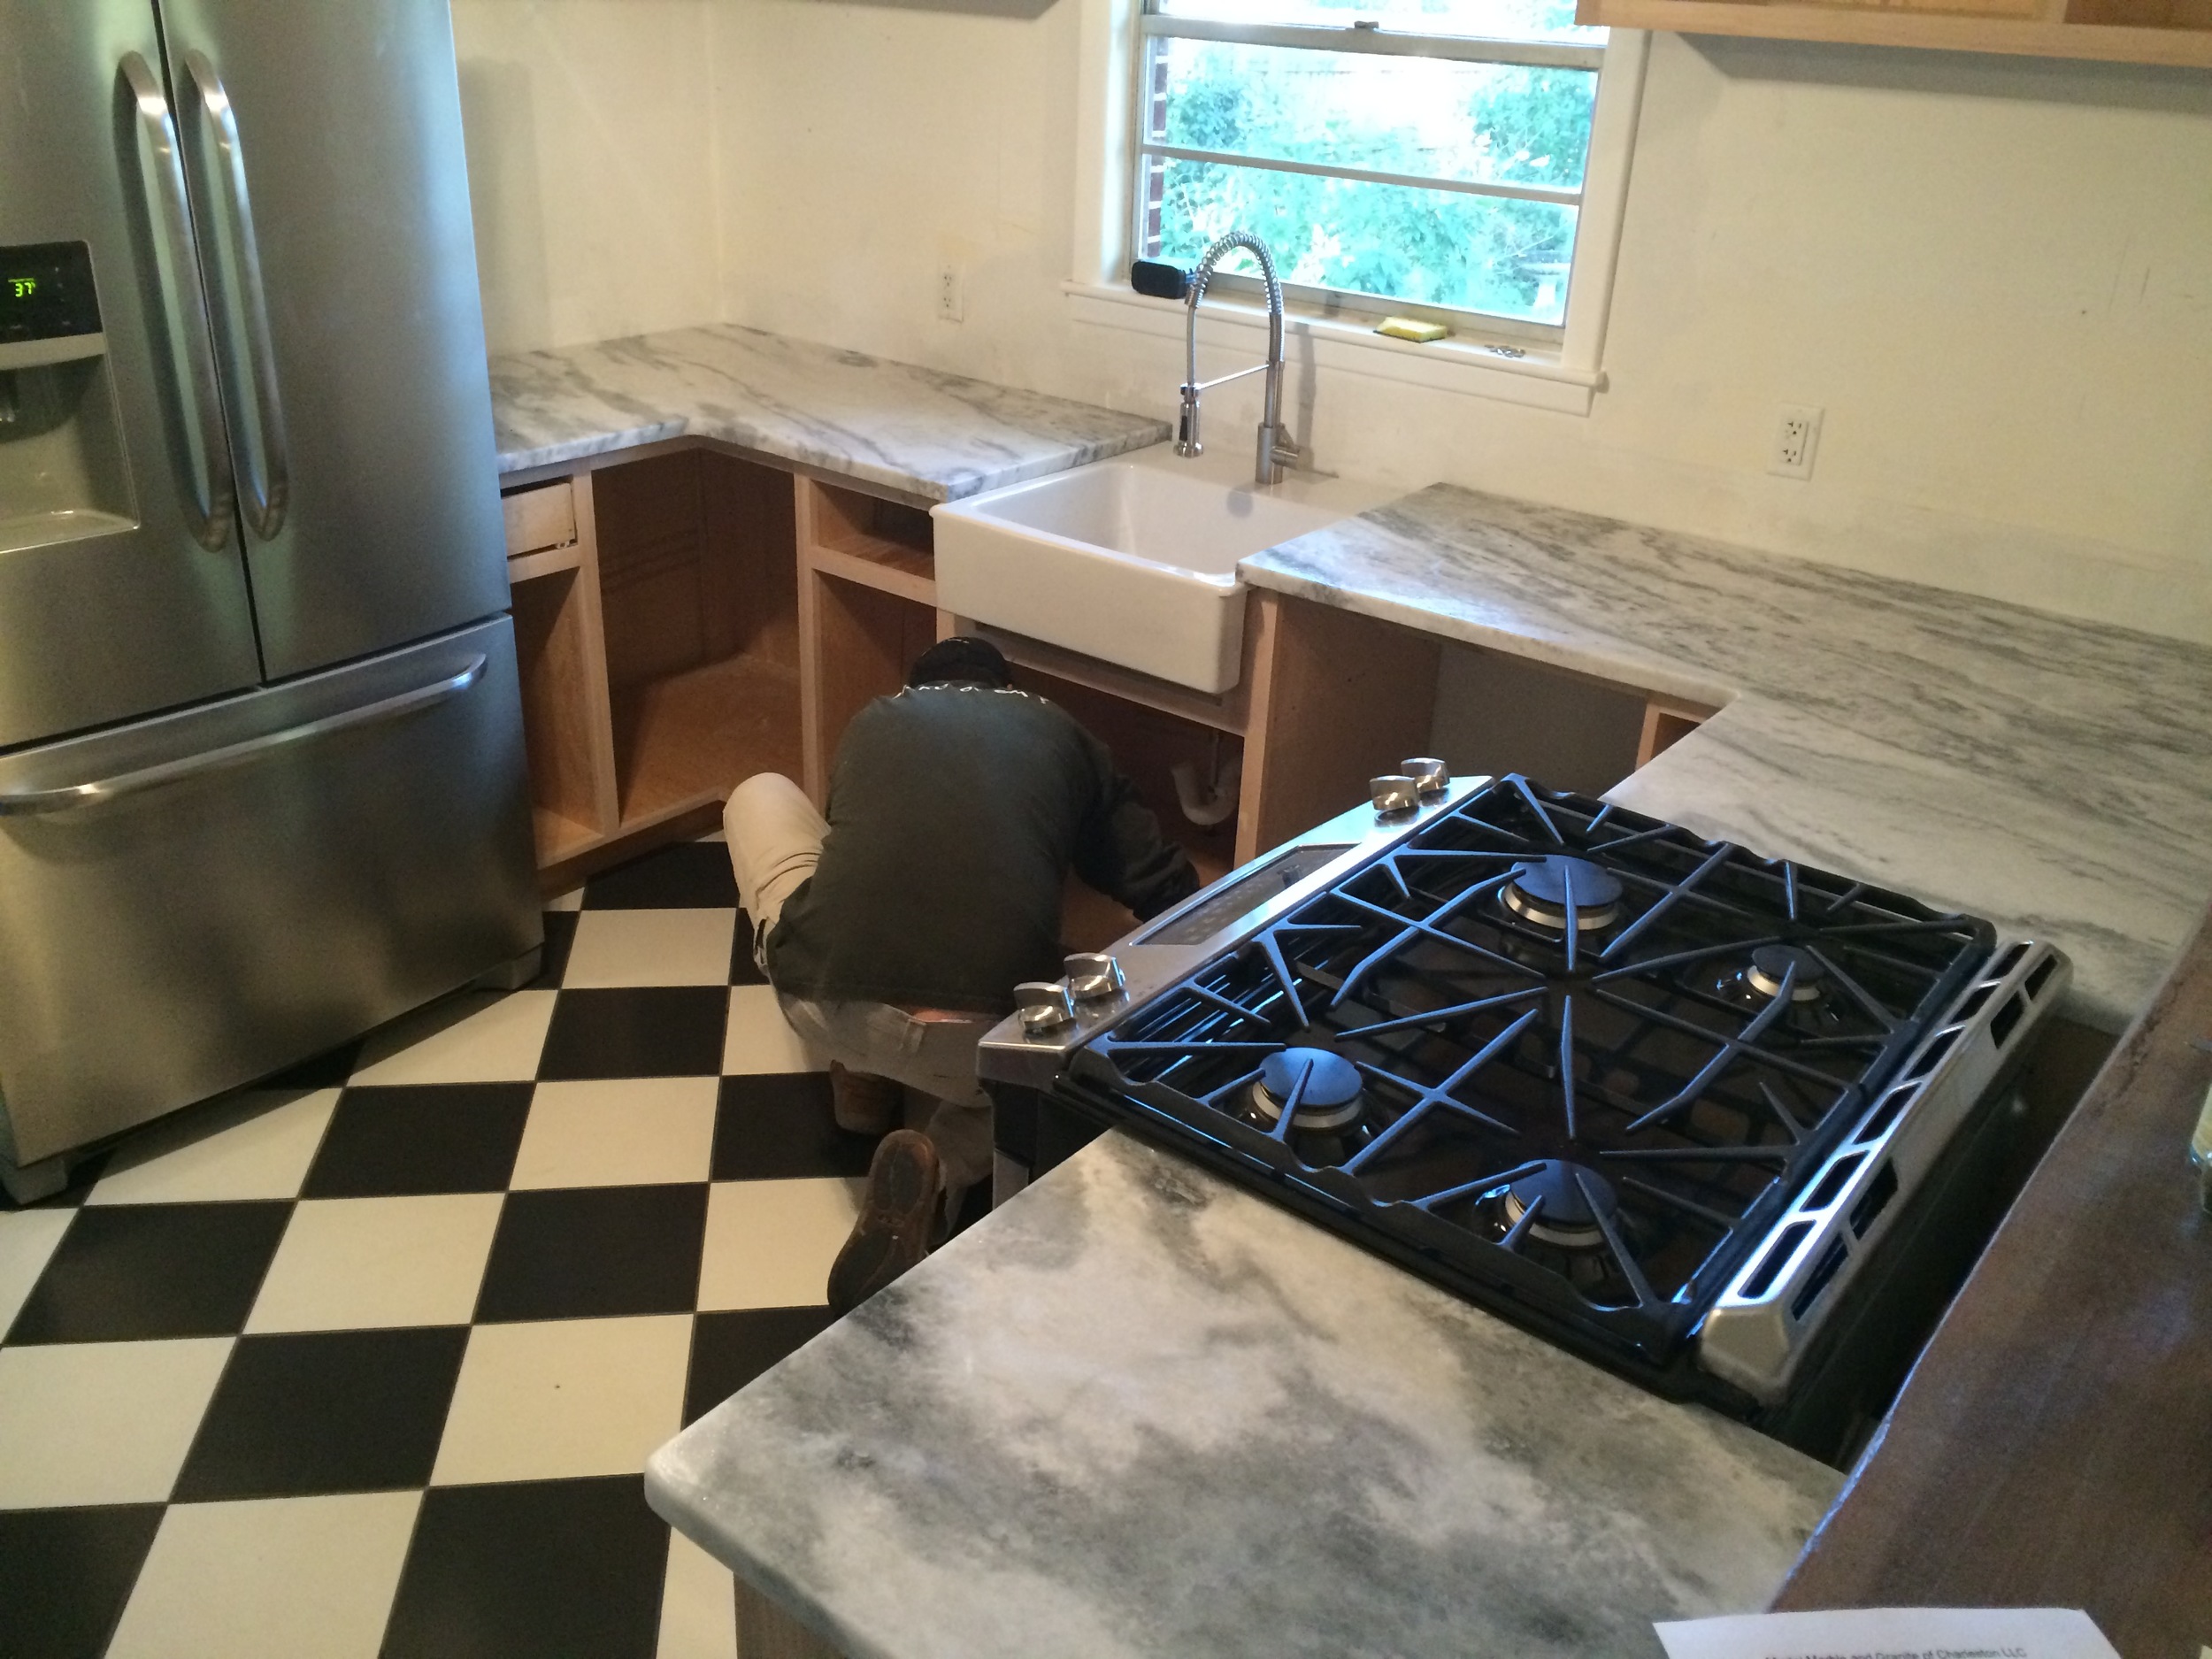
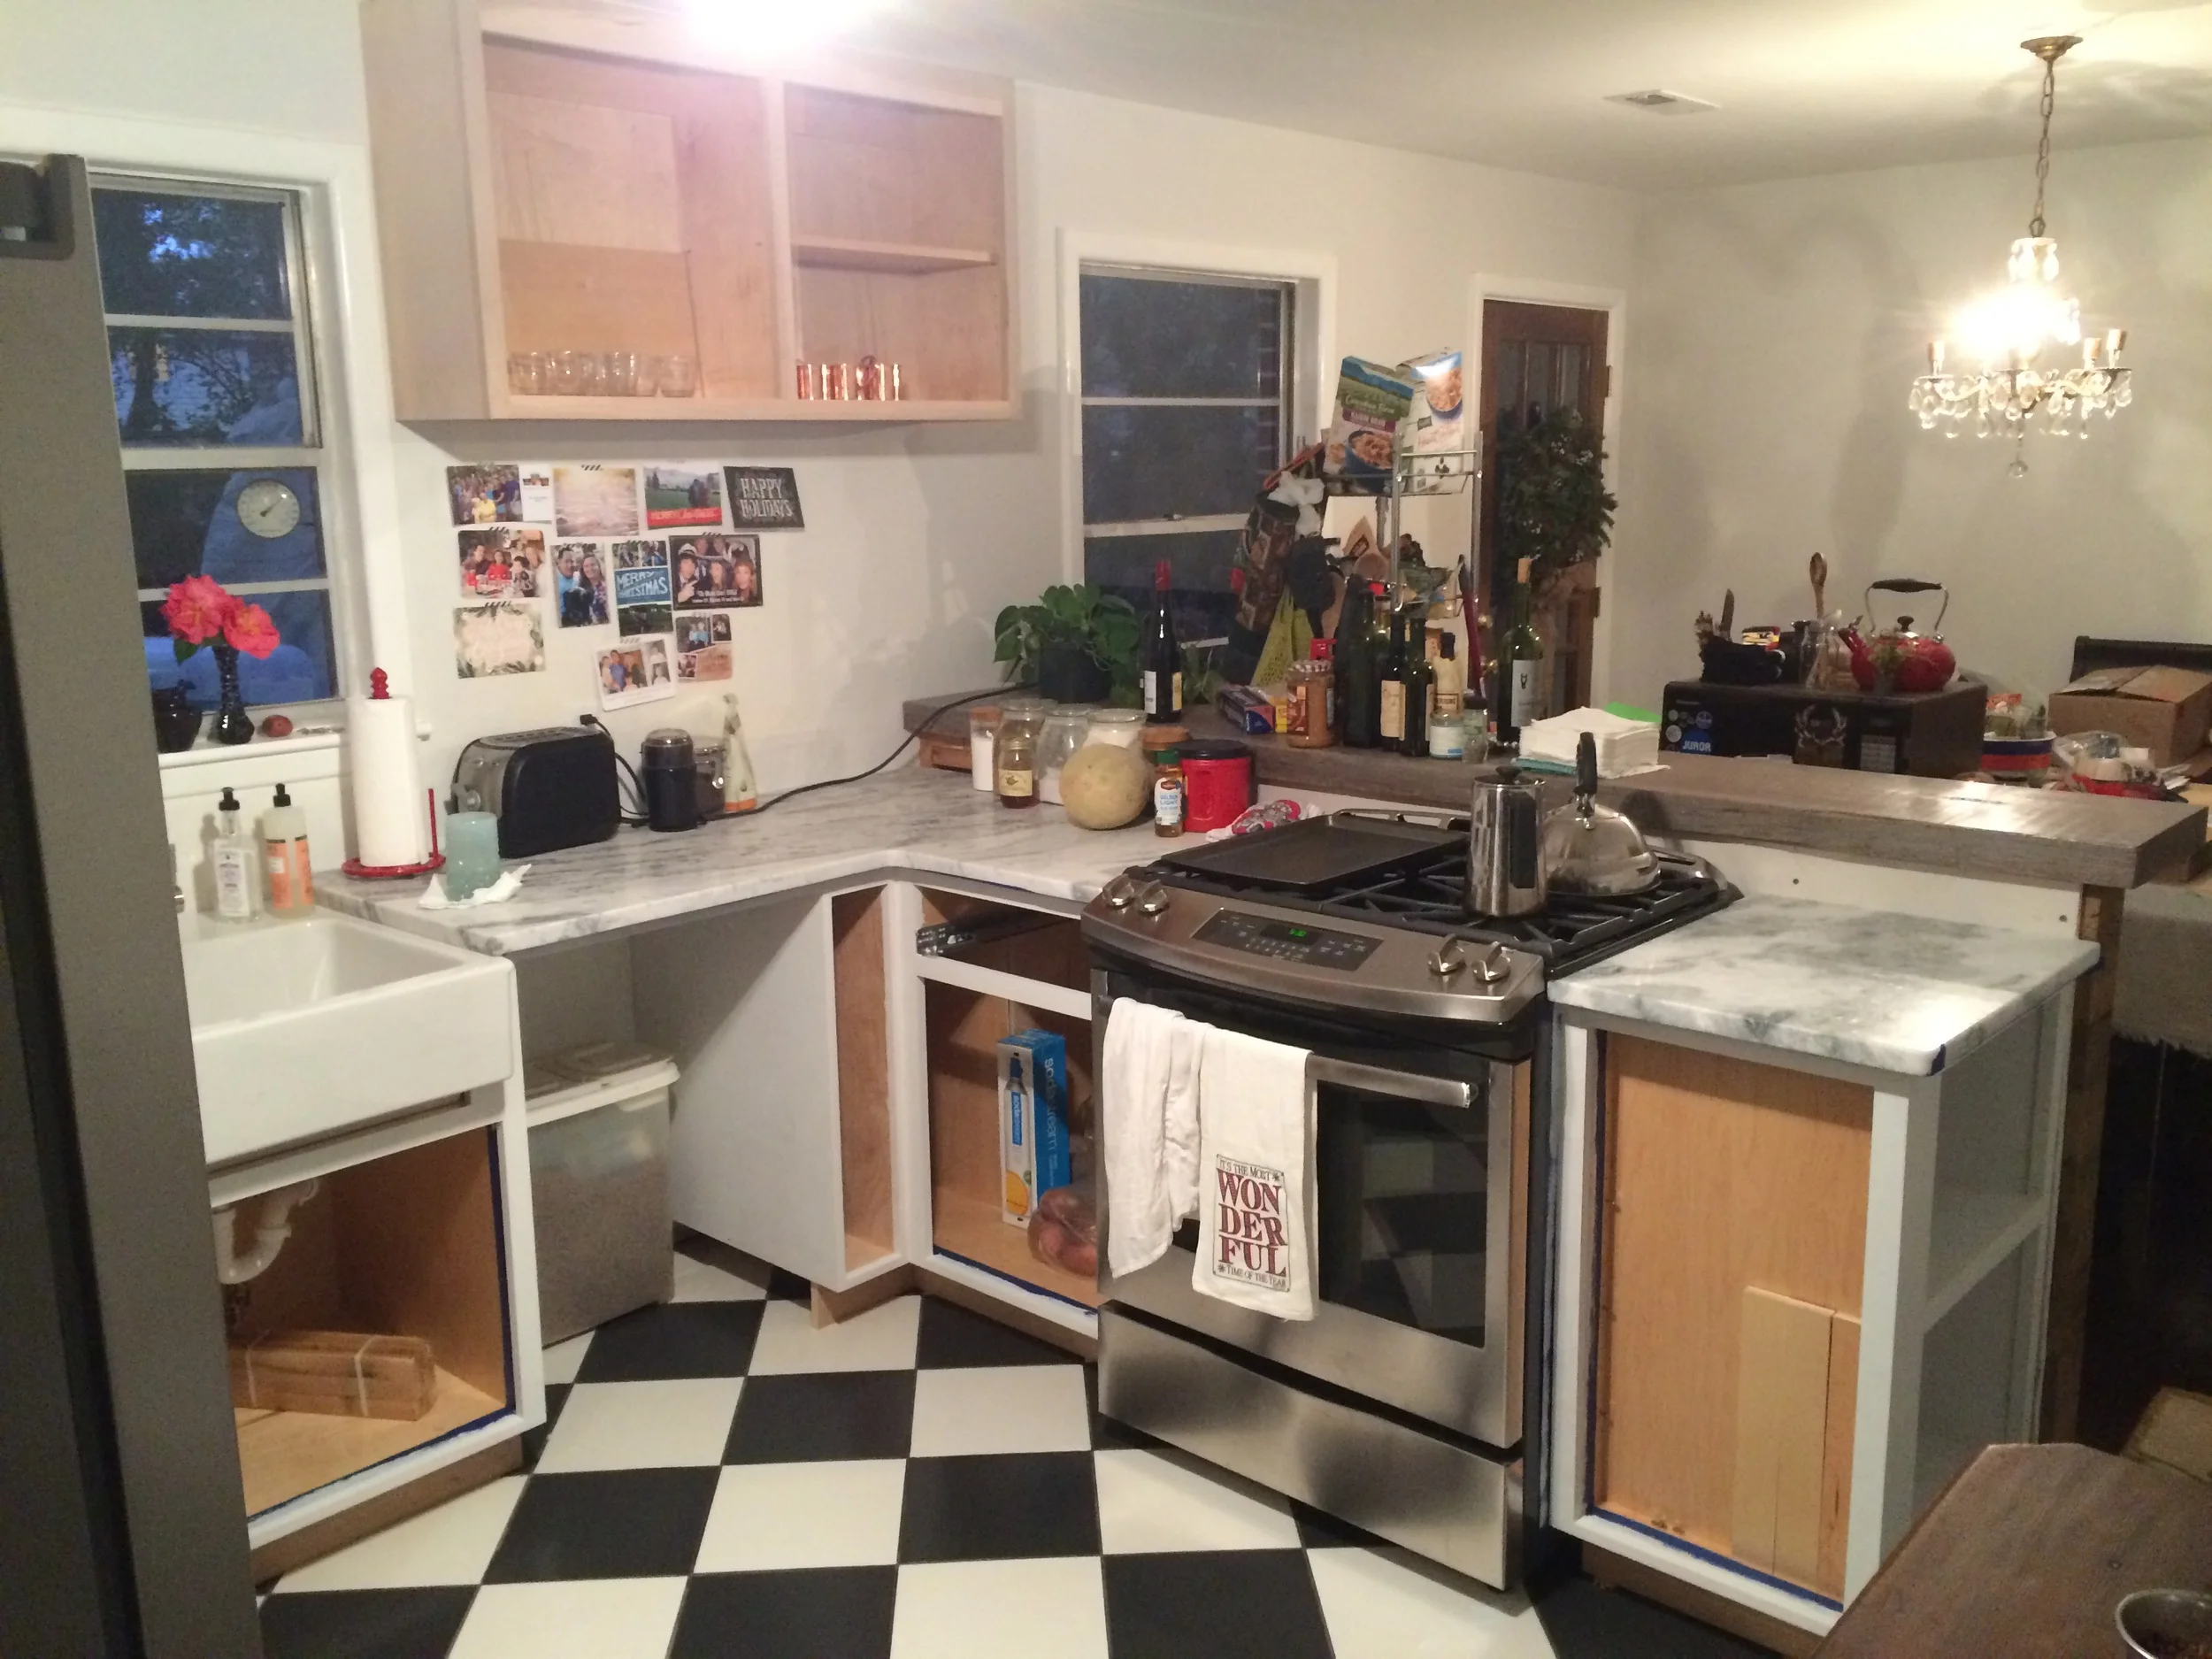
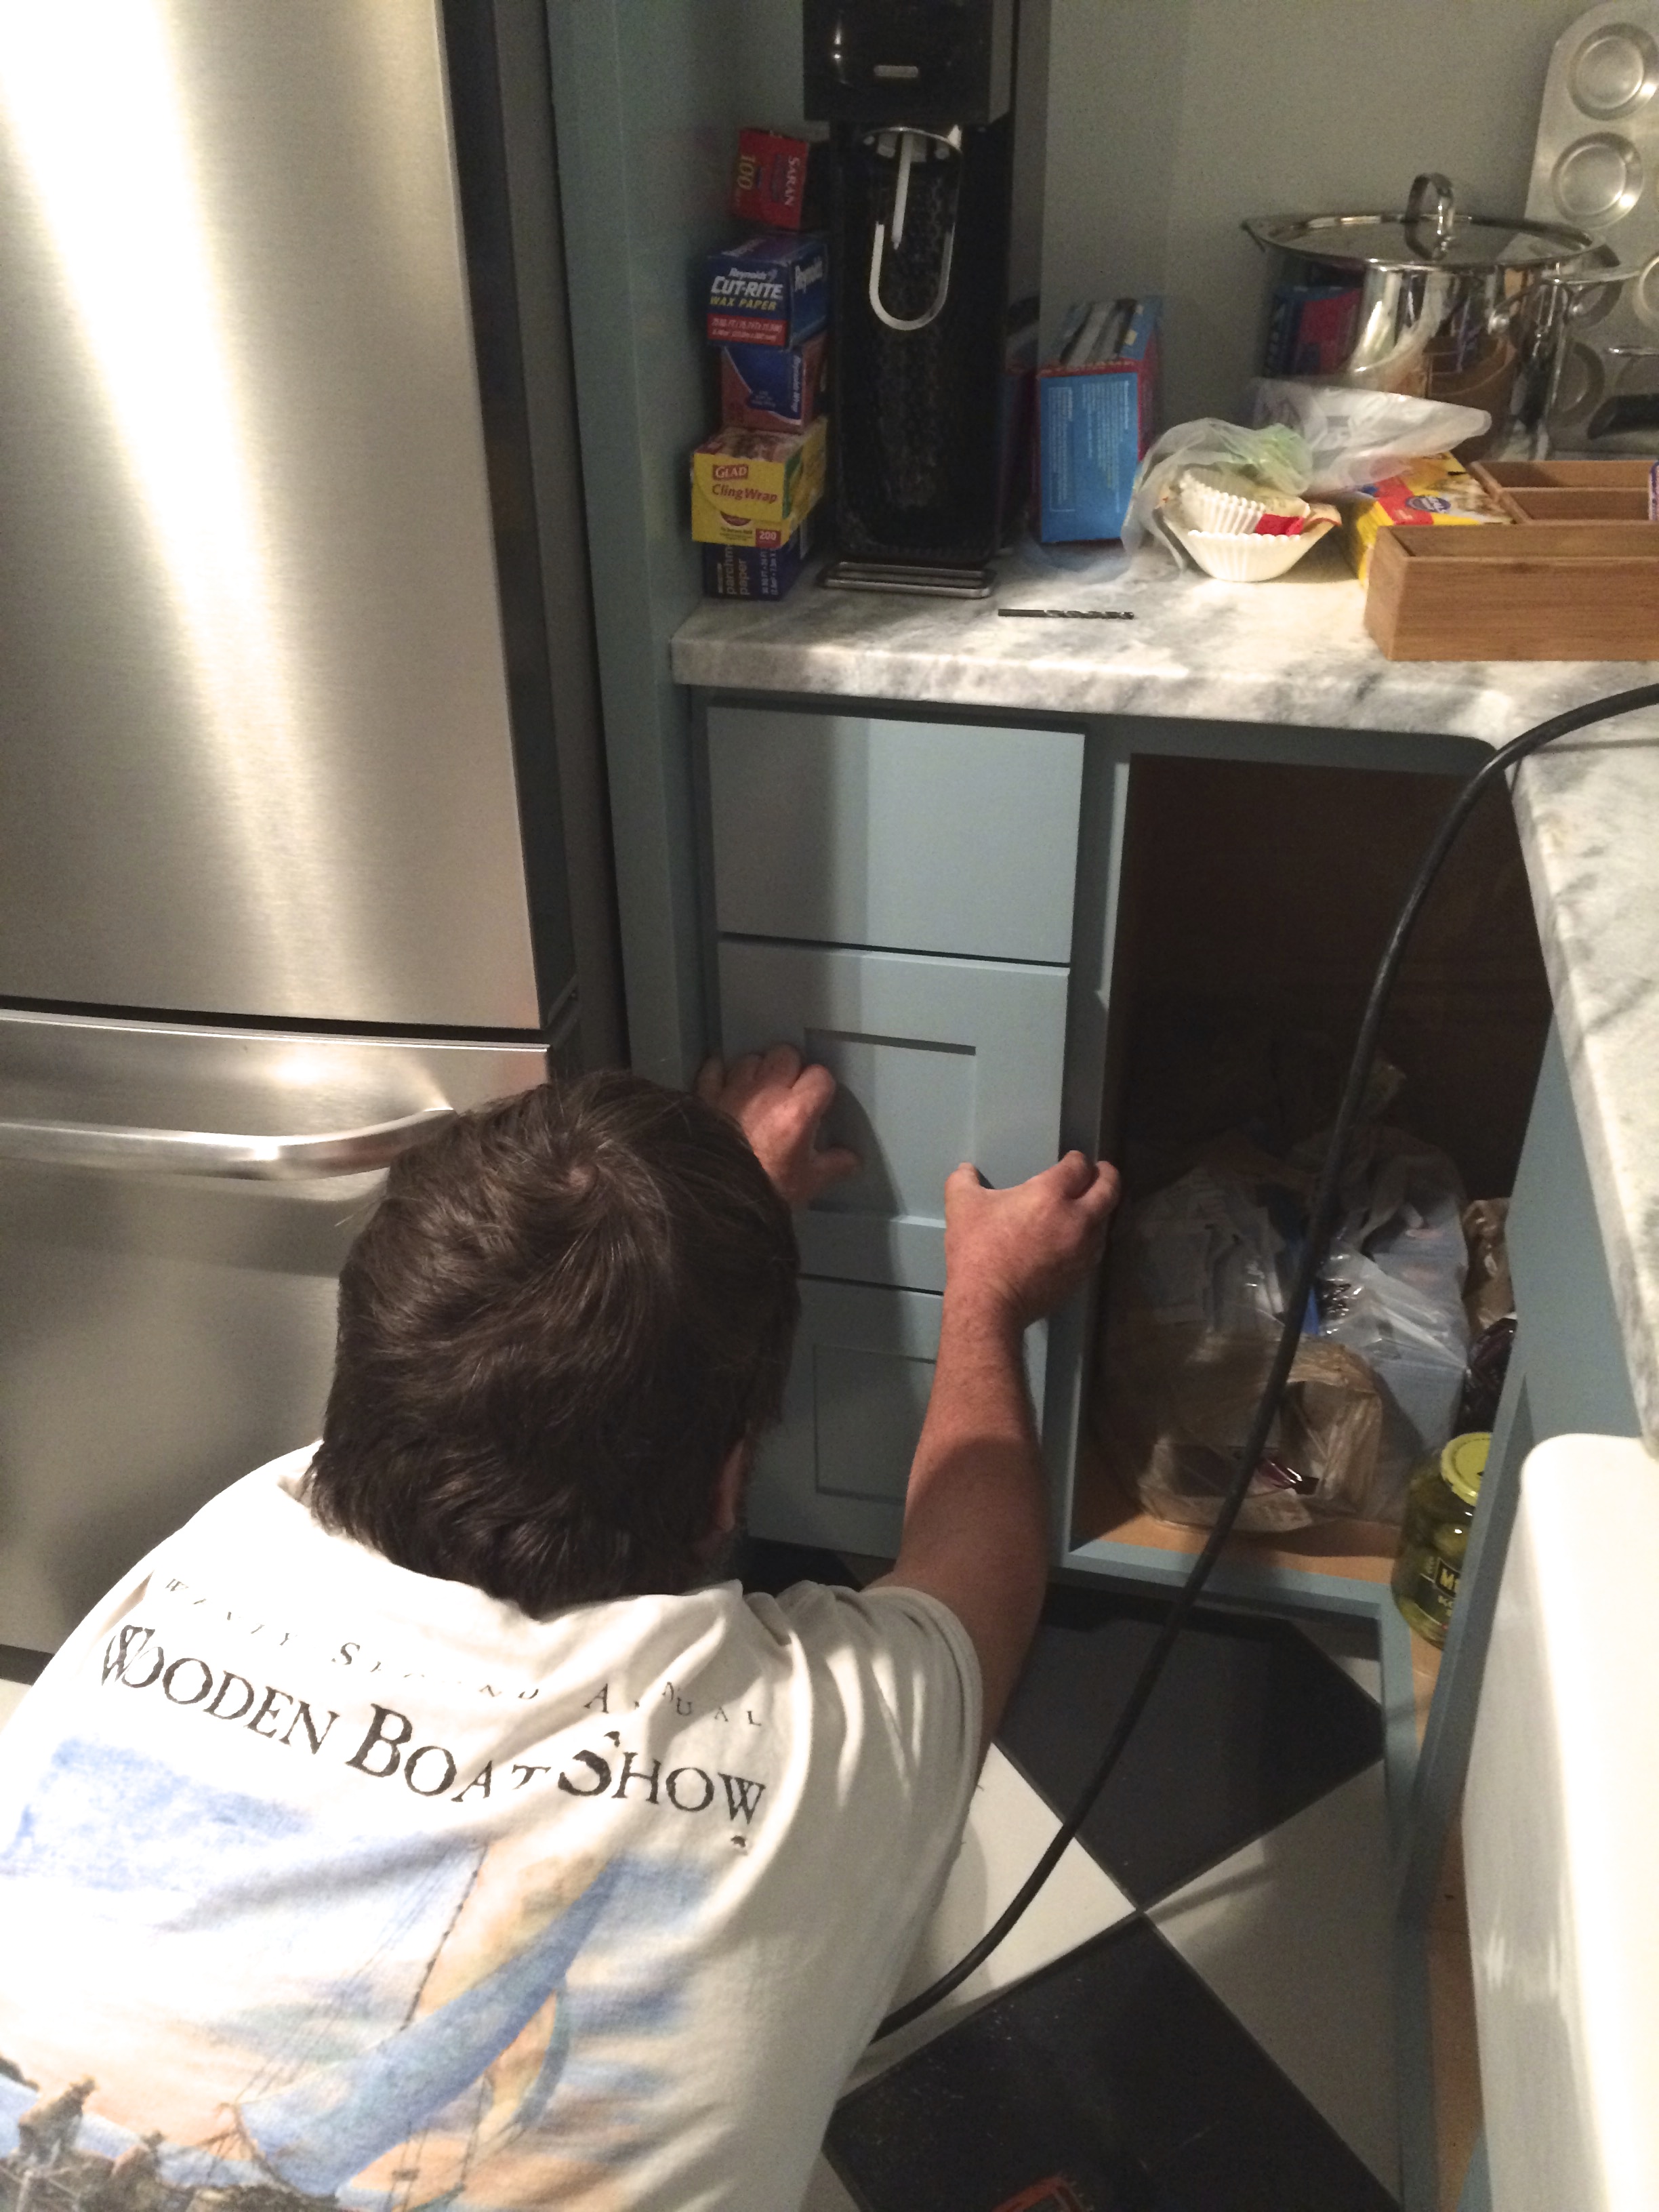
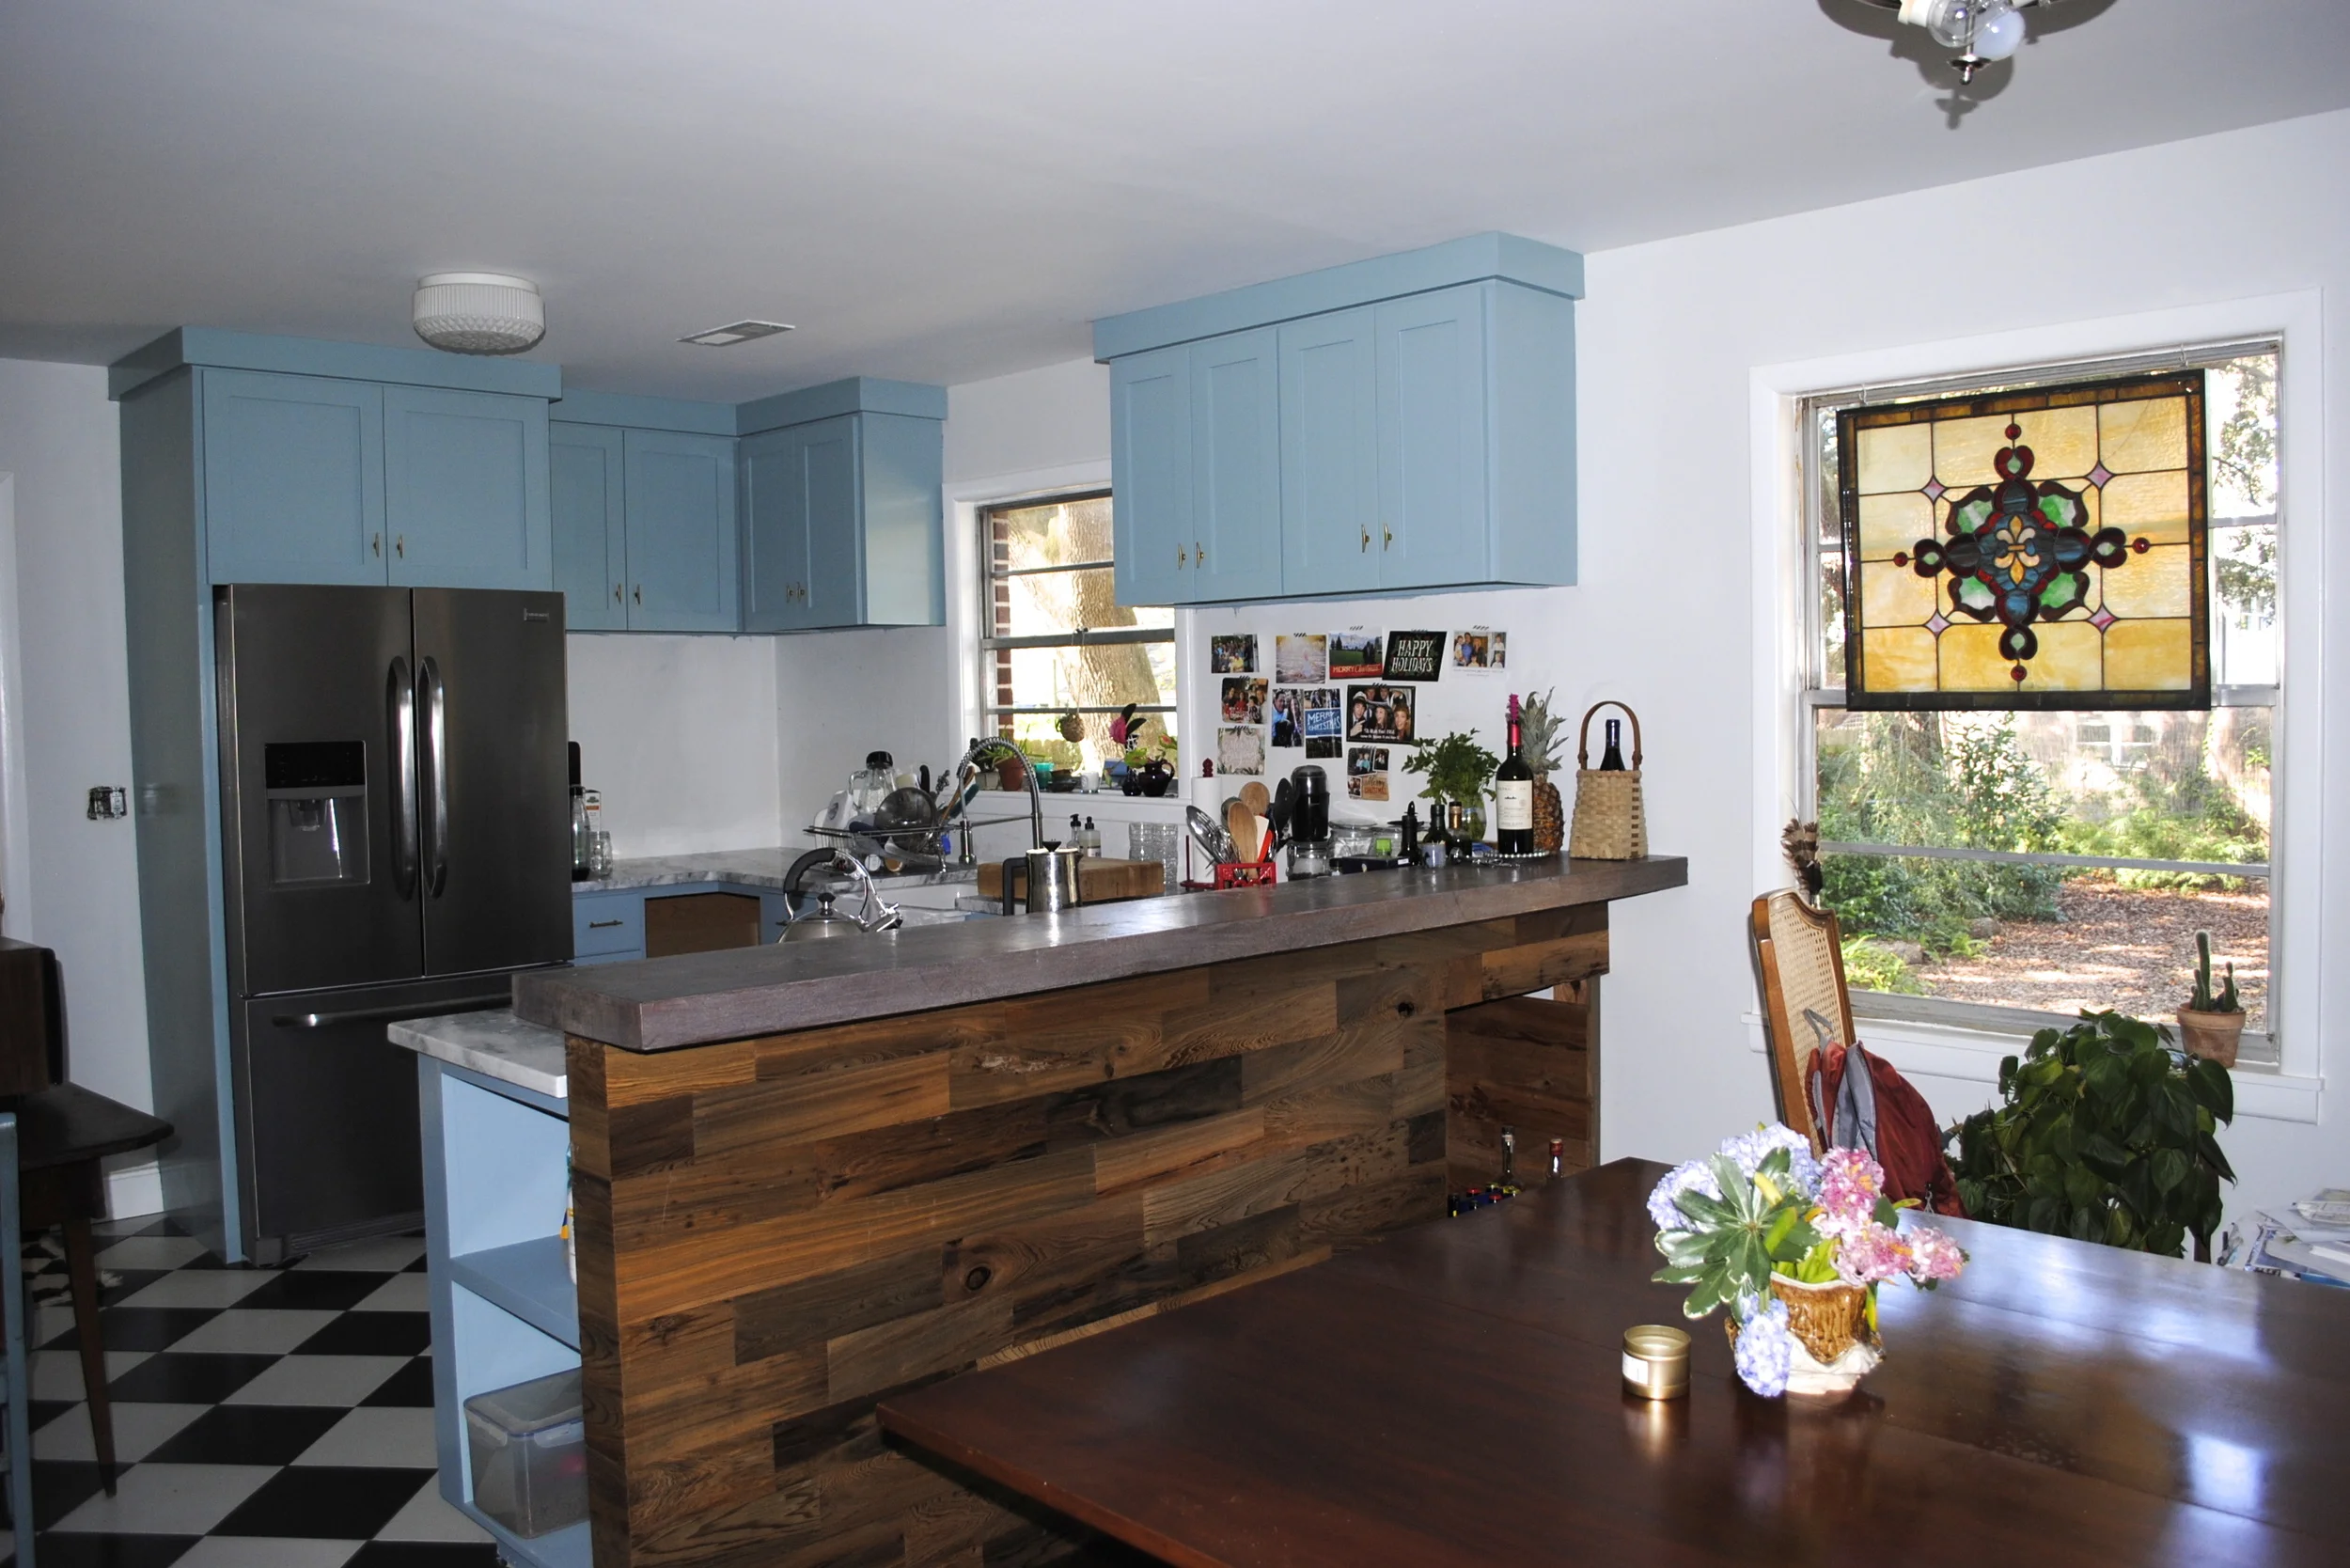
....and here's where we are today ----------------->


The remaining TO-DO LIST:
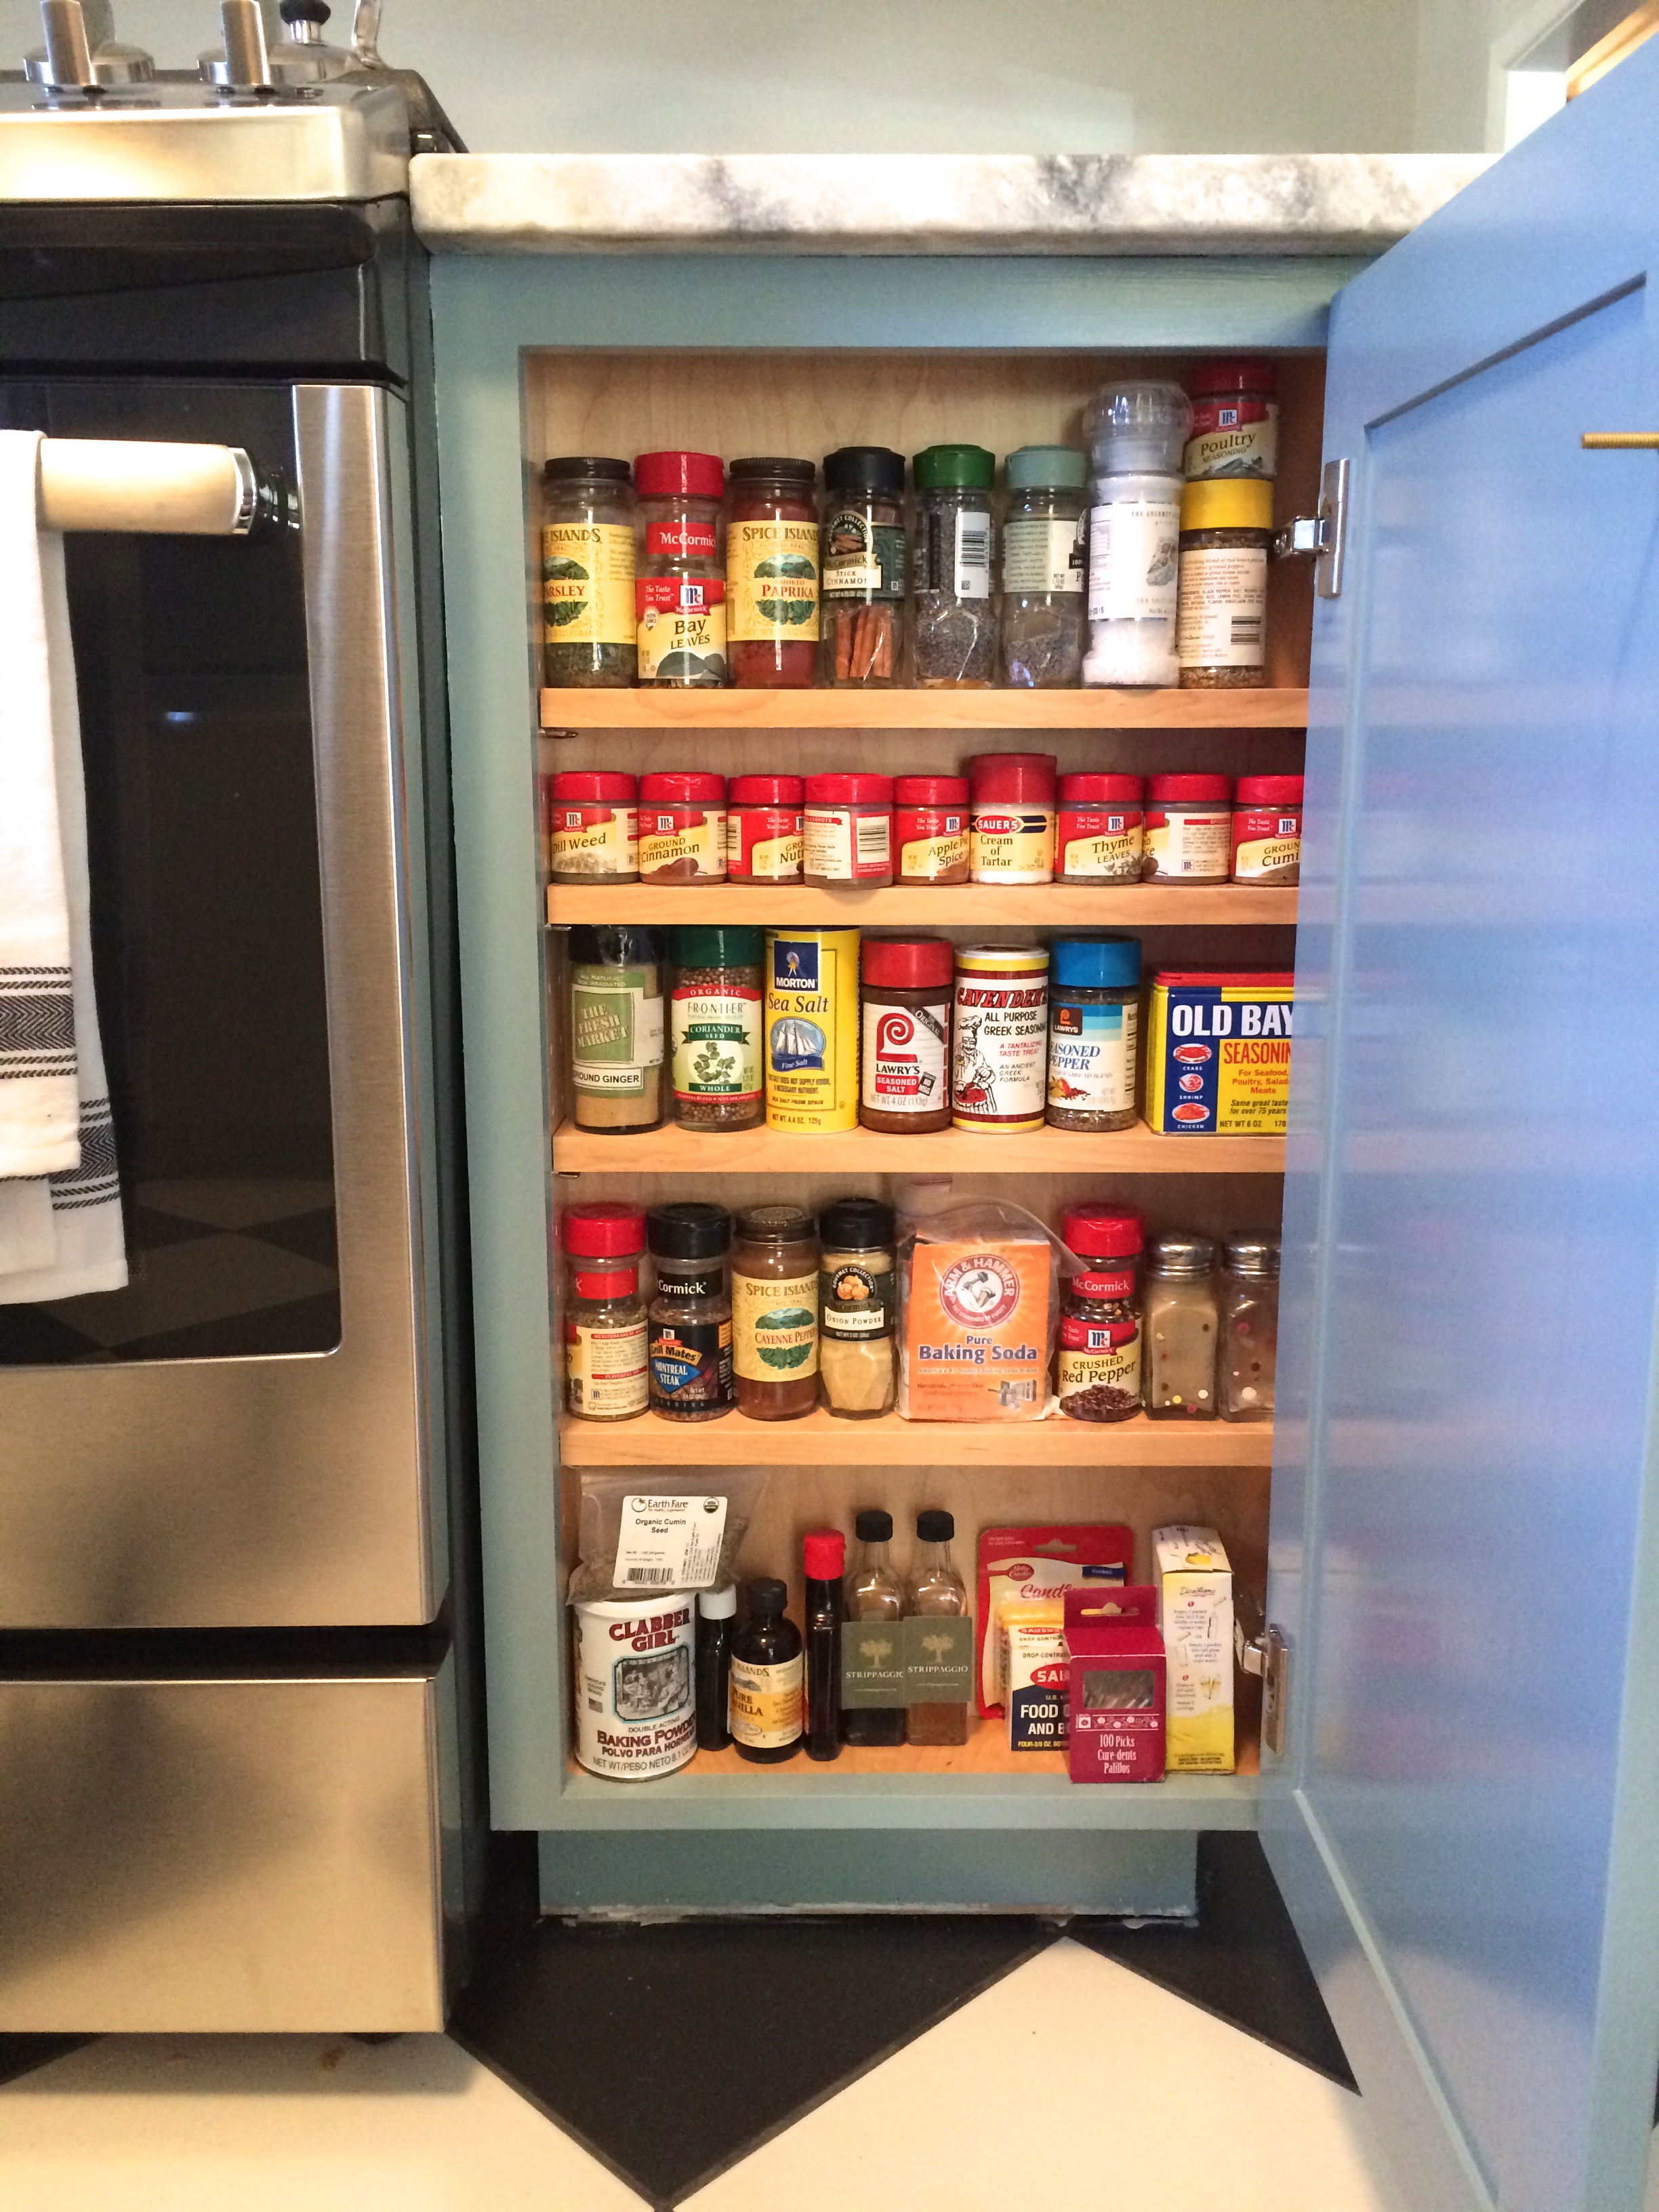
Dishwasher (haven't had one of those in almost a decade!), the Cypress shelf that will go underneath the cabinets all the way around the kitchen - with brass brackets : ) and the wine rack/liquor cabinet underneath the bar with matching shelves in corner at end of cabinetry above the bar....
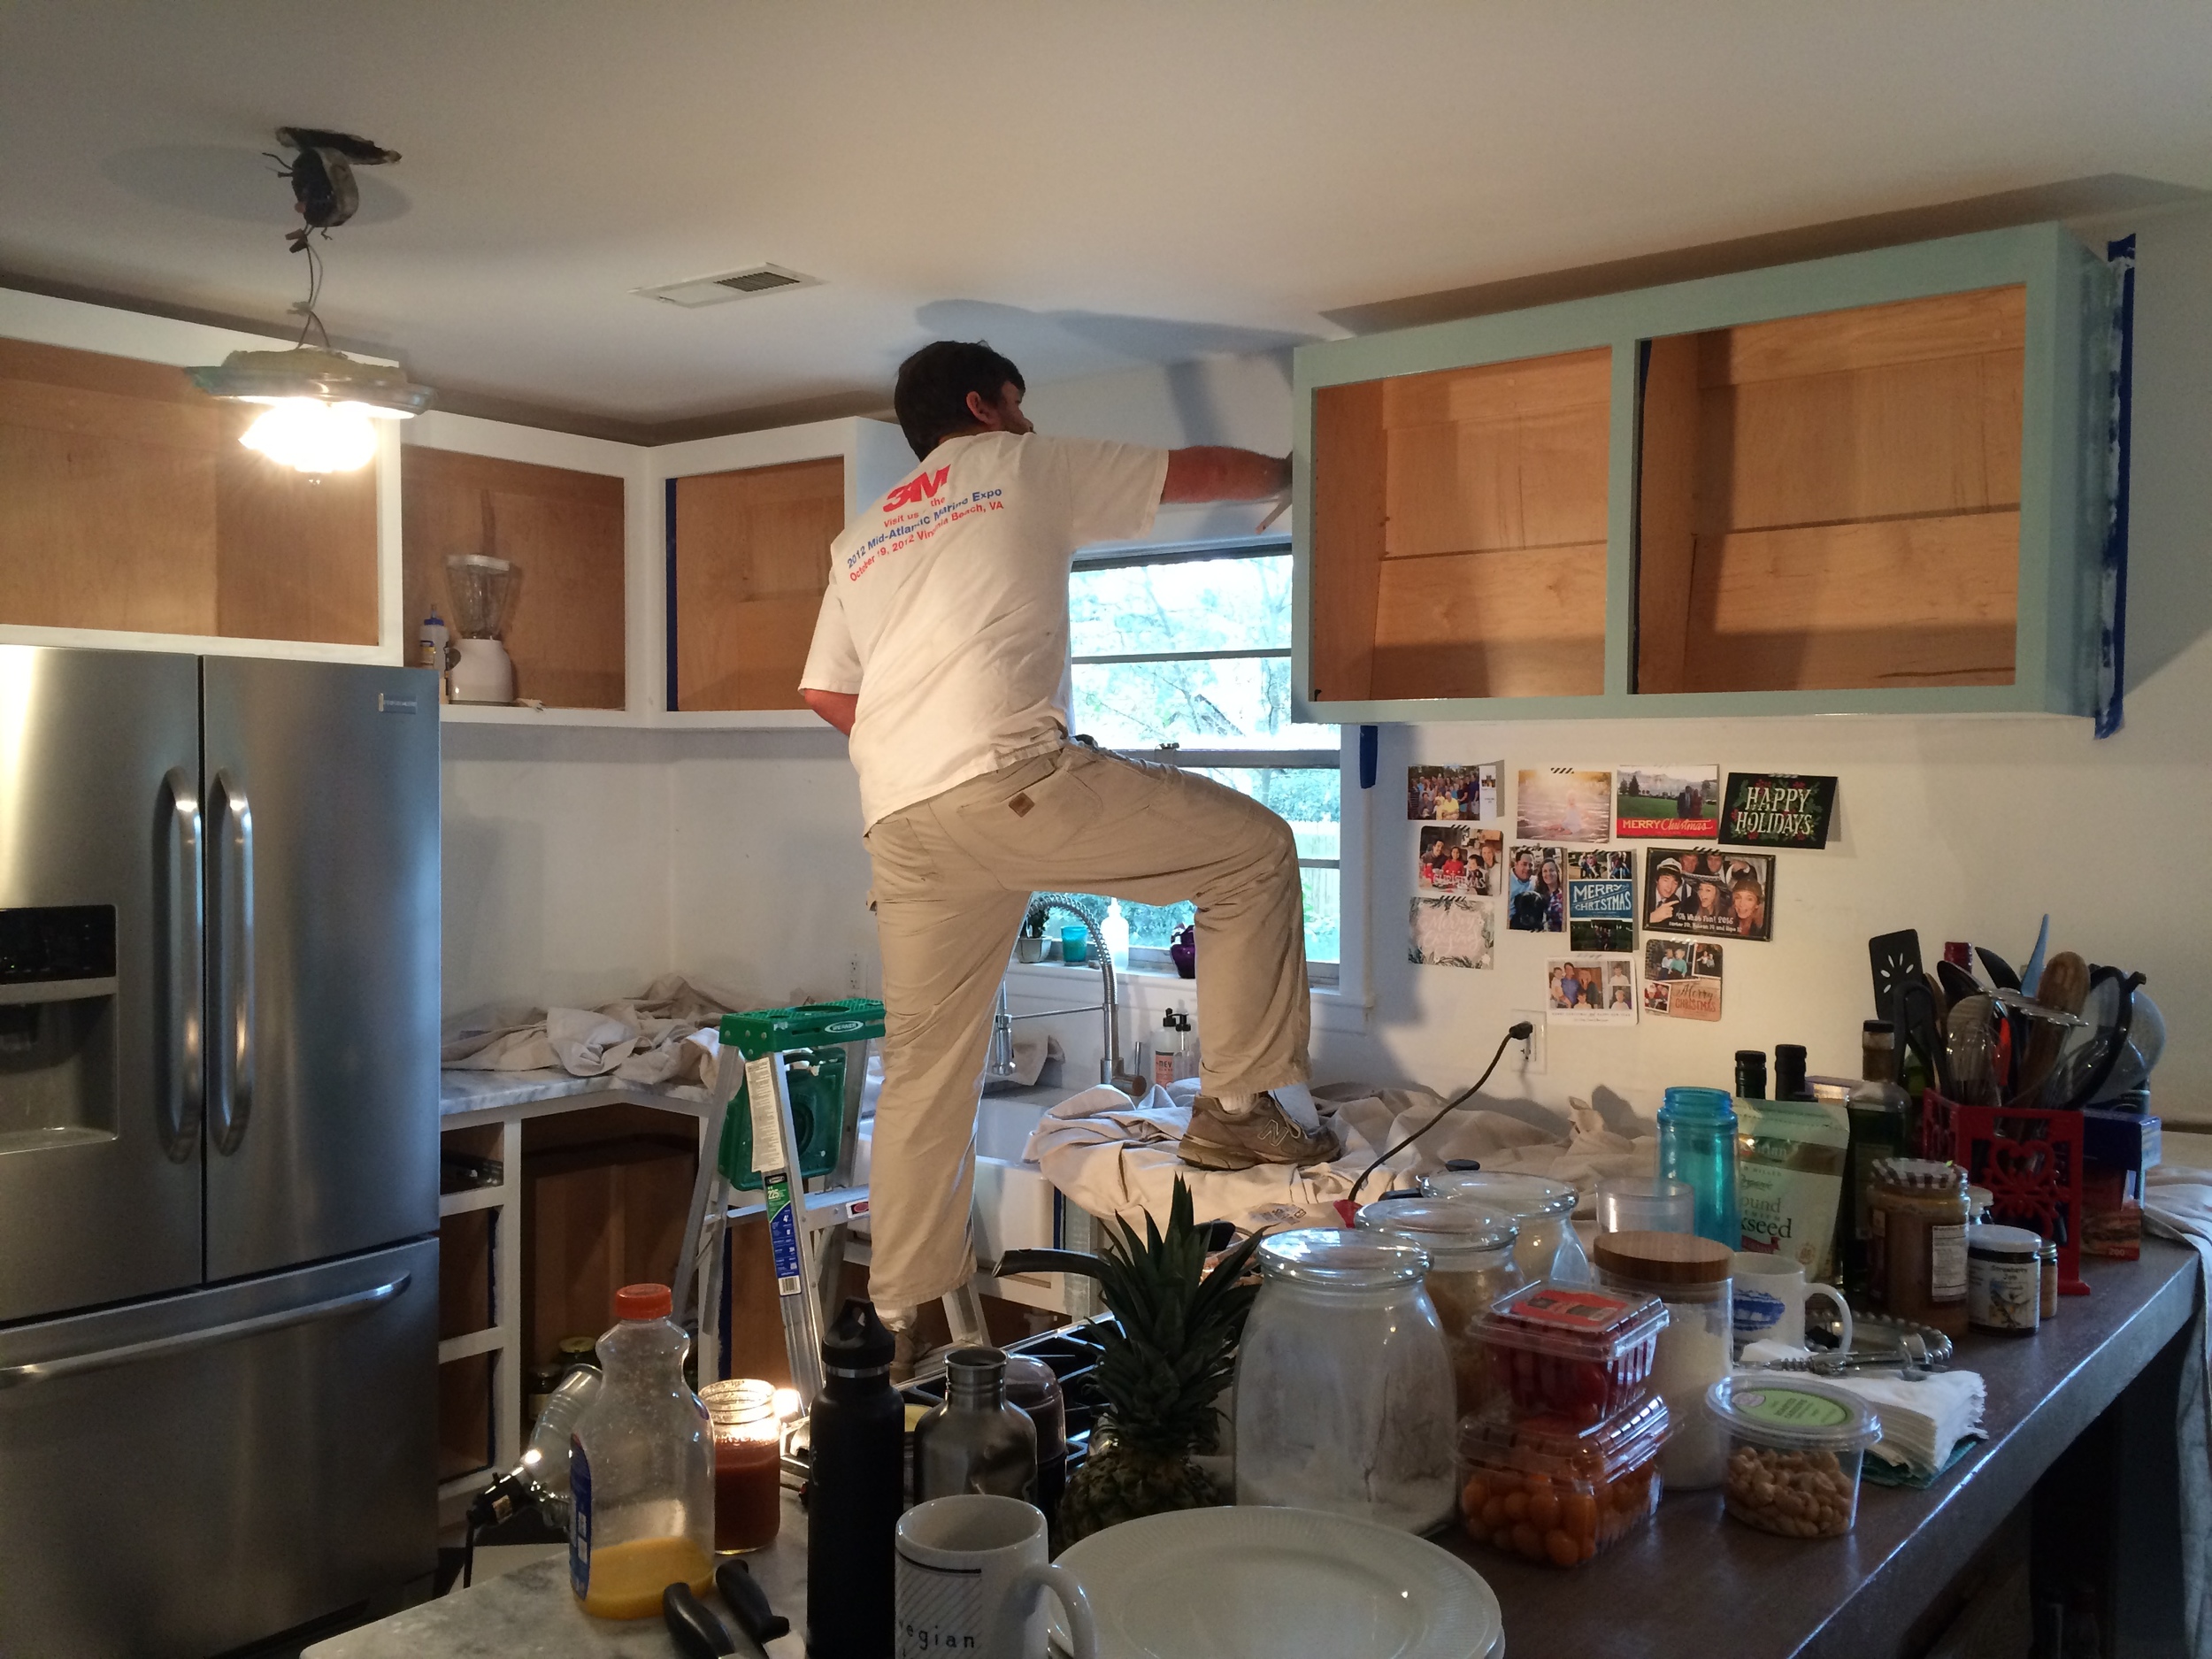
Lighting! We have all of the lights in boxes, ready to be installed - except for the under-cabinet lighting. I still need to figure that detail out before we have Mike come help us install everything. The brass chandelier that was in the dining room will be back, but is currently getting re-wired and fixed up before its return. Lots of paint touch-ups to do and the french door coming into the kitchen will be painted to match the cabinets.
BUT we're getting close to the finish line. I can feel it. Hopefully, i'll be doing the grand finale update soon!
(and to see the first post I did on the Marvin Kitchen Reno 2015 go here.)