life

The Congaree National Park

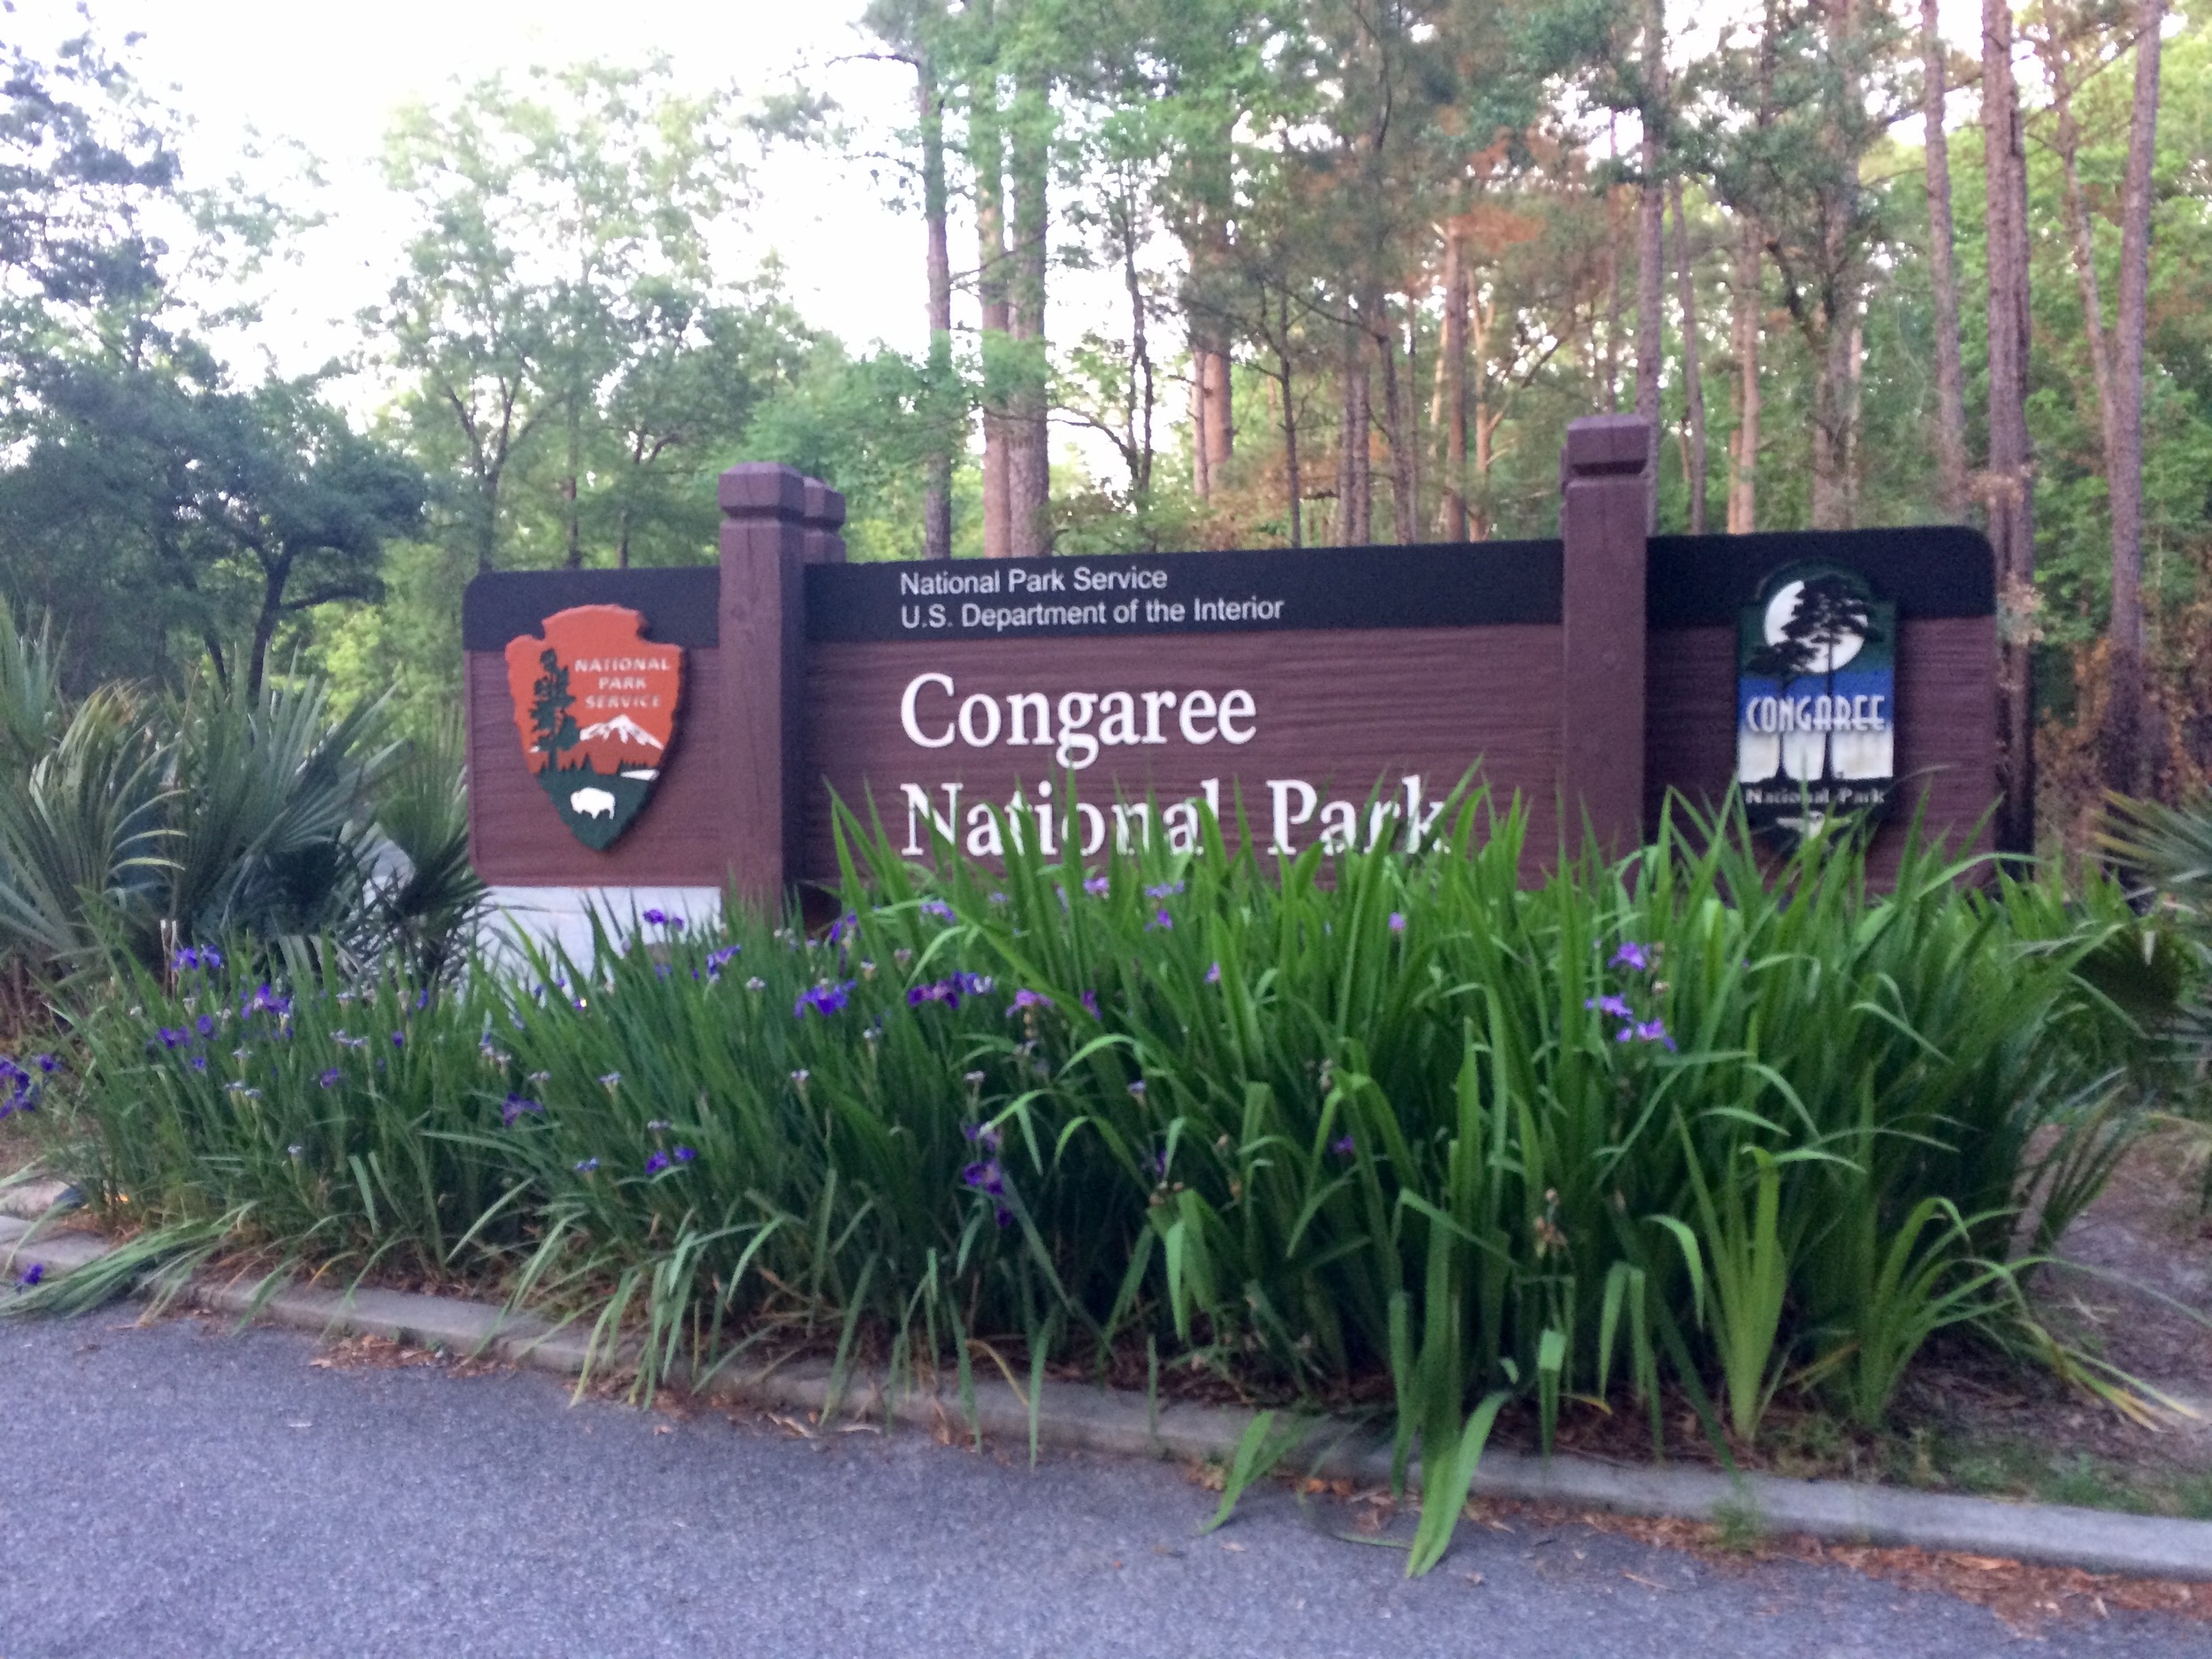
Did you know that the Congaree National Park is South Carolina's only National Park?

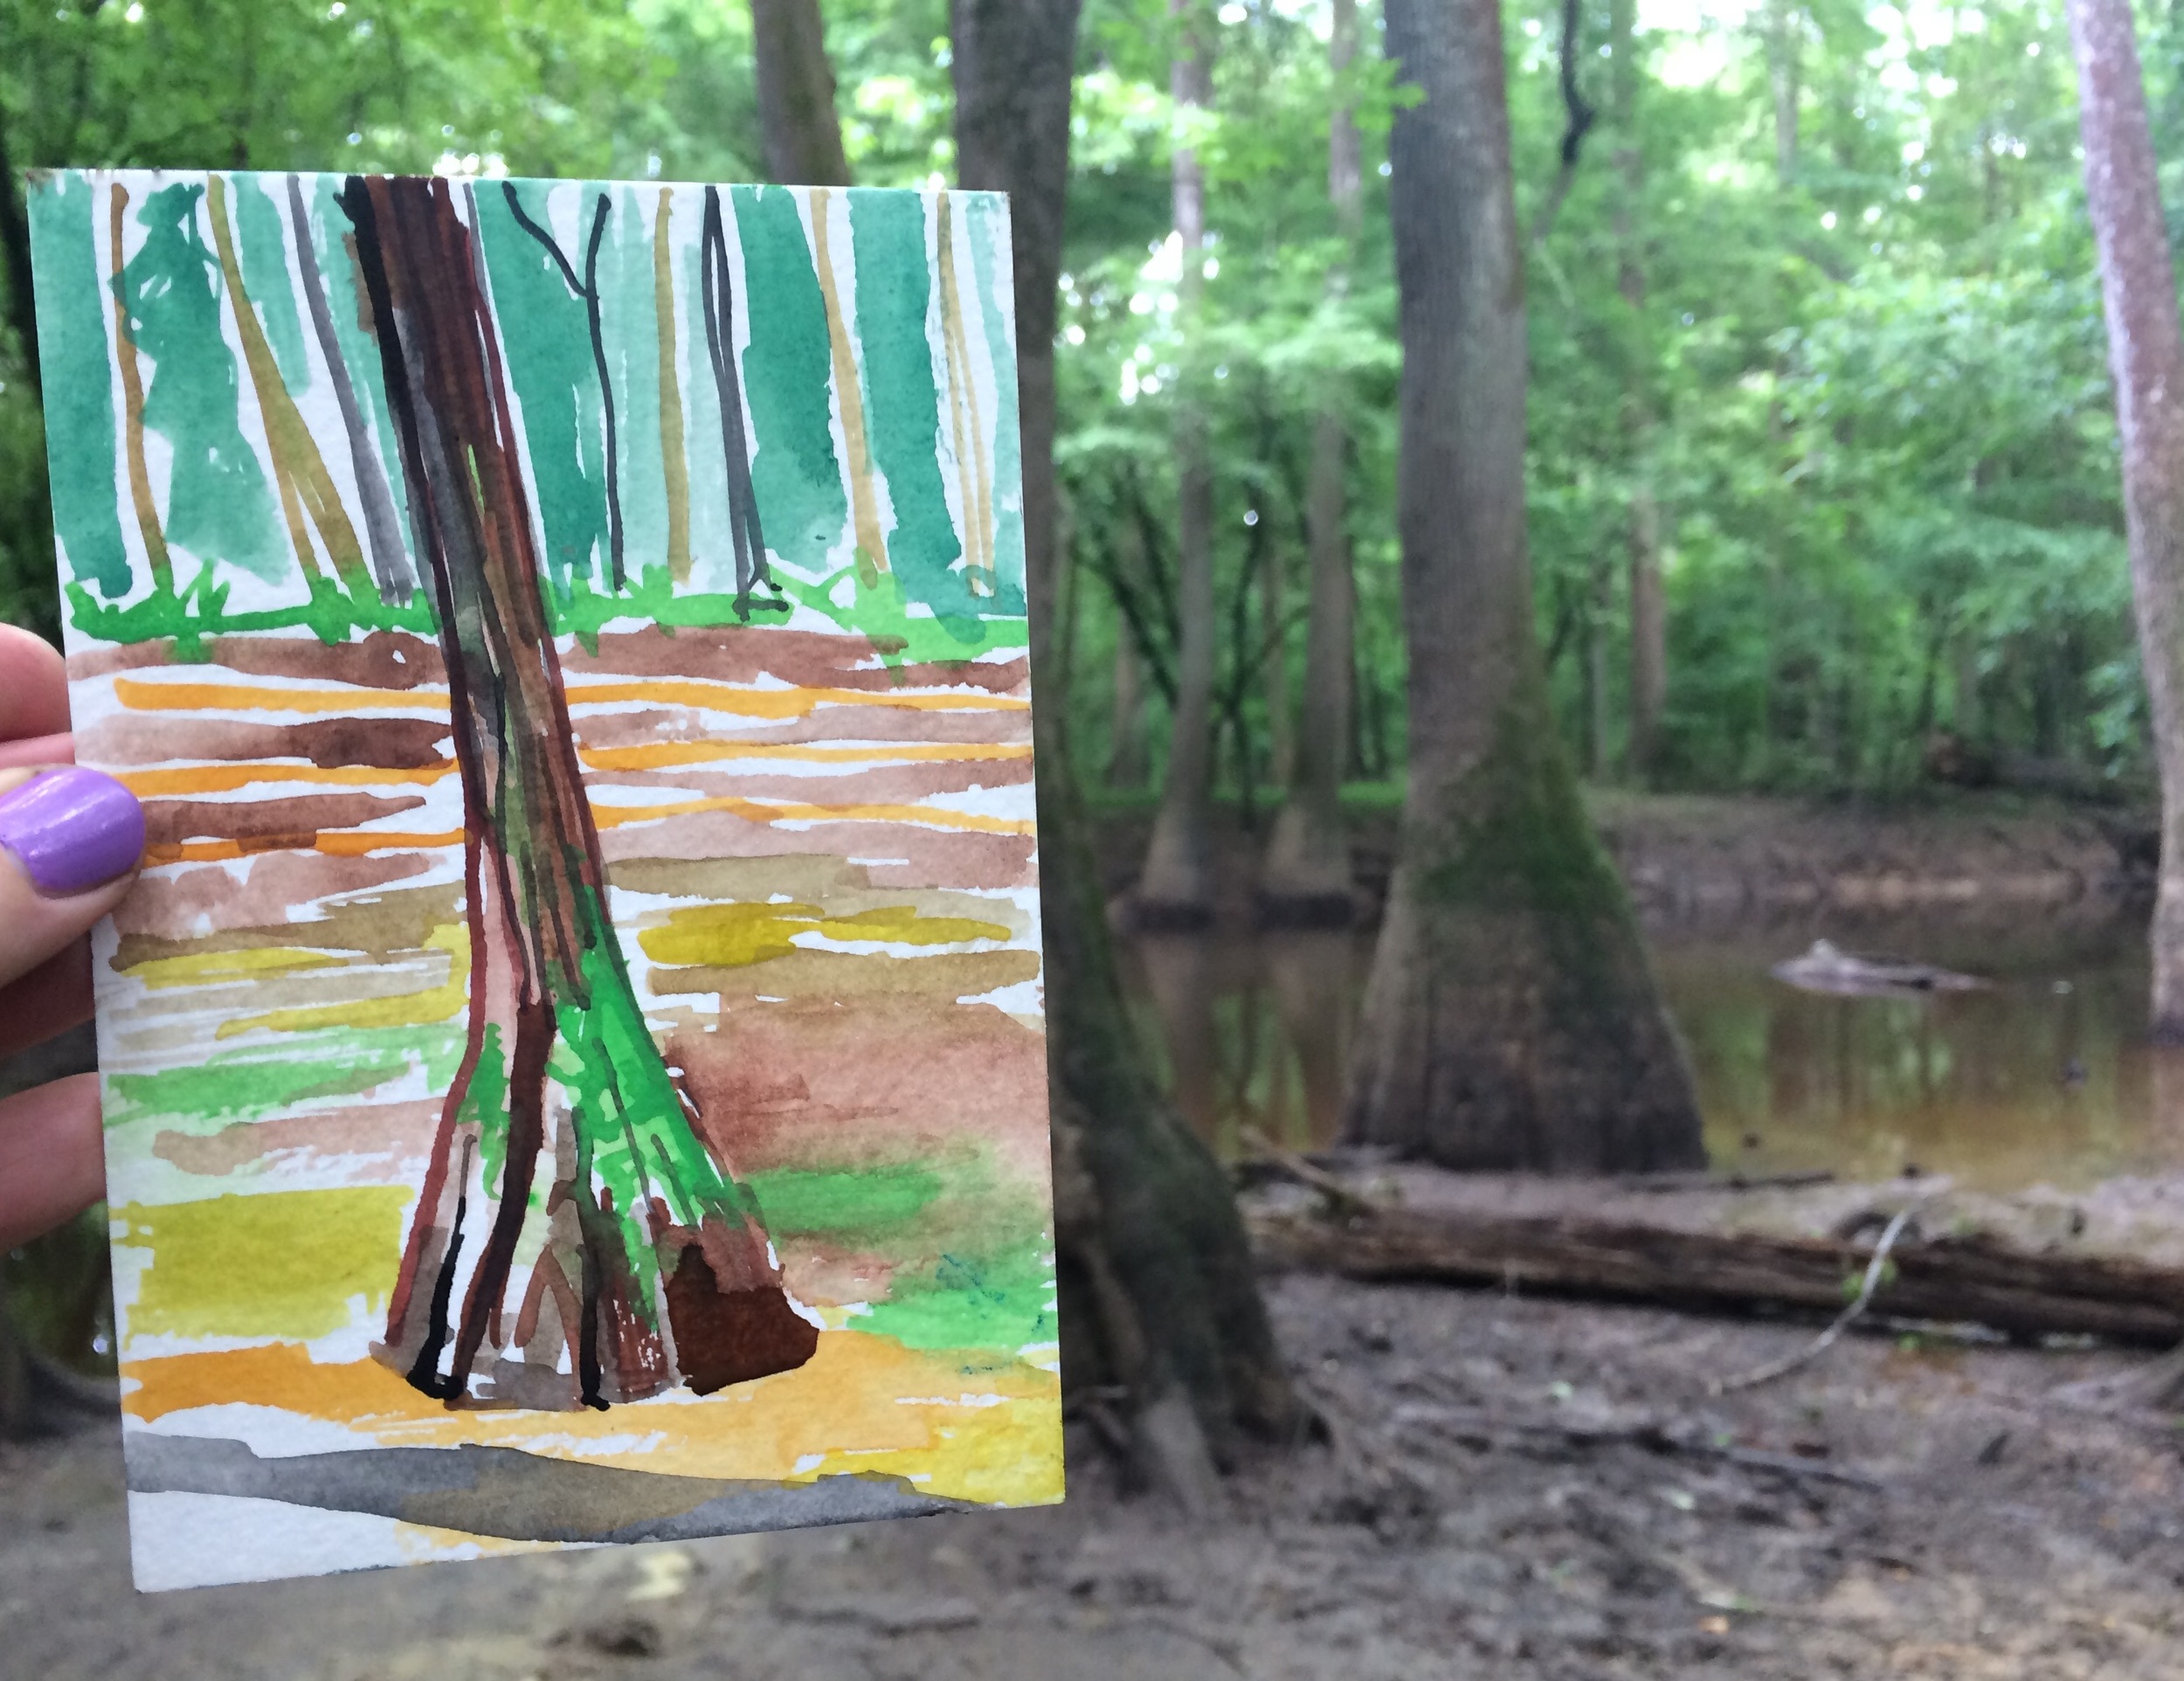
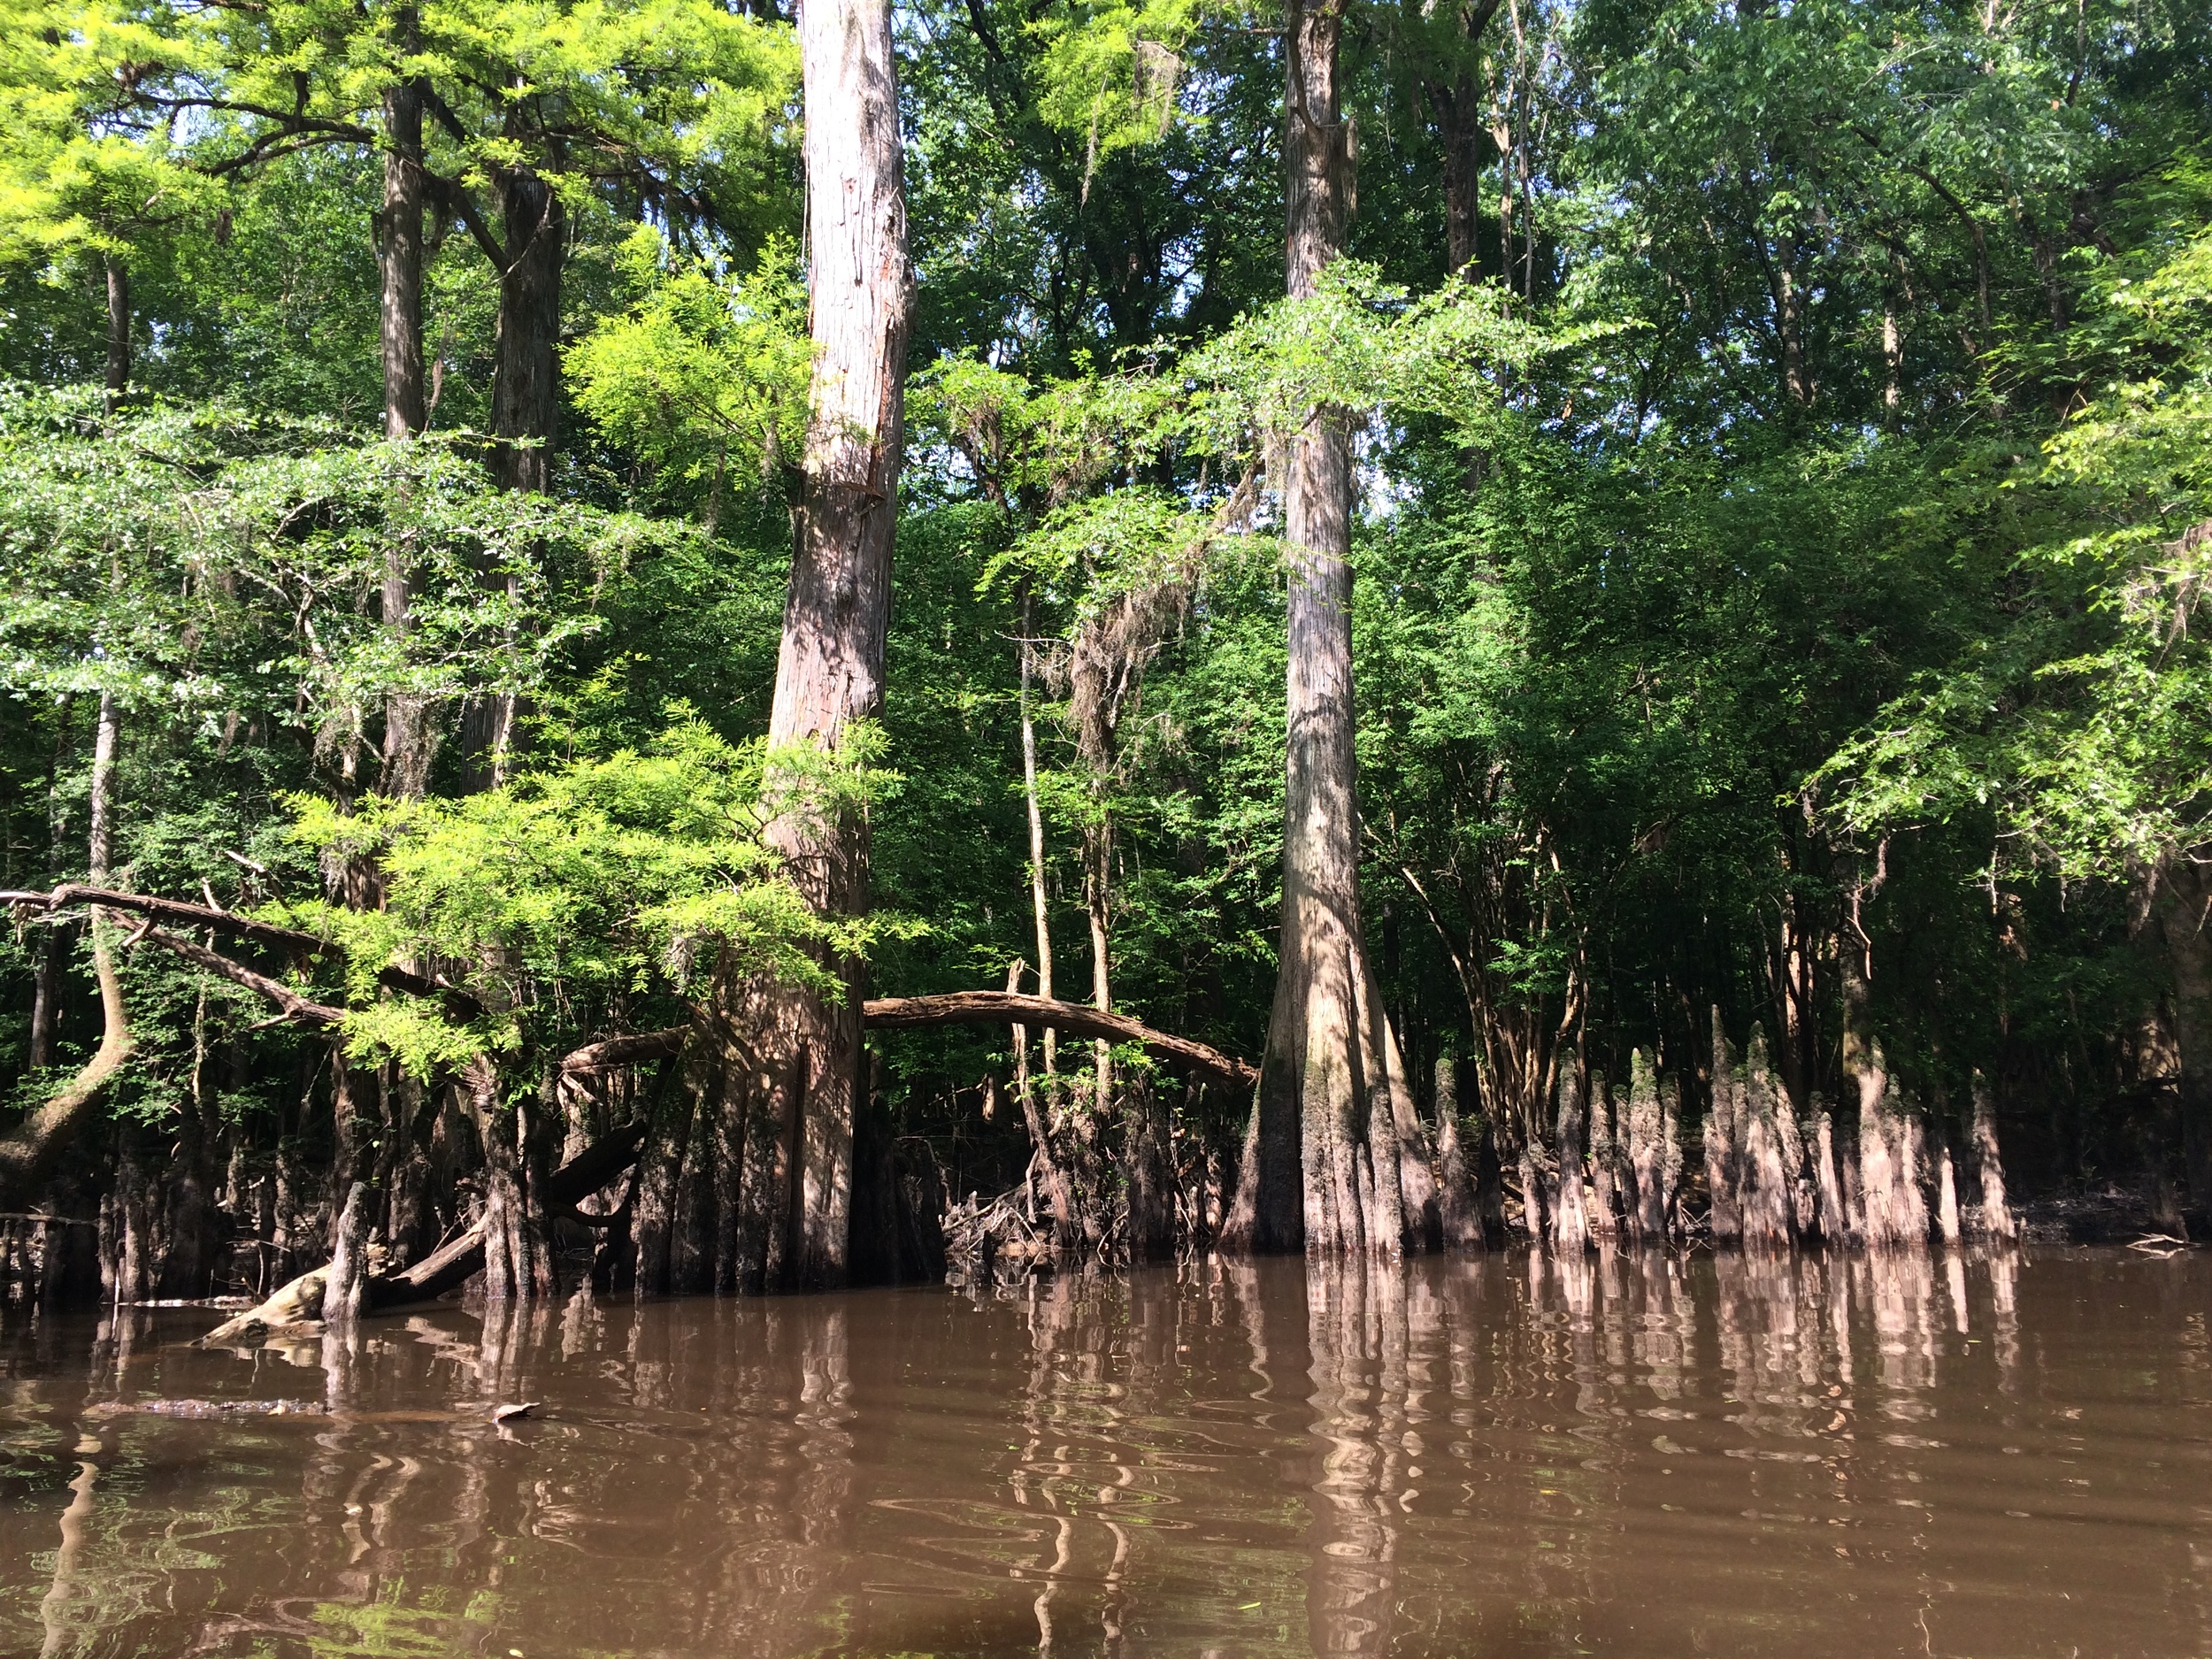
Located about thirty minutes outside of Columbia, "the largest tract of old-growth bottomland hardwood forest left in North America is found in this swampy national park" - over 22,000 Acres of preserve on the Congaree River.

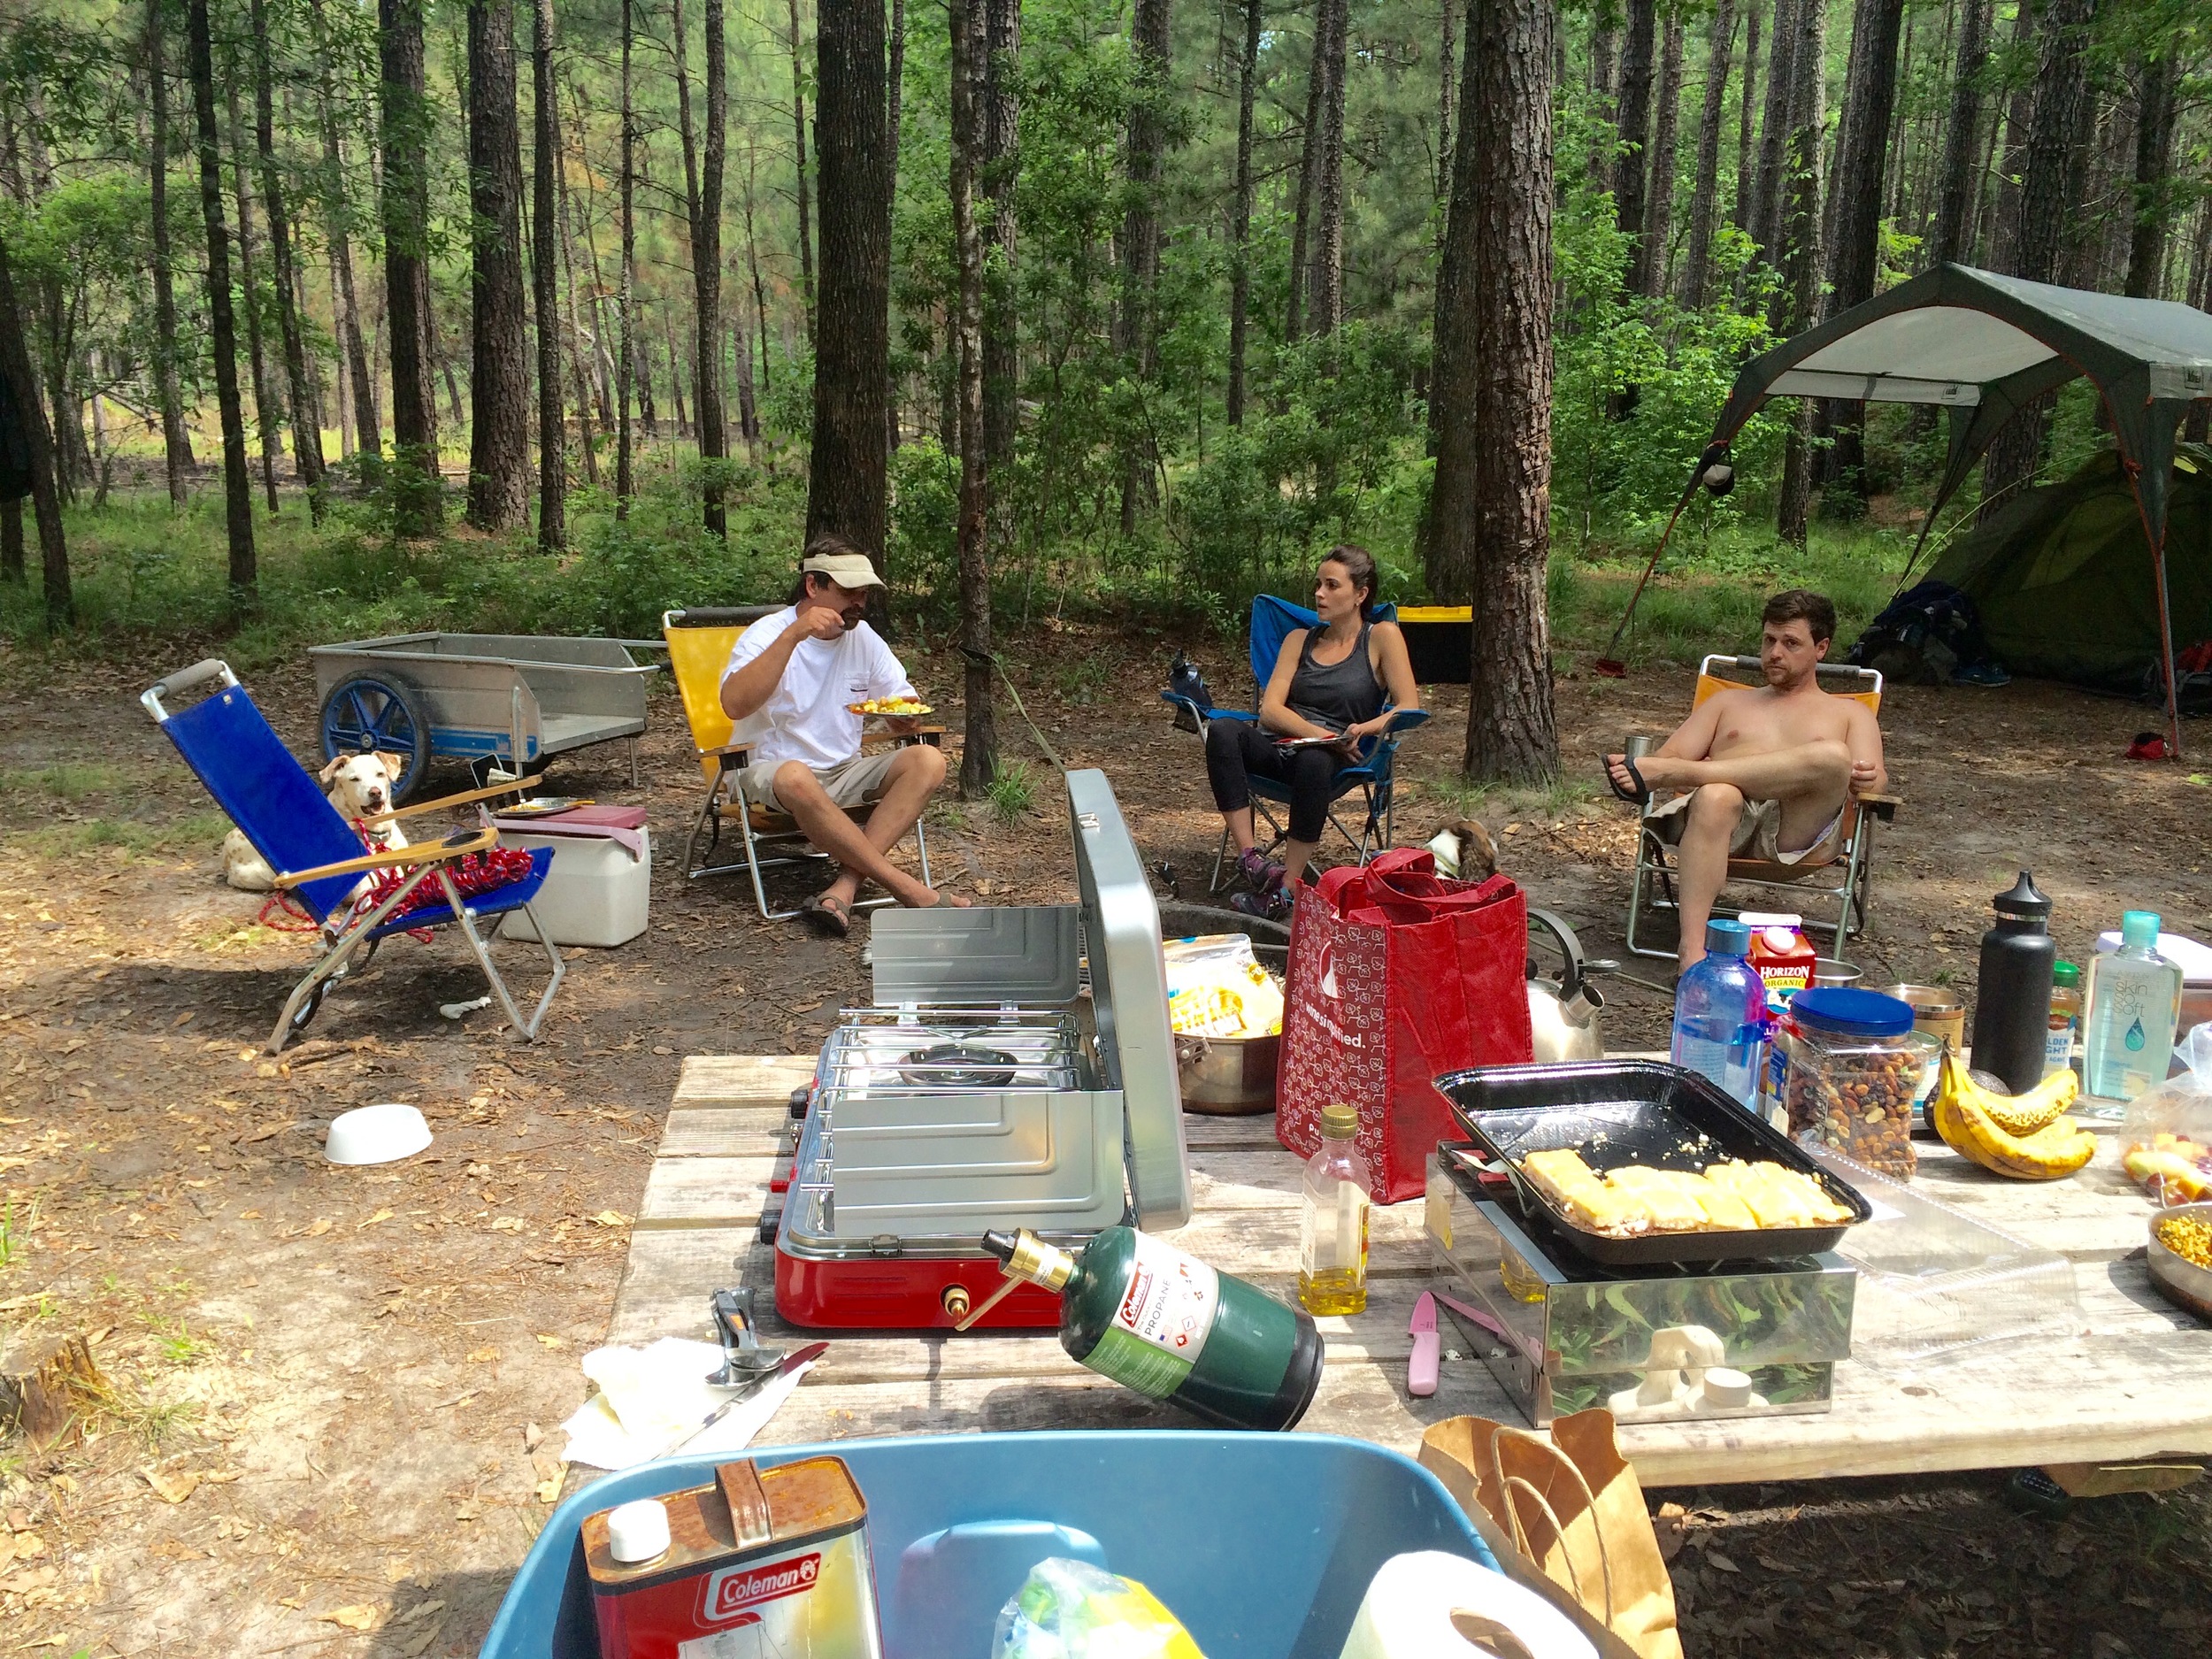
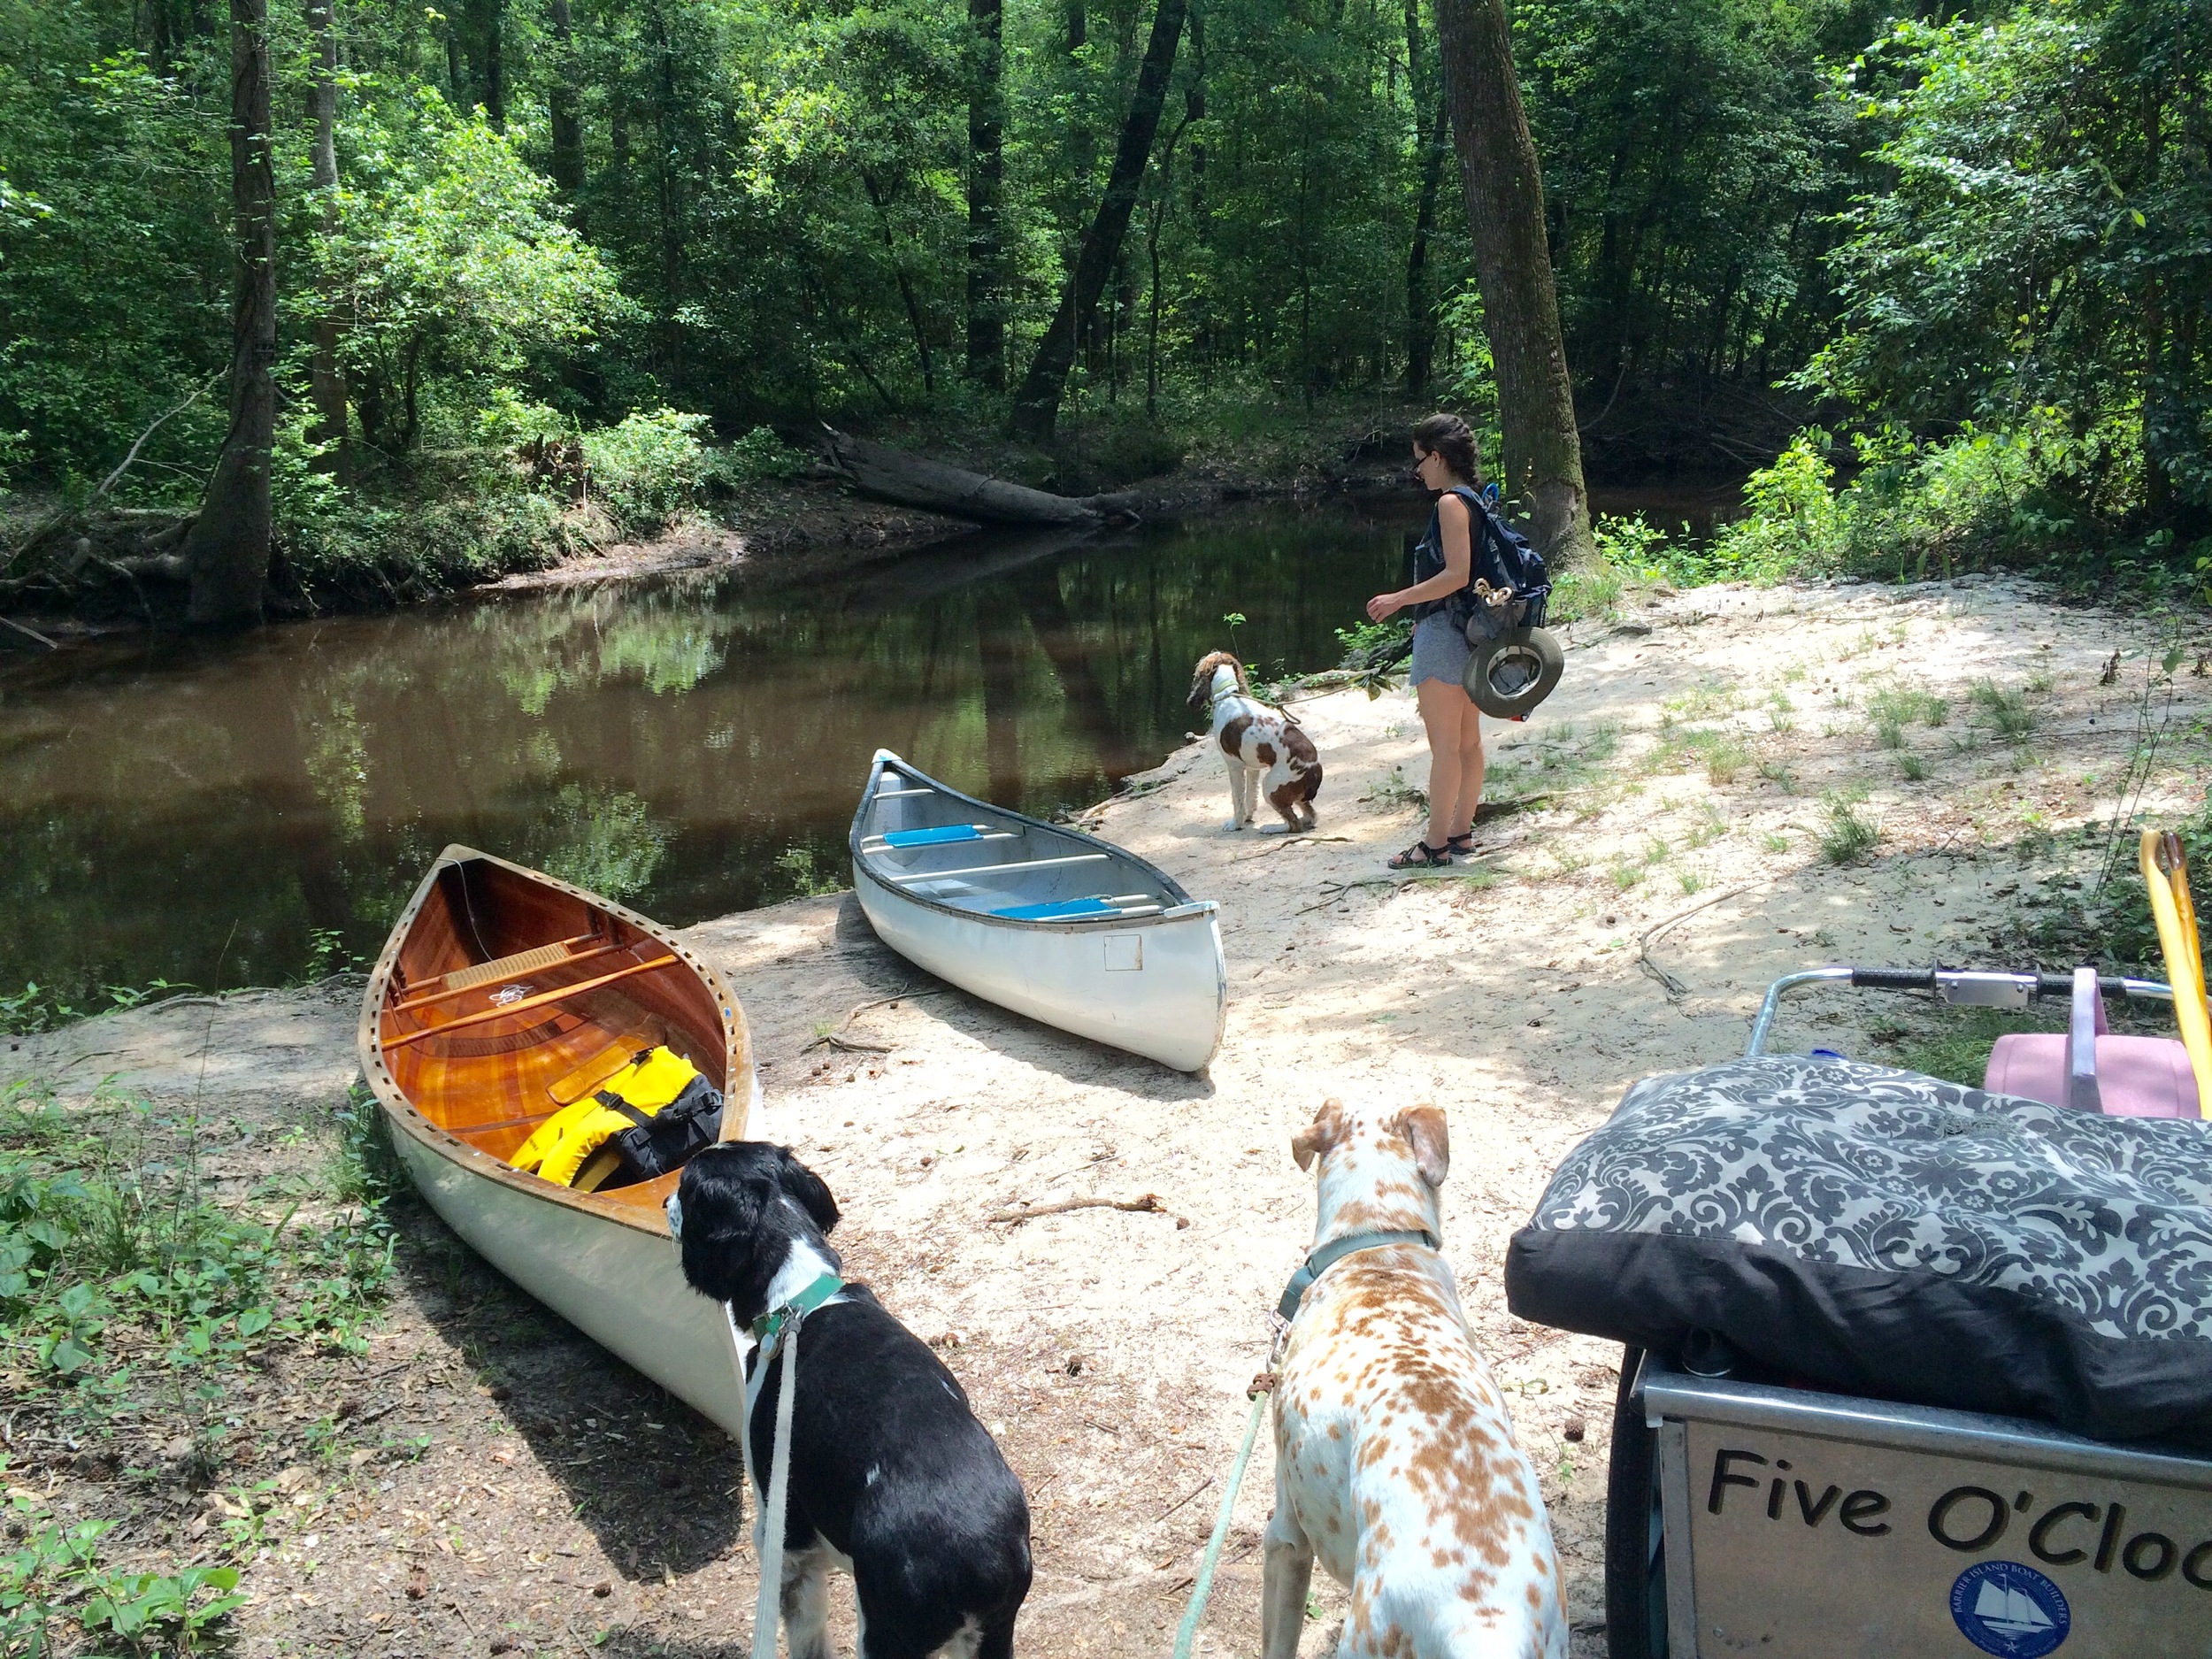
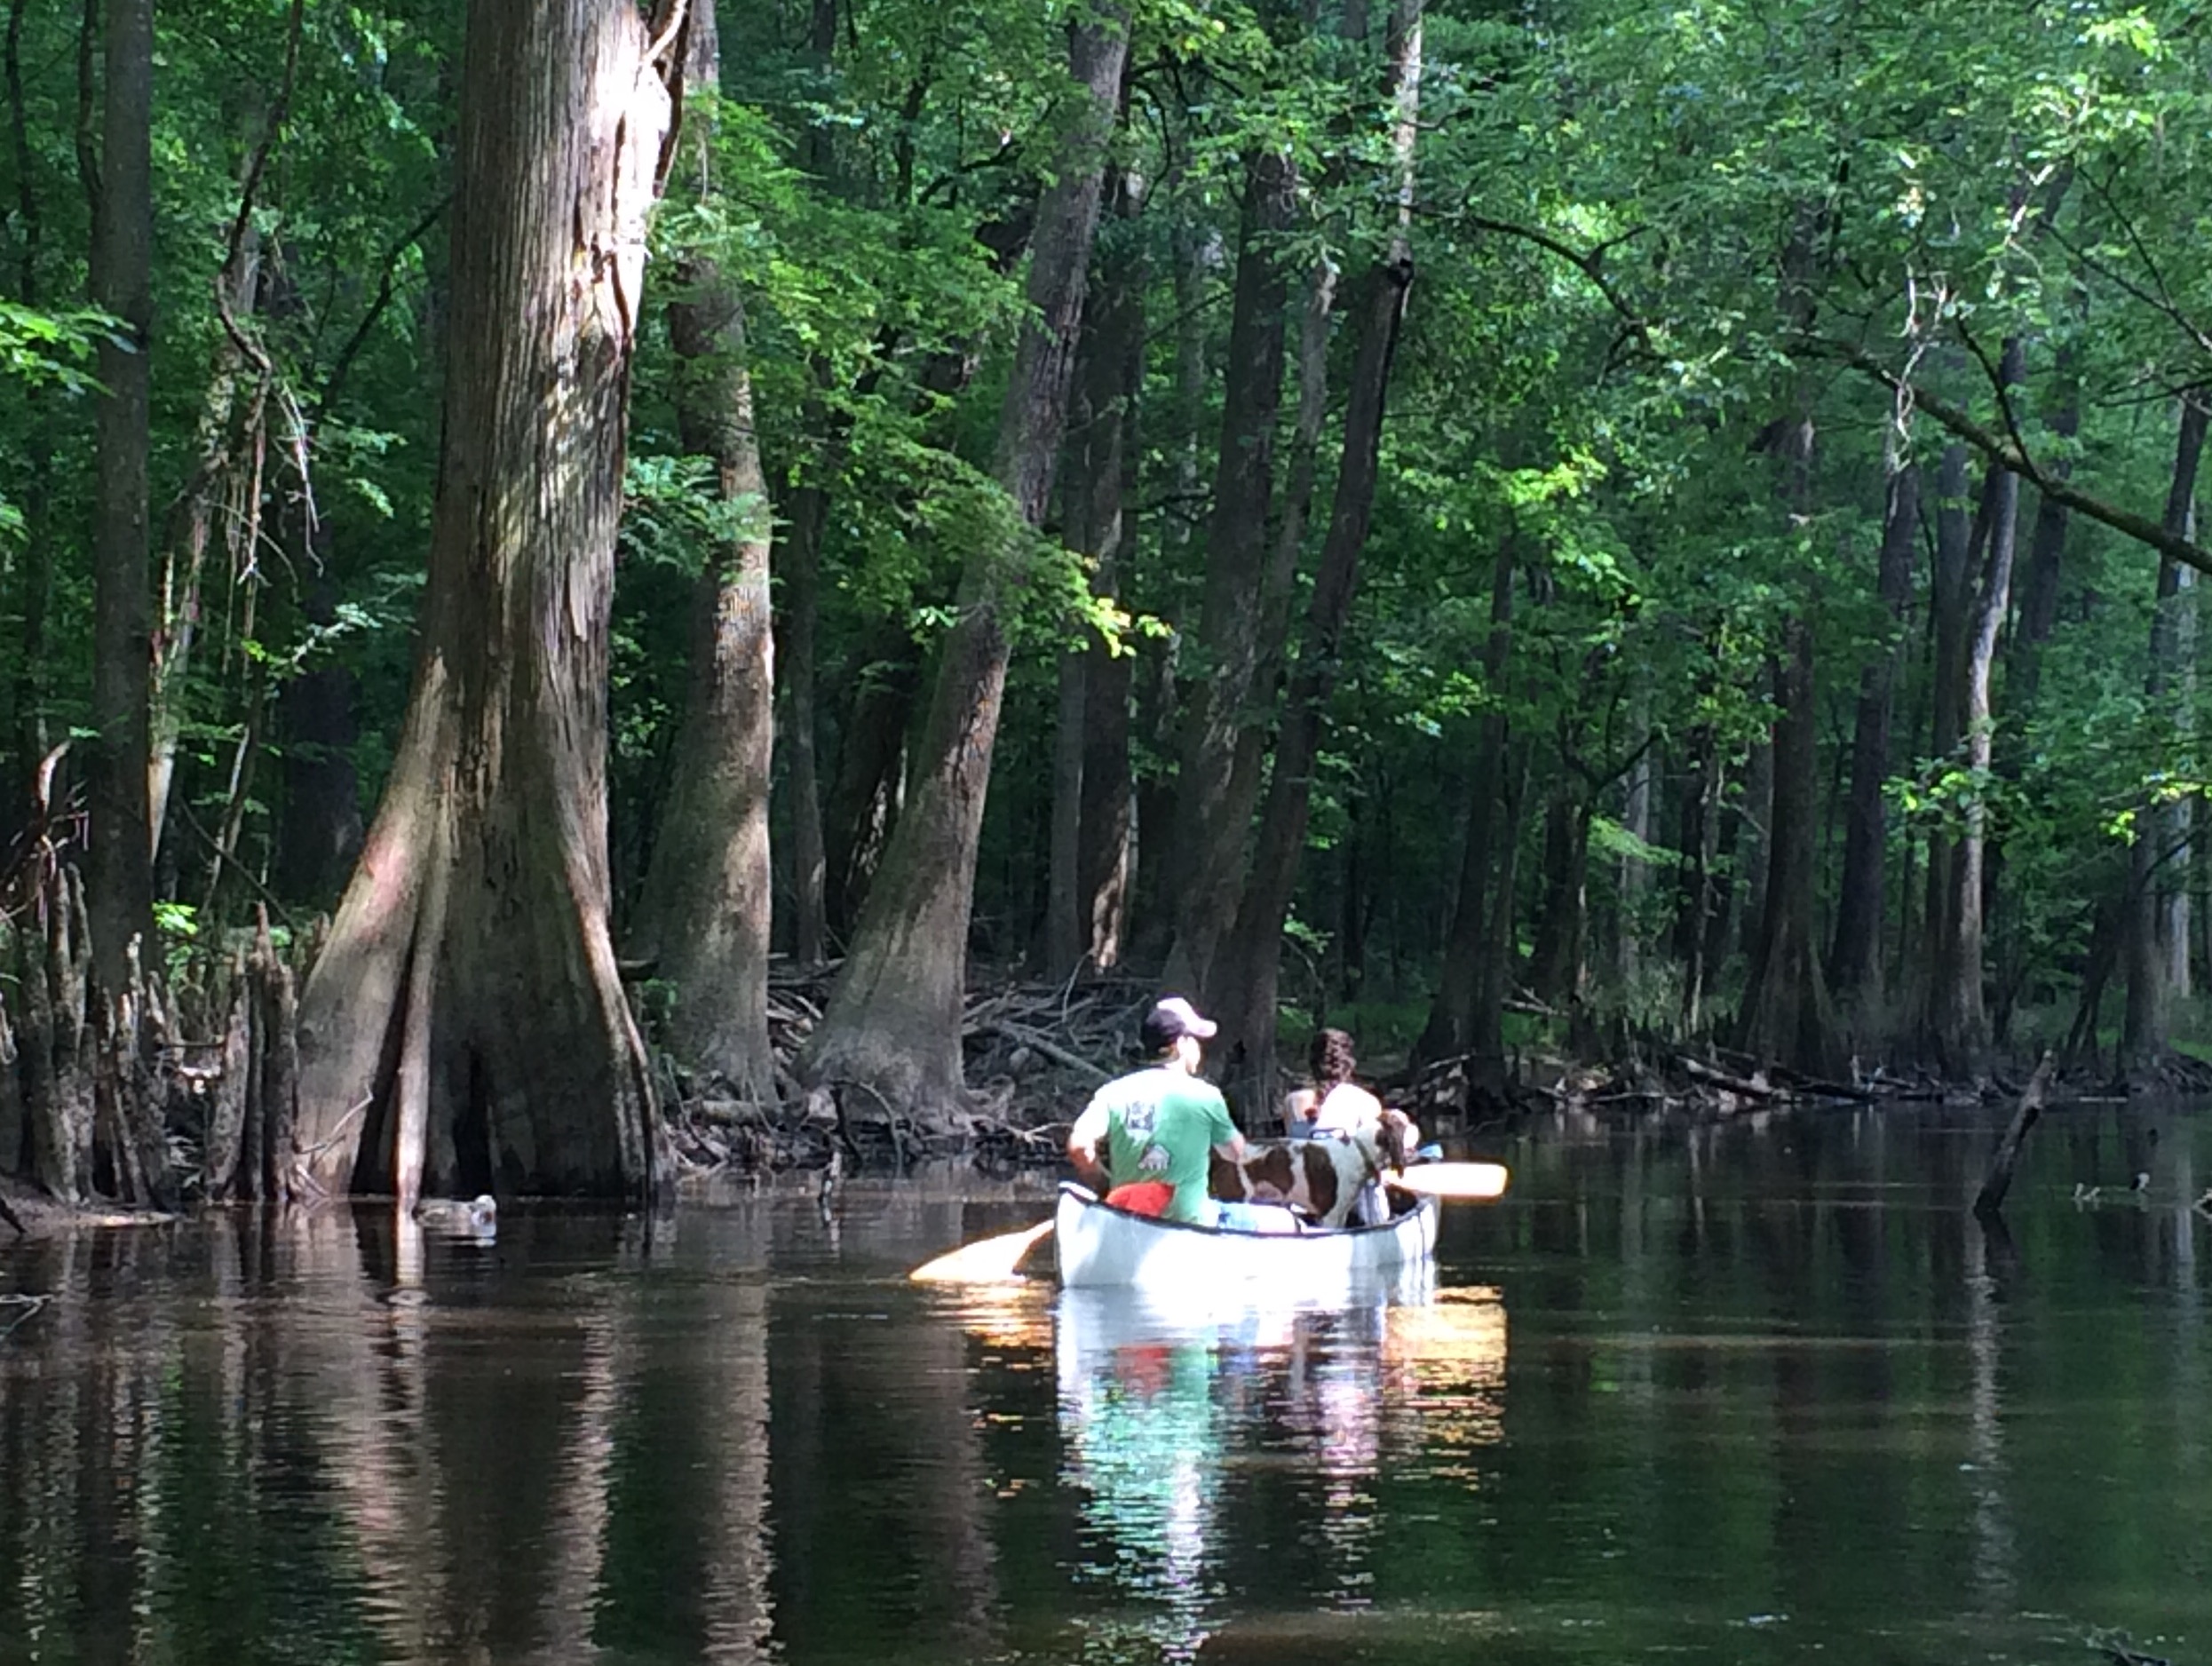
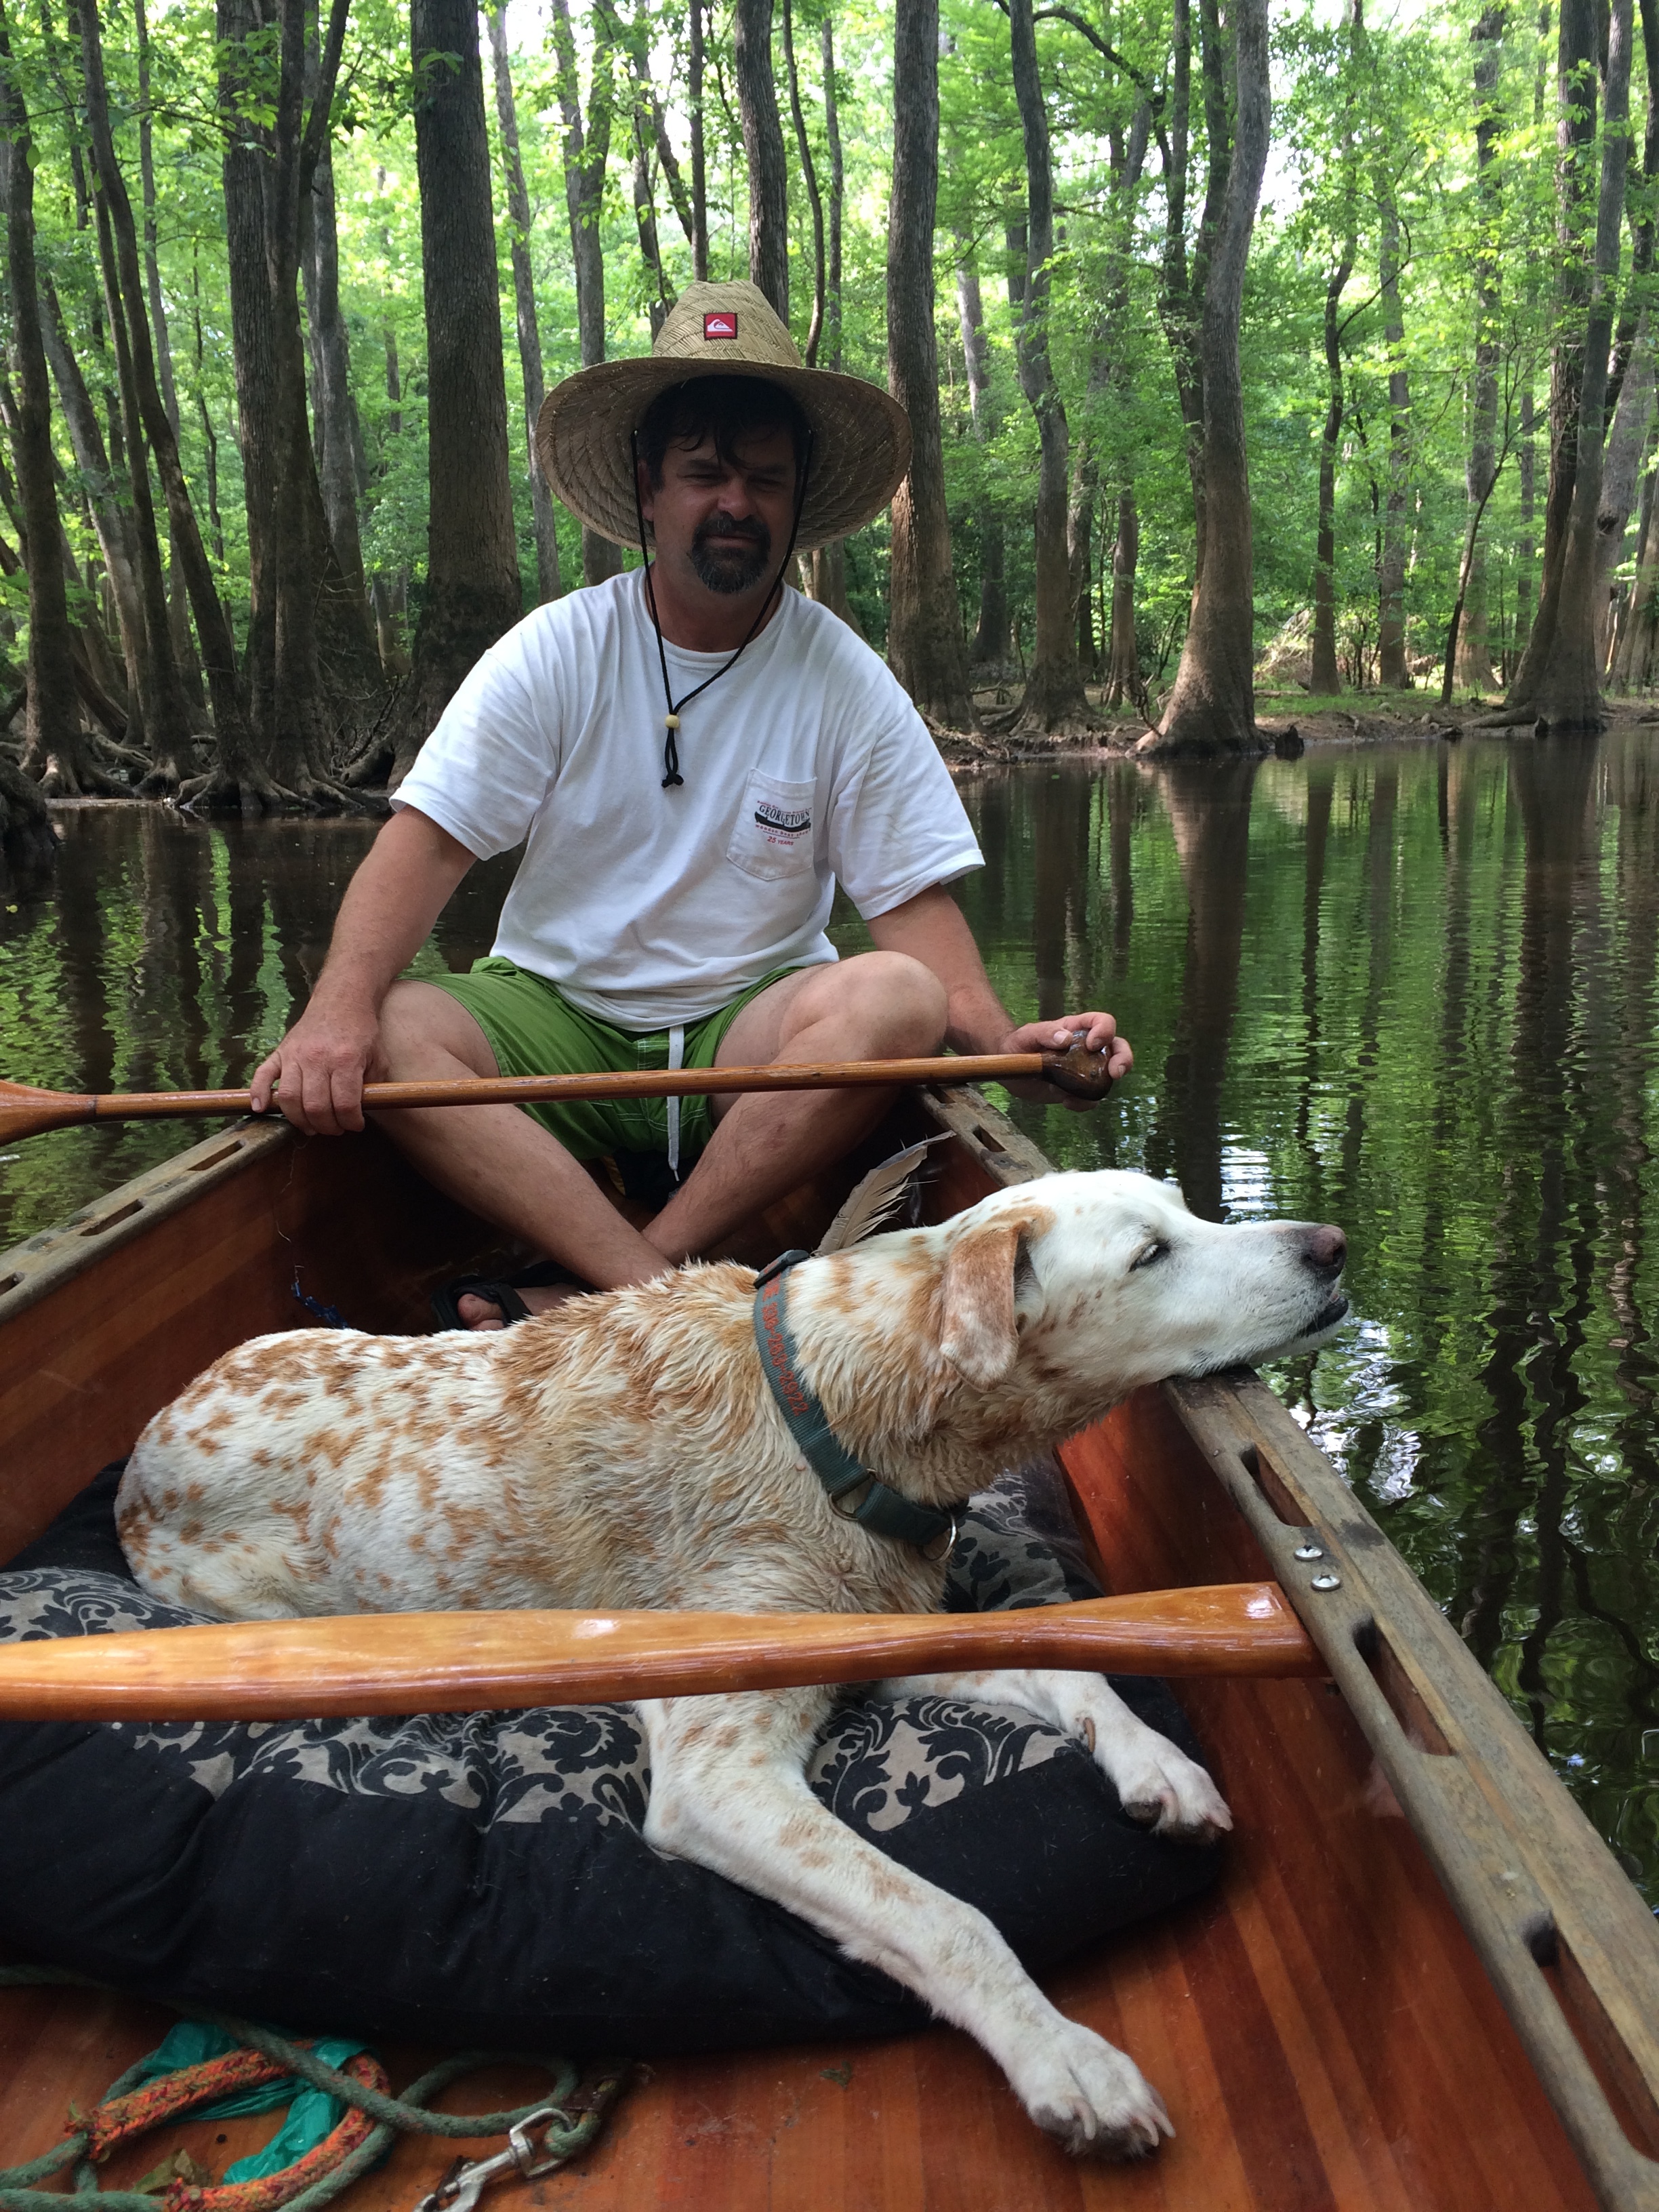
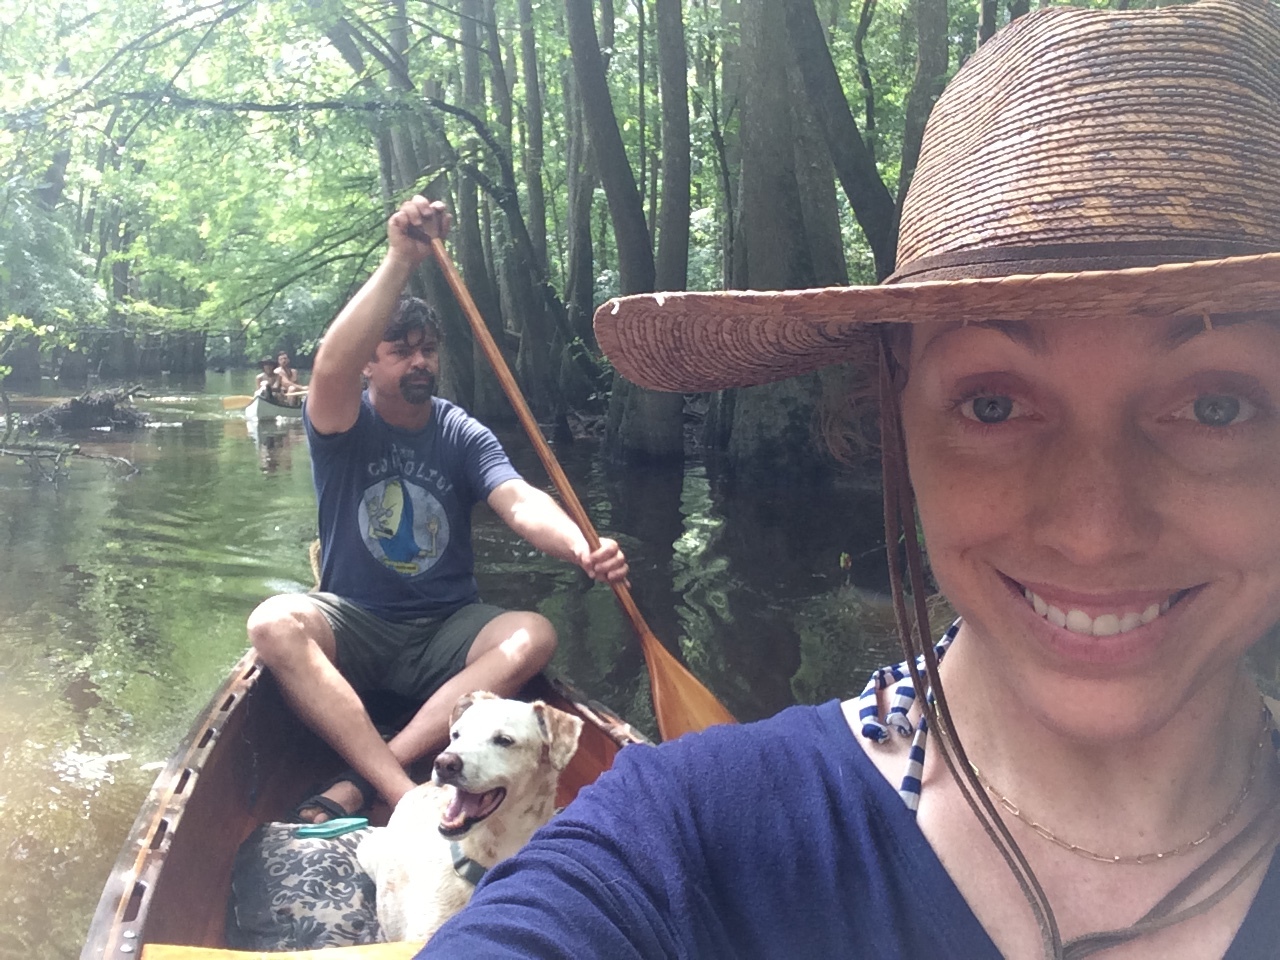
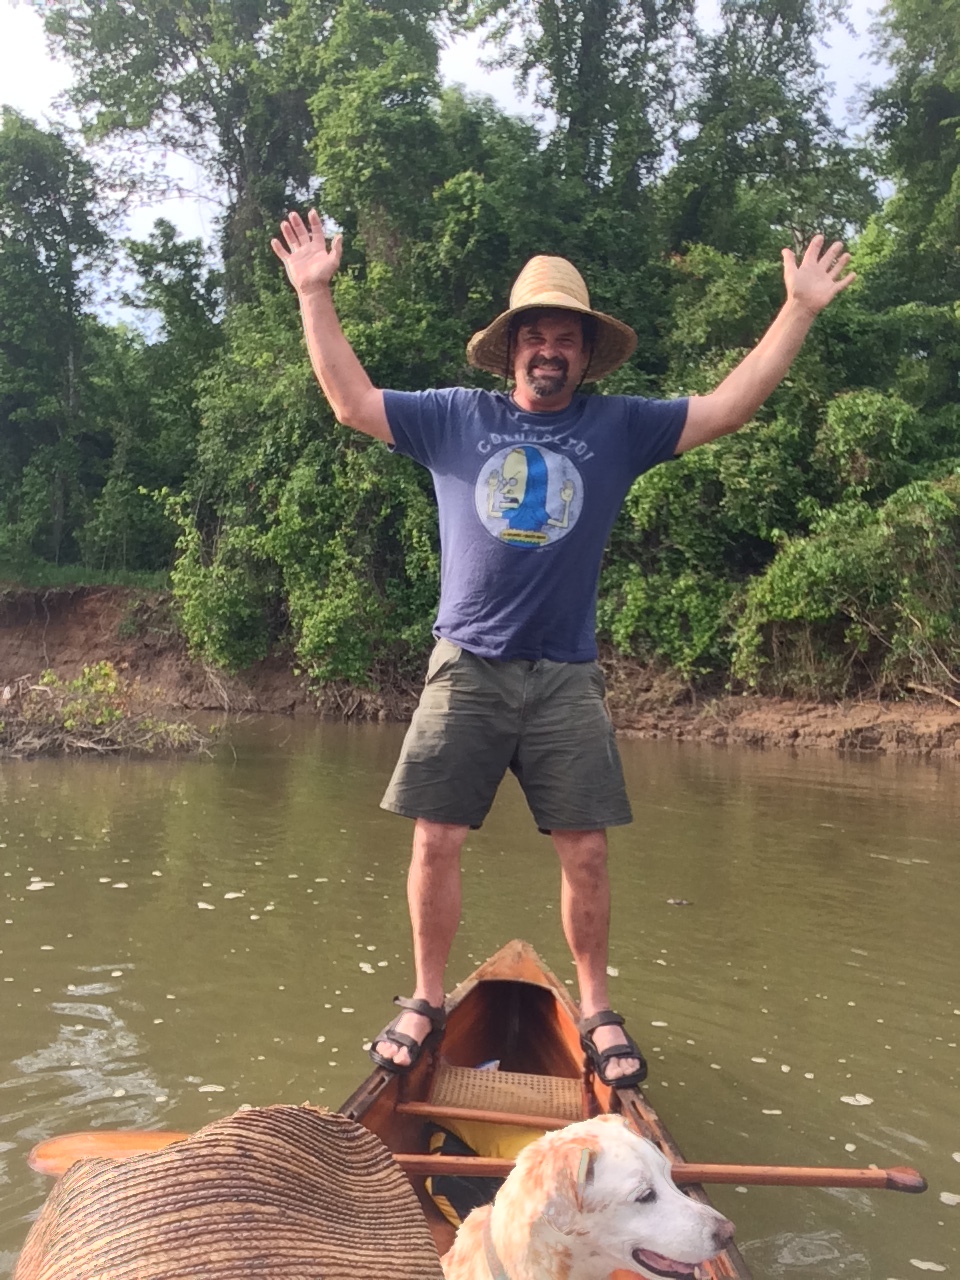
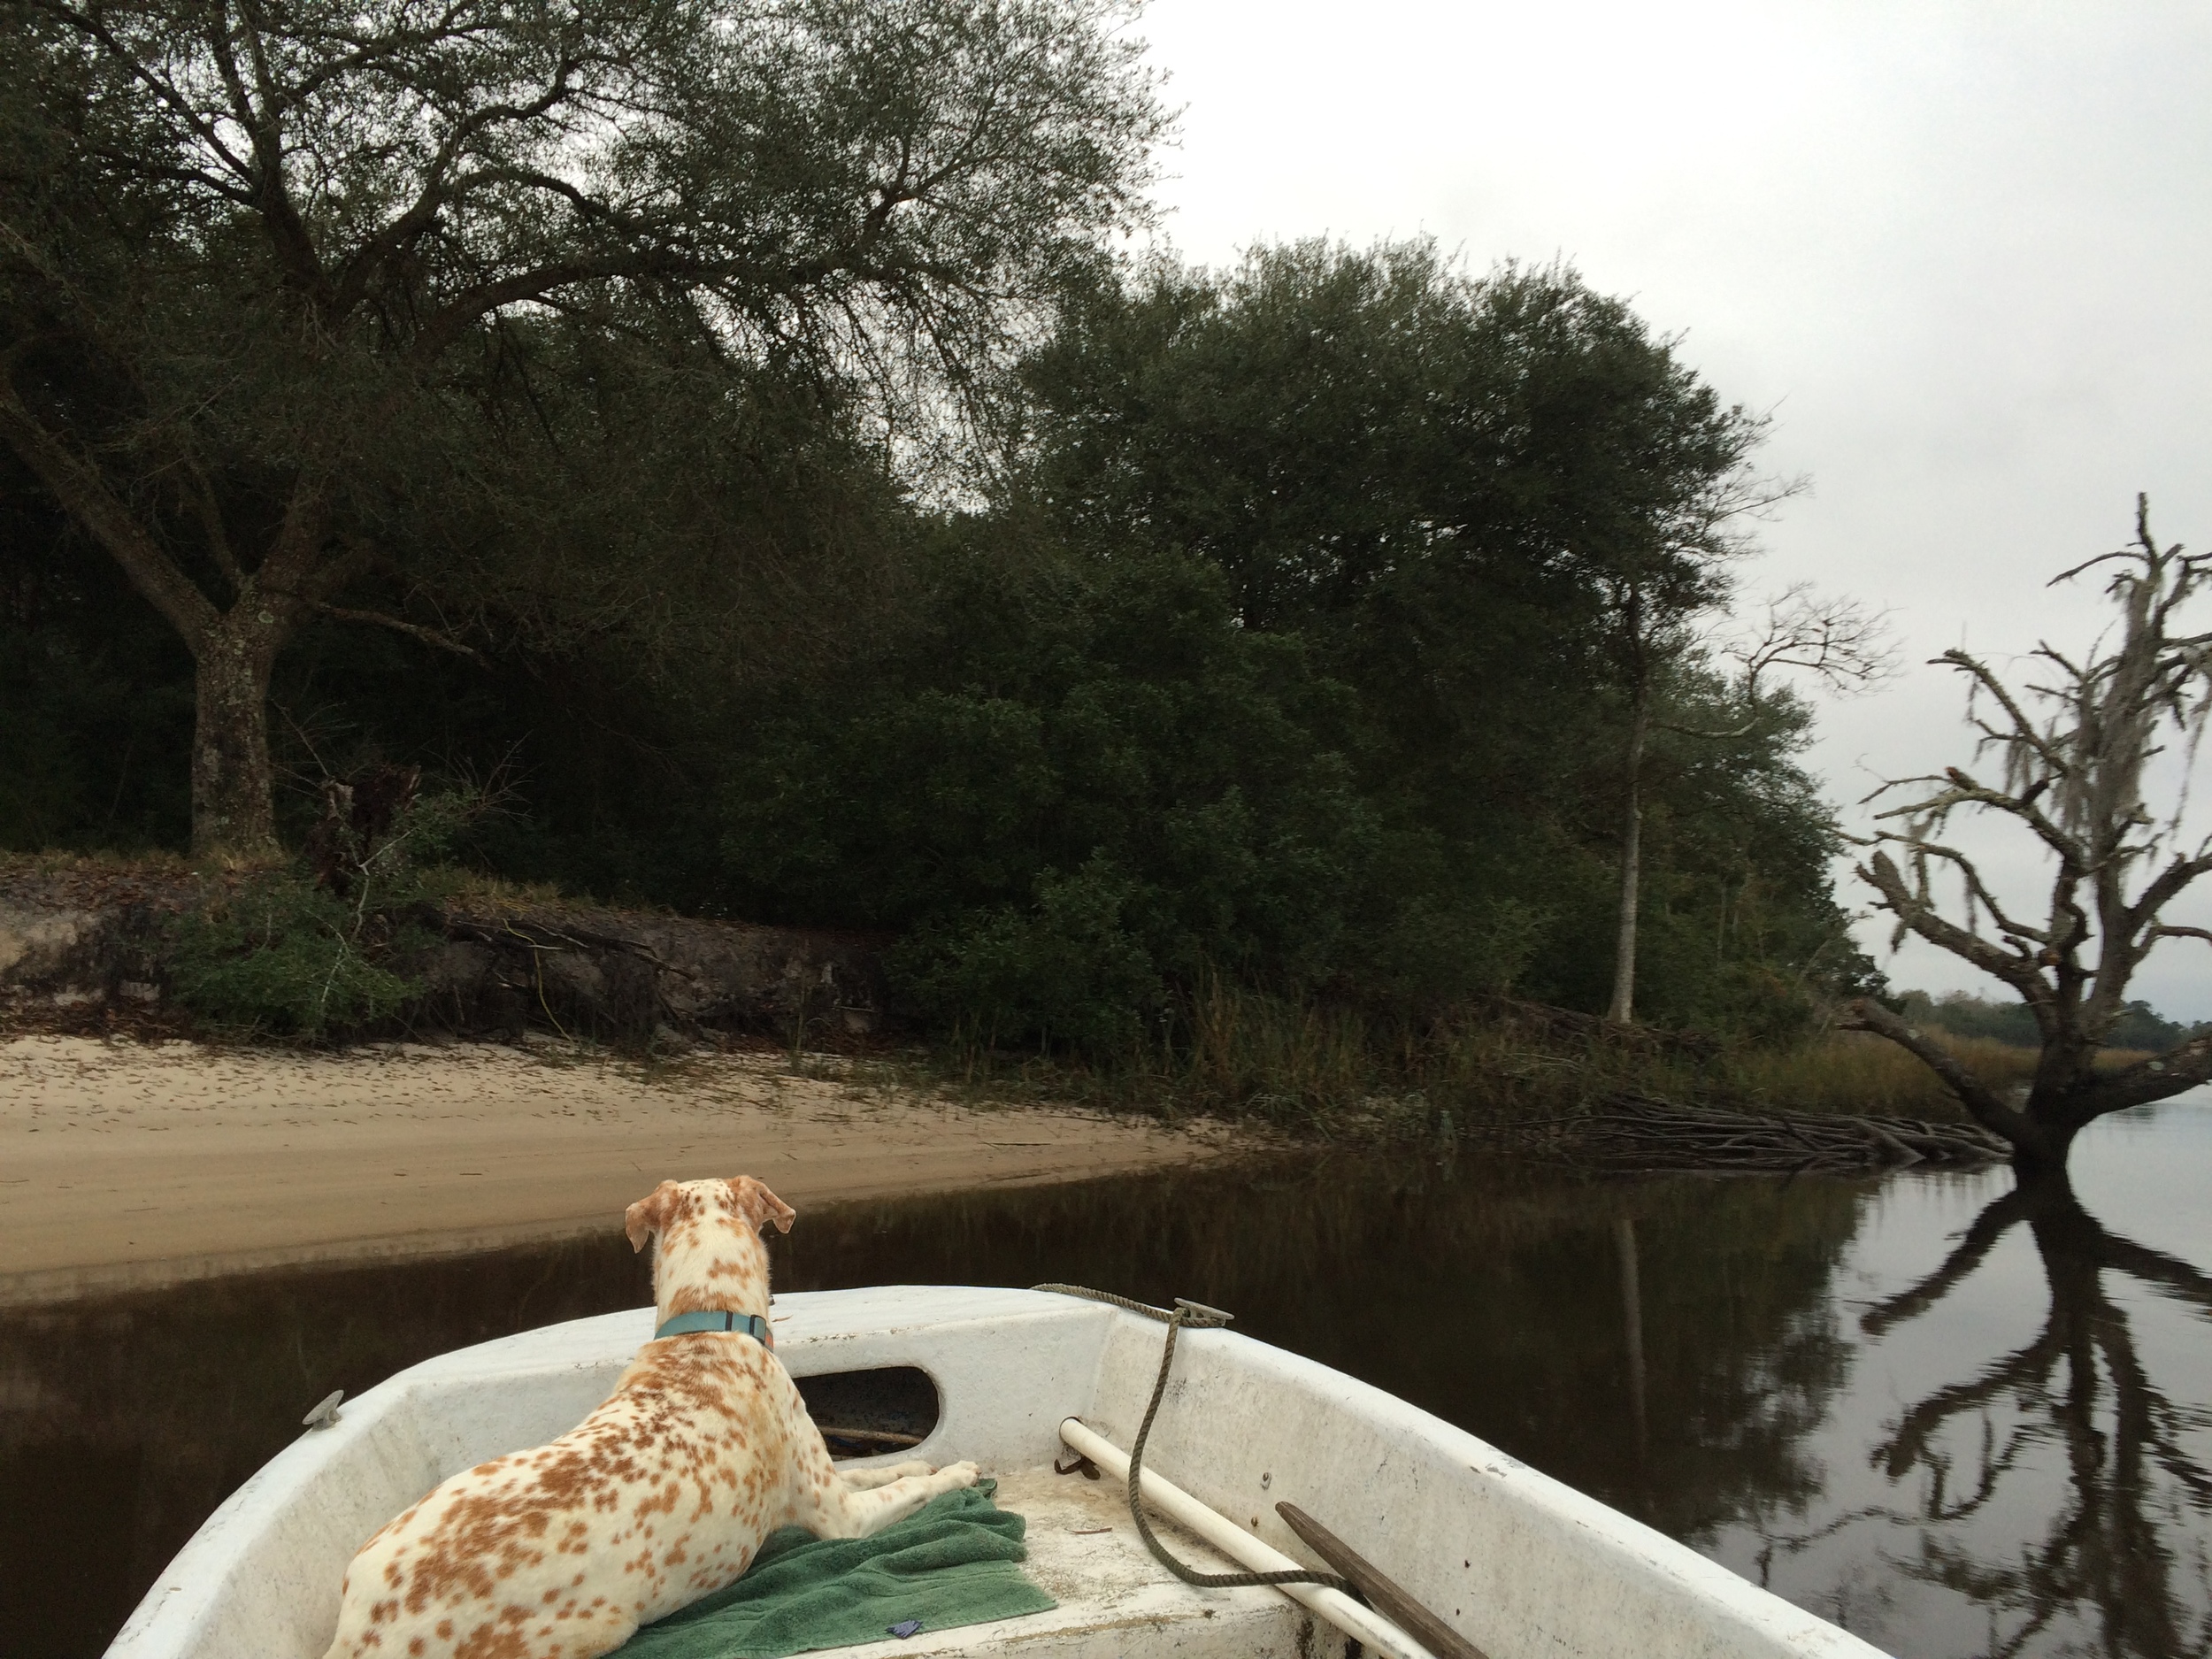
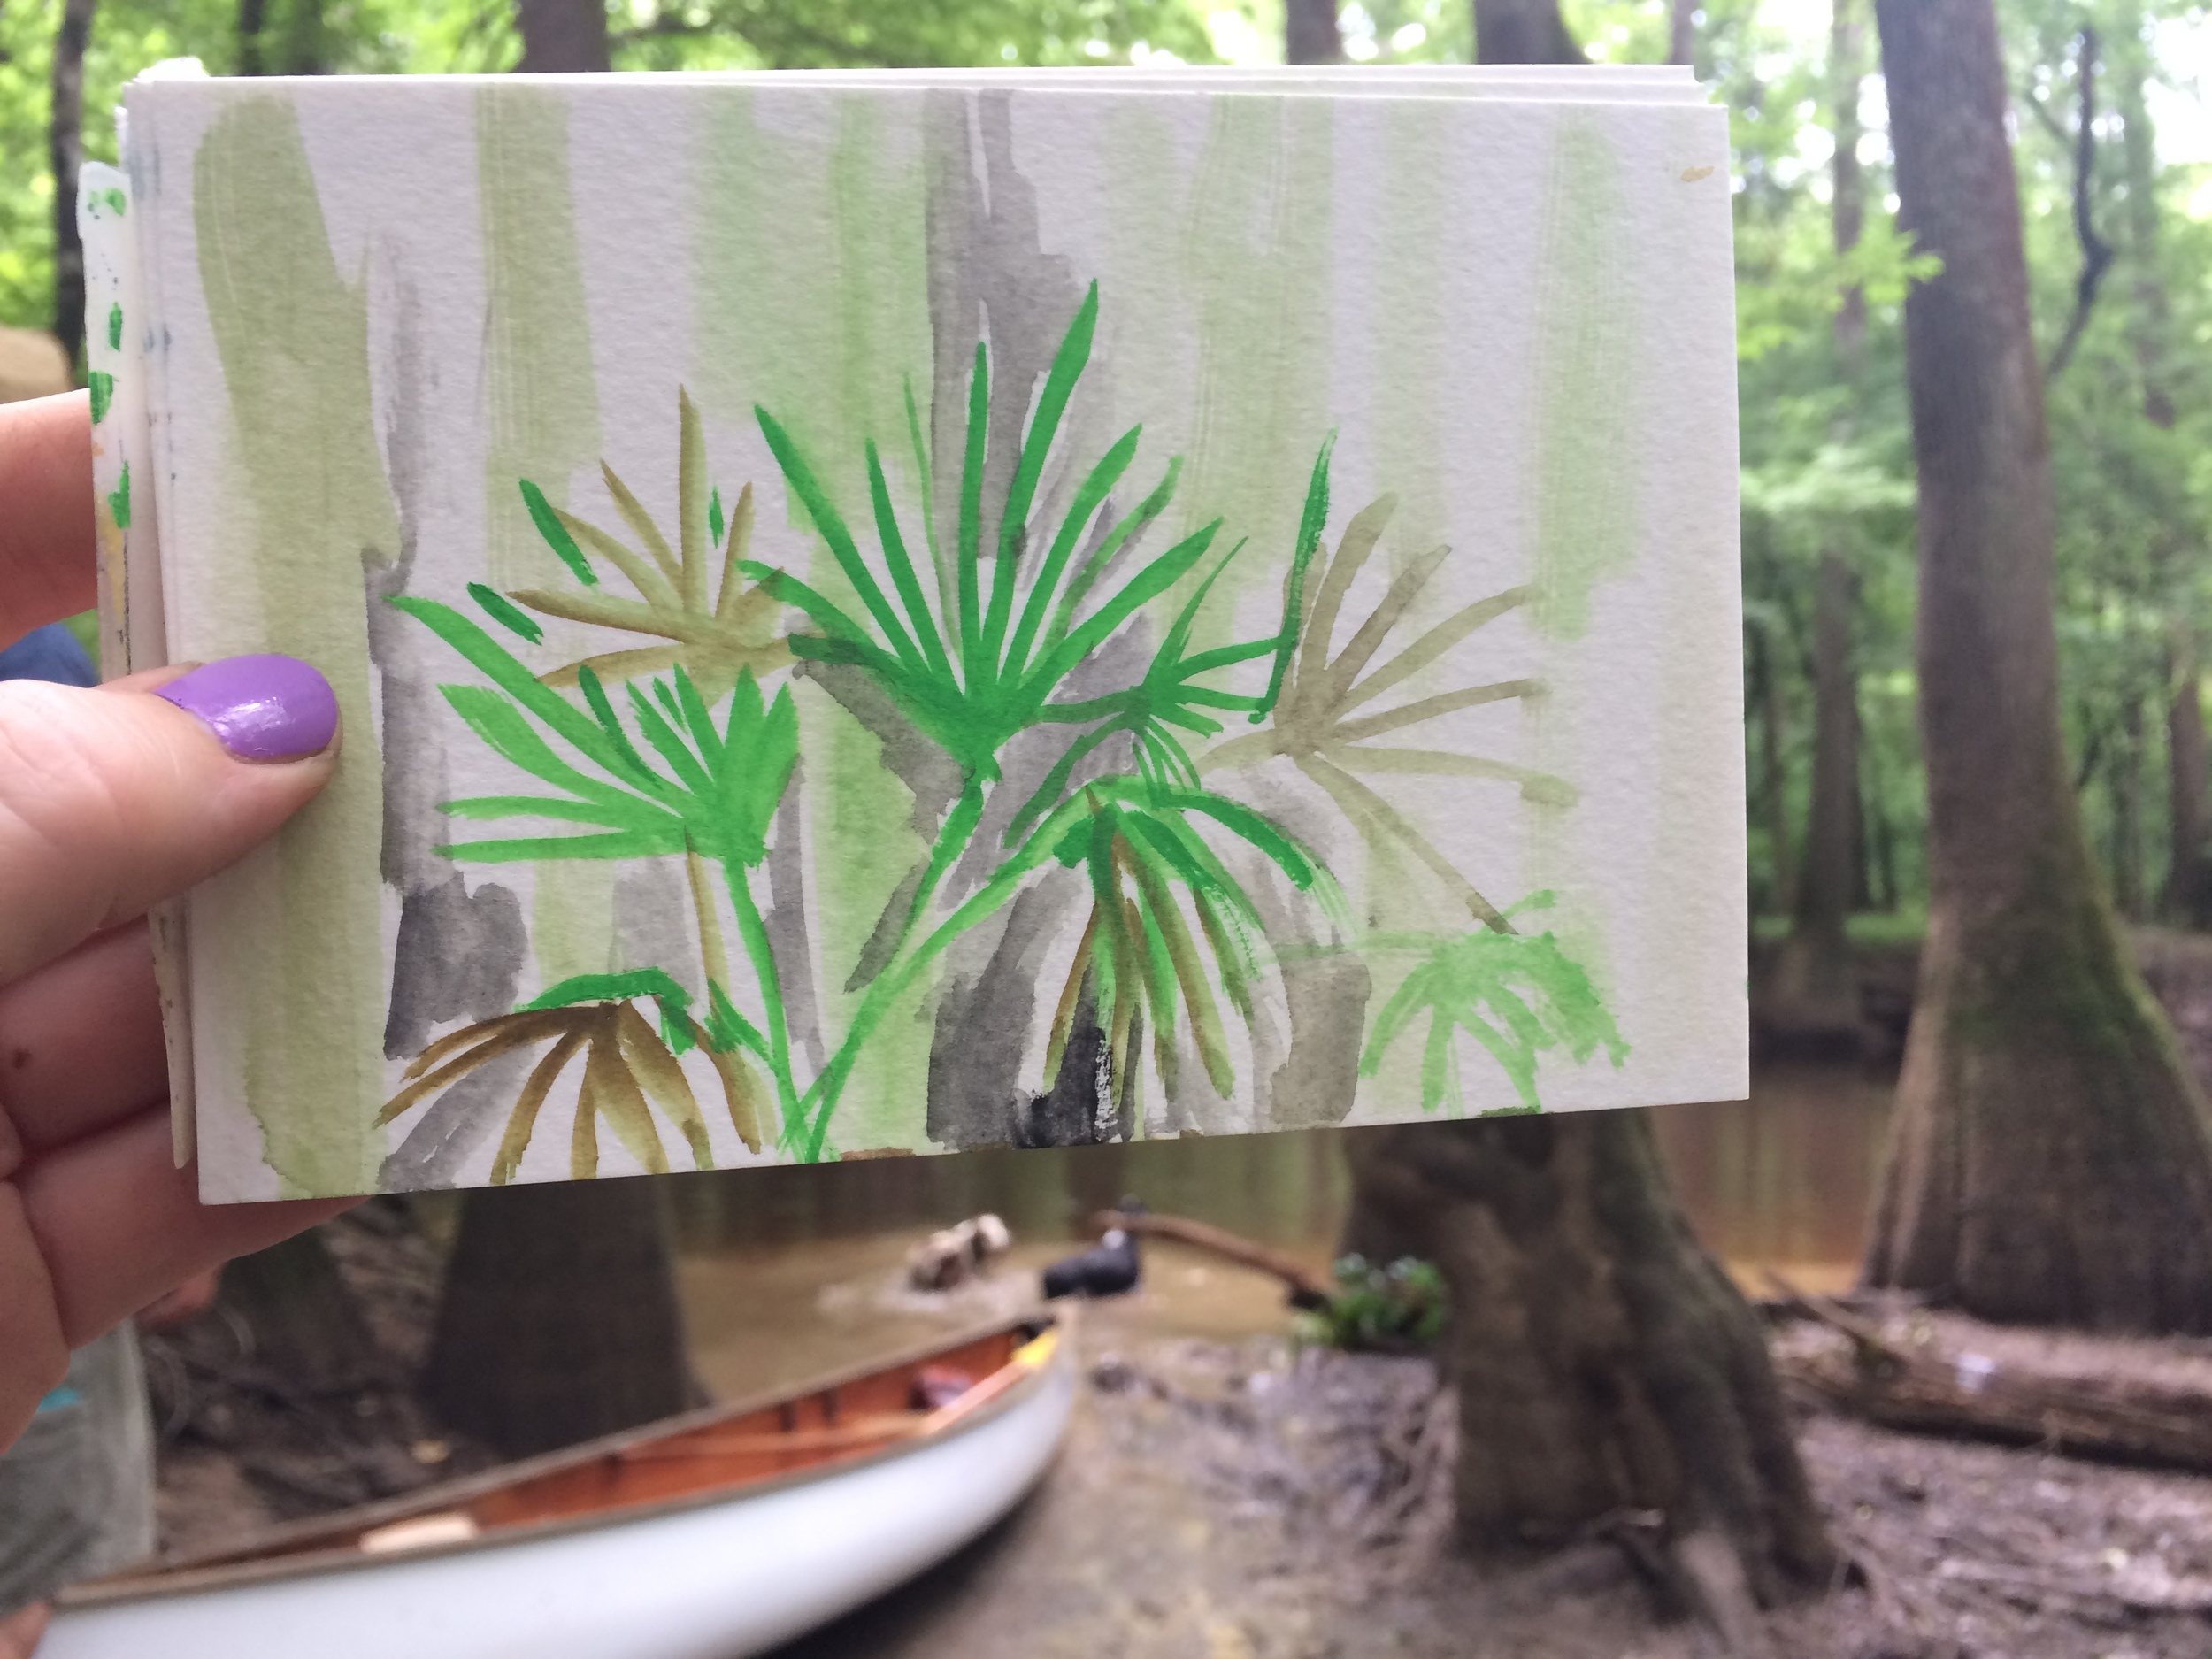
Ted and Lou and I drove up for the day last year to do a 10 mile hike to the river and knew we wanted to come back with the canoe asap.  So this year, for our annual April camping adventure with Douglas and Ashley, we spent the weekend at the campground located in the Congaree National Park with canoes and dogs in tow.

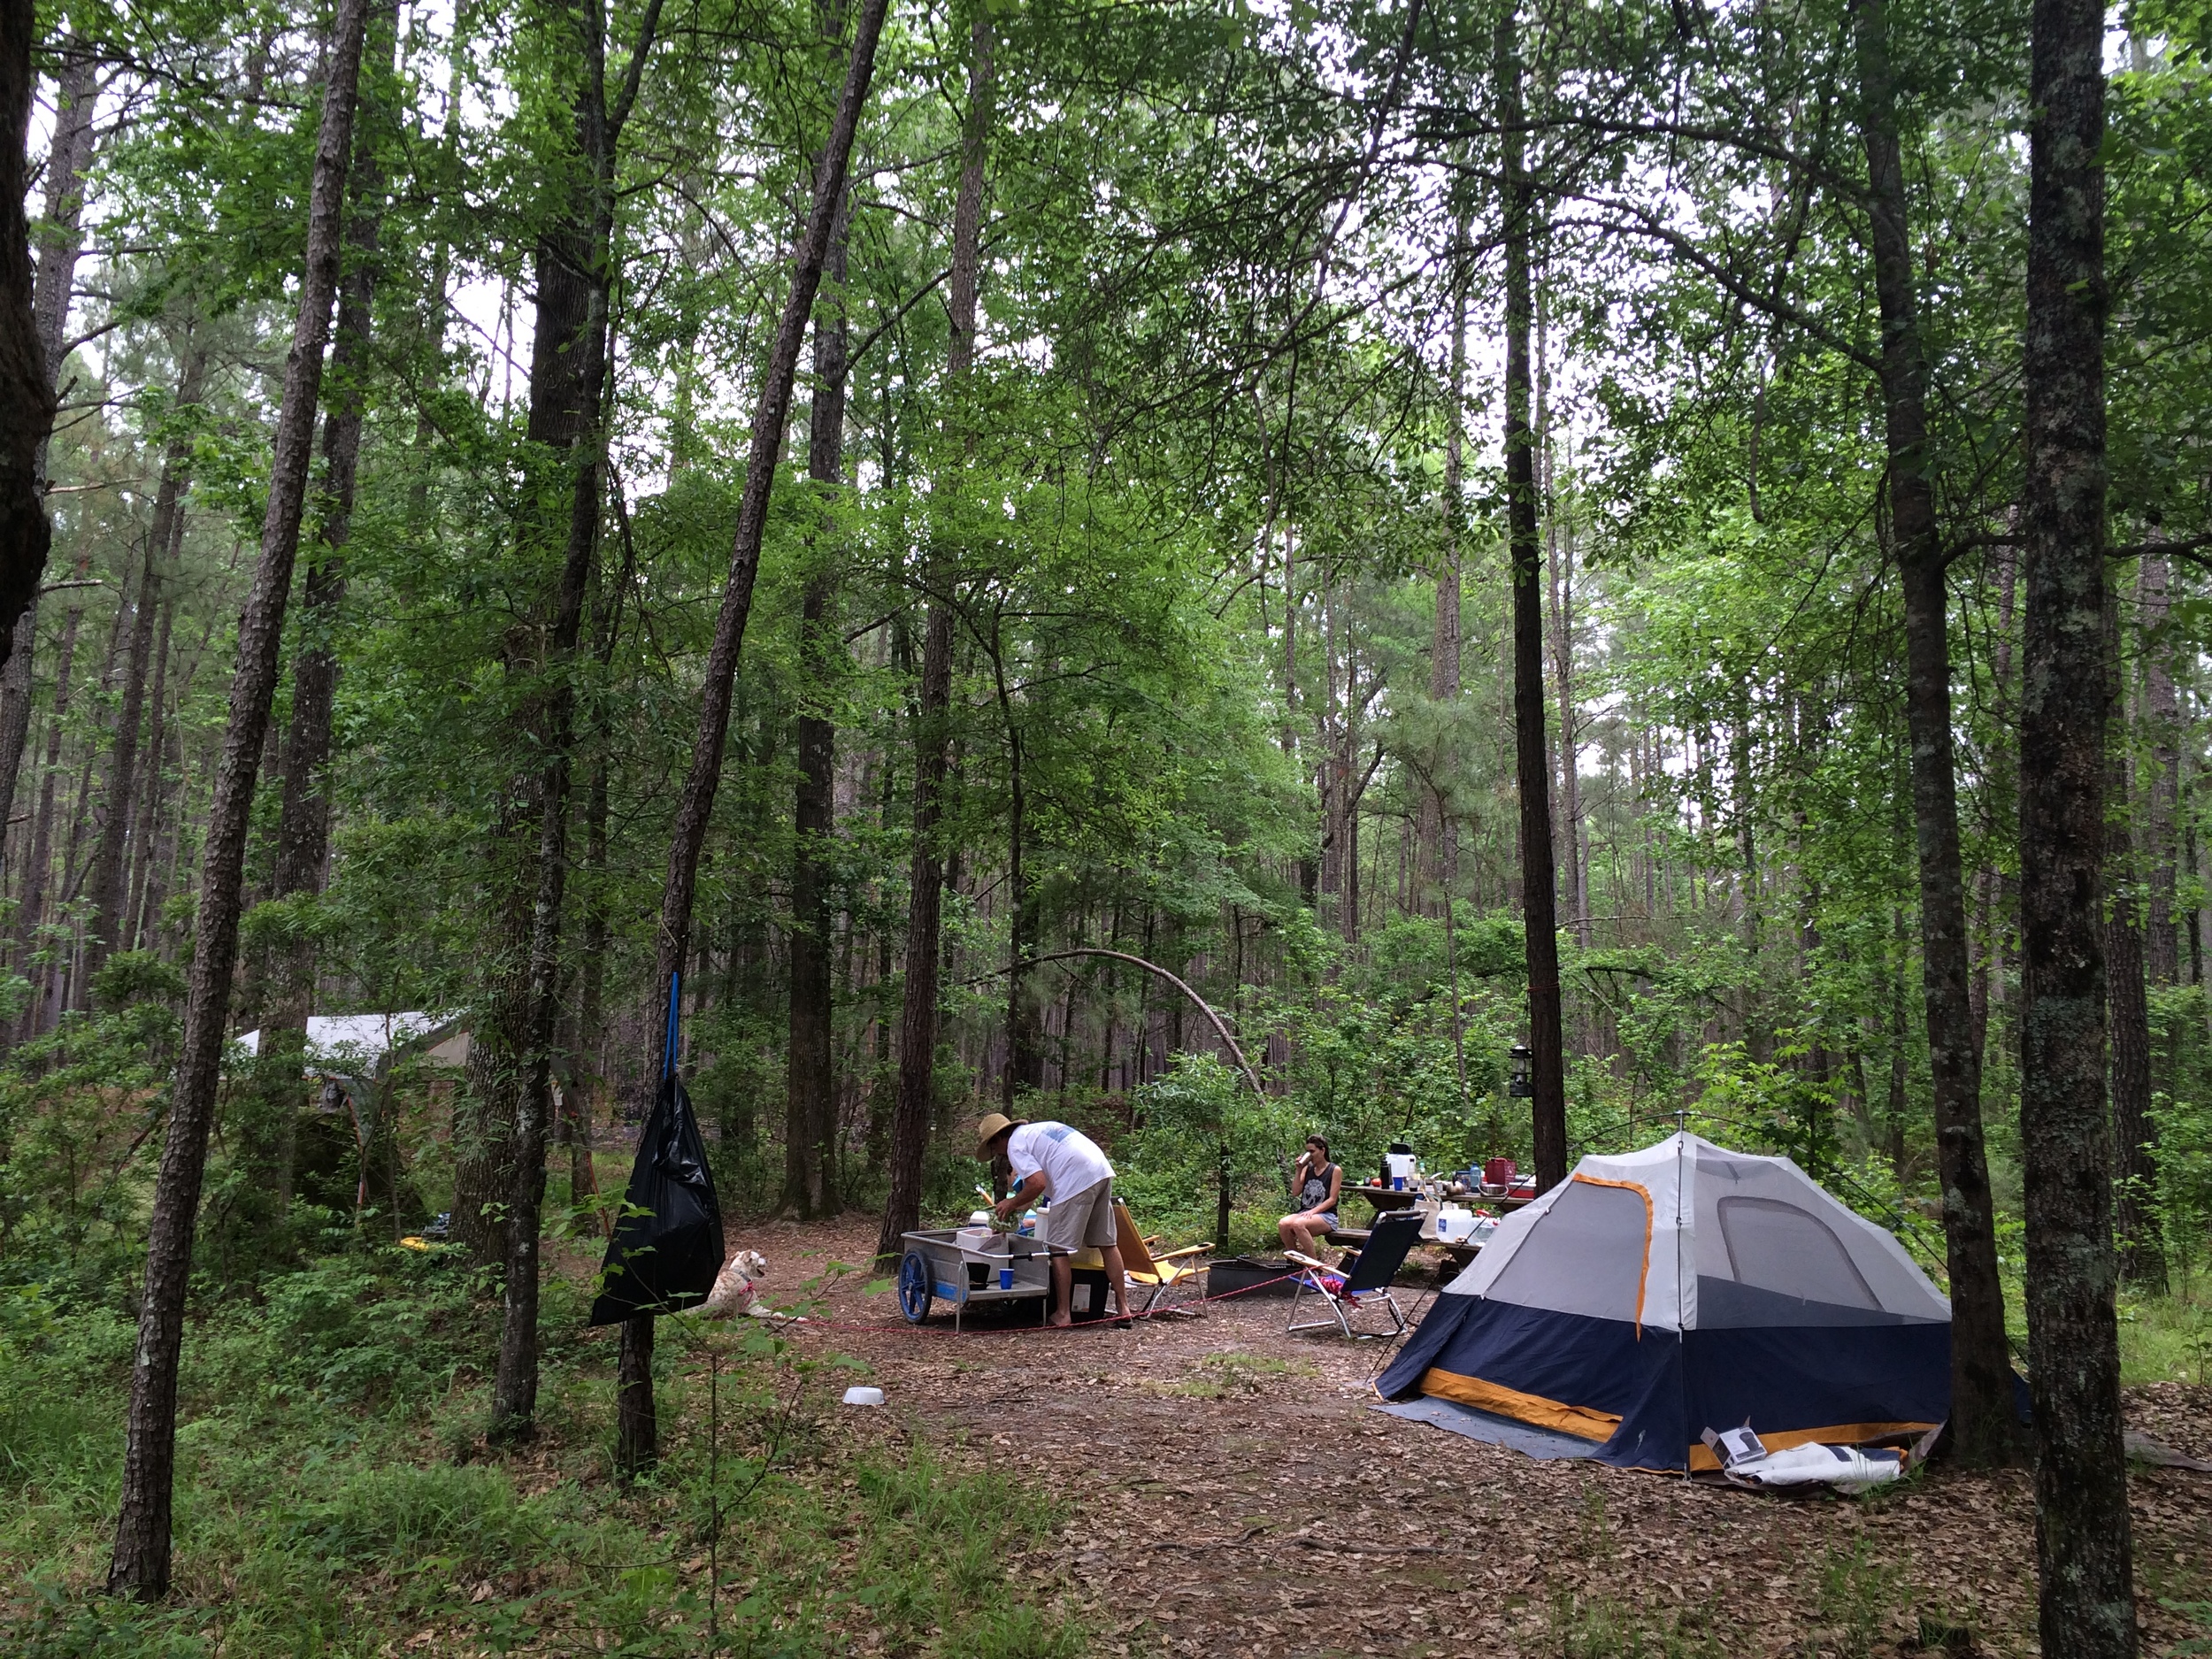
The campground was great - wooded and natural - the campsites weren't on top of each other. There isn't any running water and you have to tote your stuff about 1/4 mile from the parking lot to the campsite, but it's worth it not to be in a  parking lot atmosphere.  We only got reprimanded by the ranger once (dogs off leash rule, per the usual - and we had three dogs with us) I'd definitely give the place the thumbs up - just don't go during mosquito-season because that would be uber miserable.

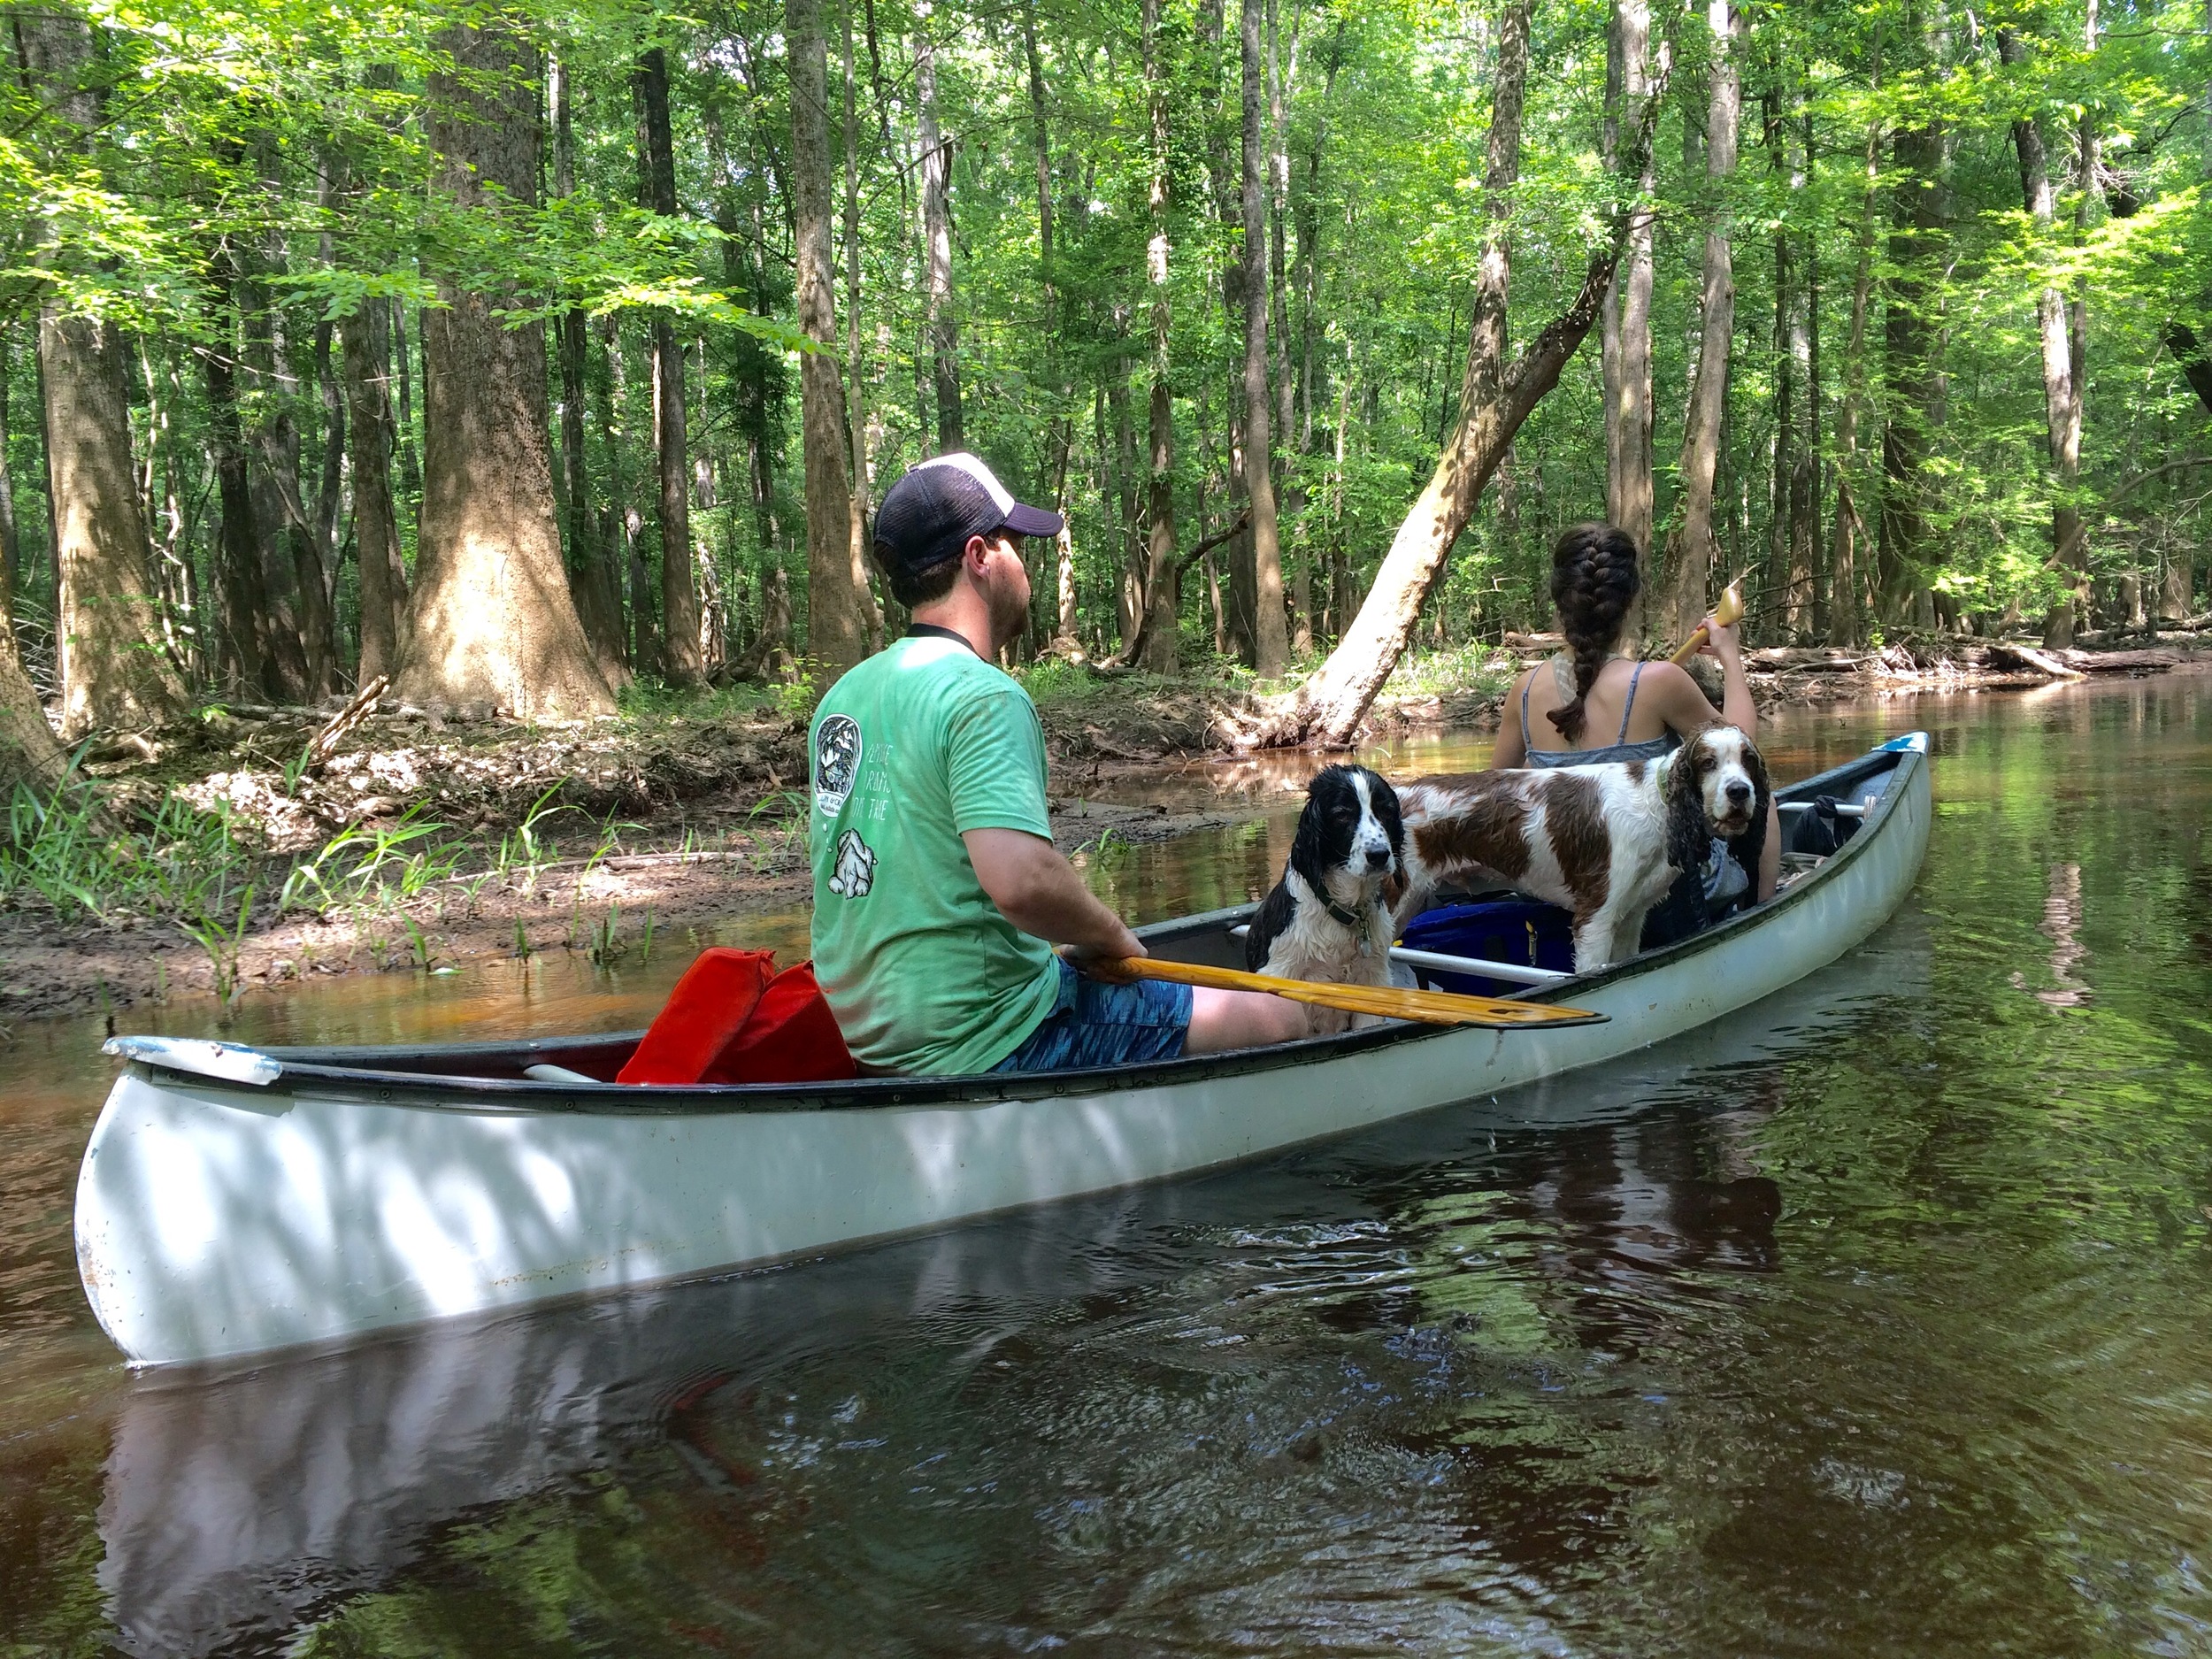
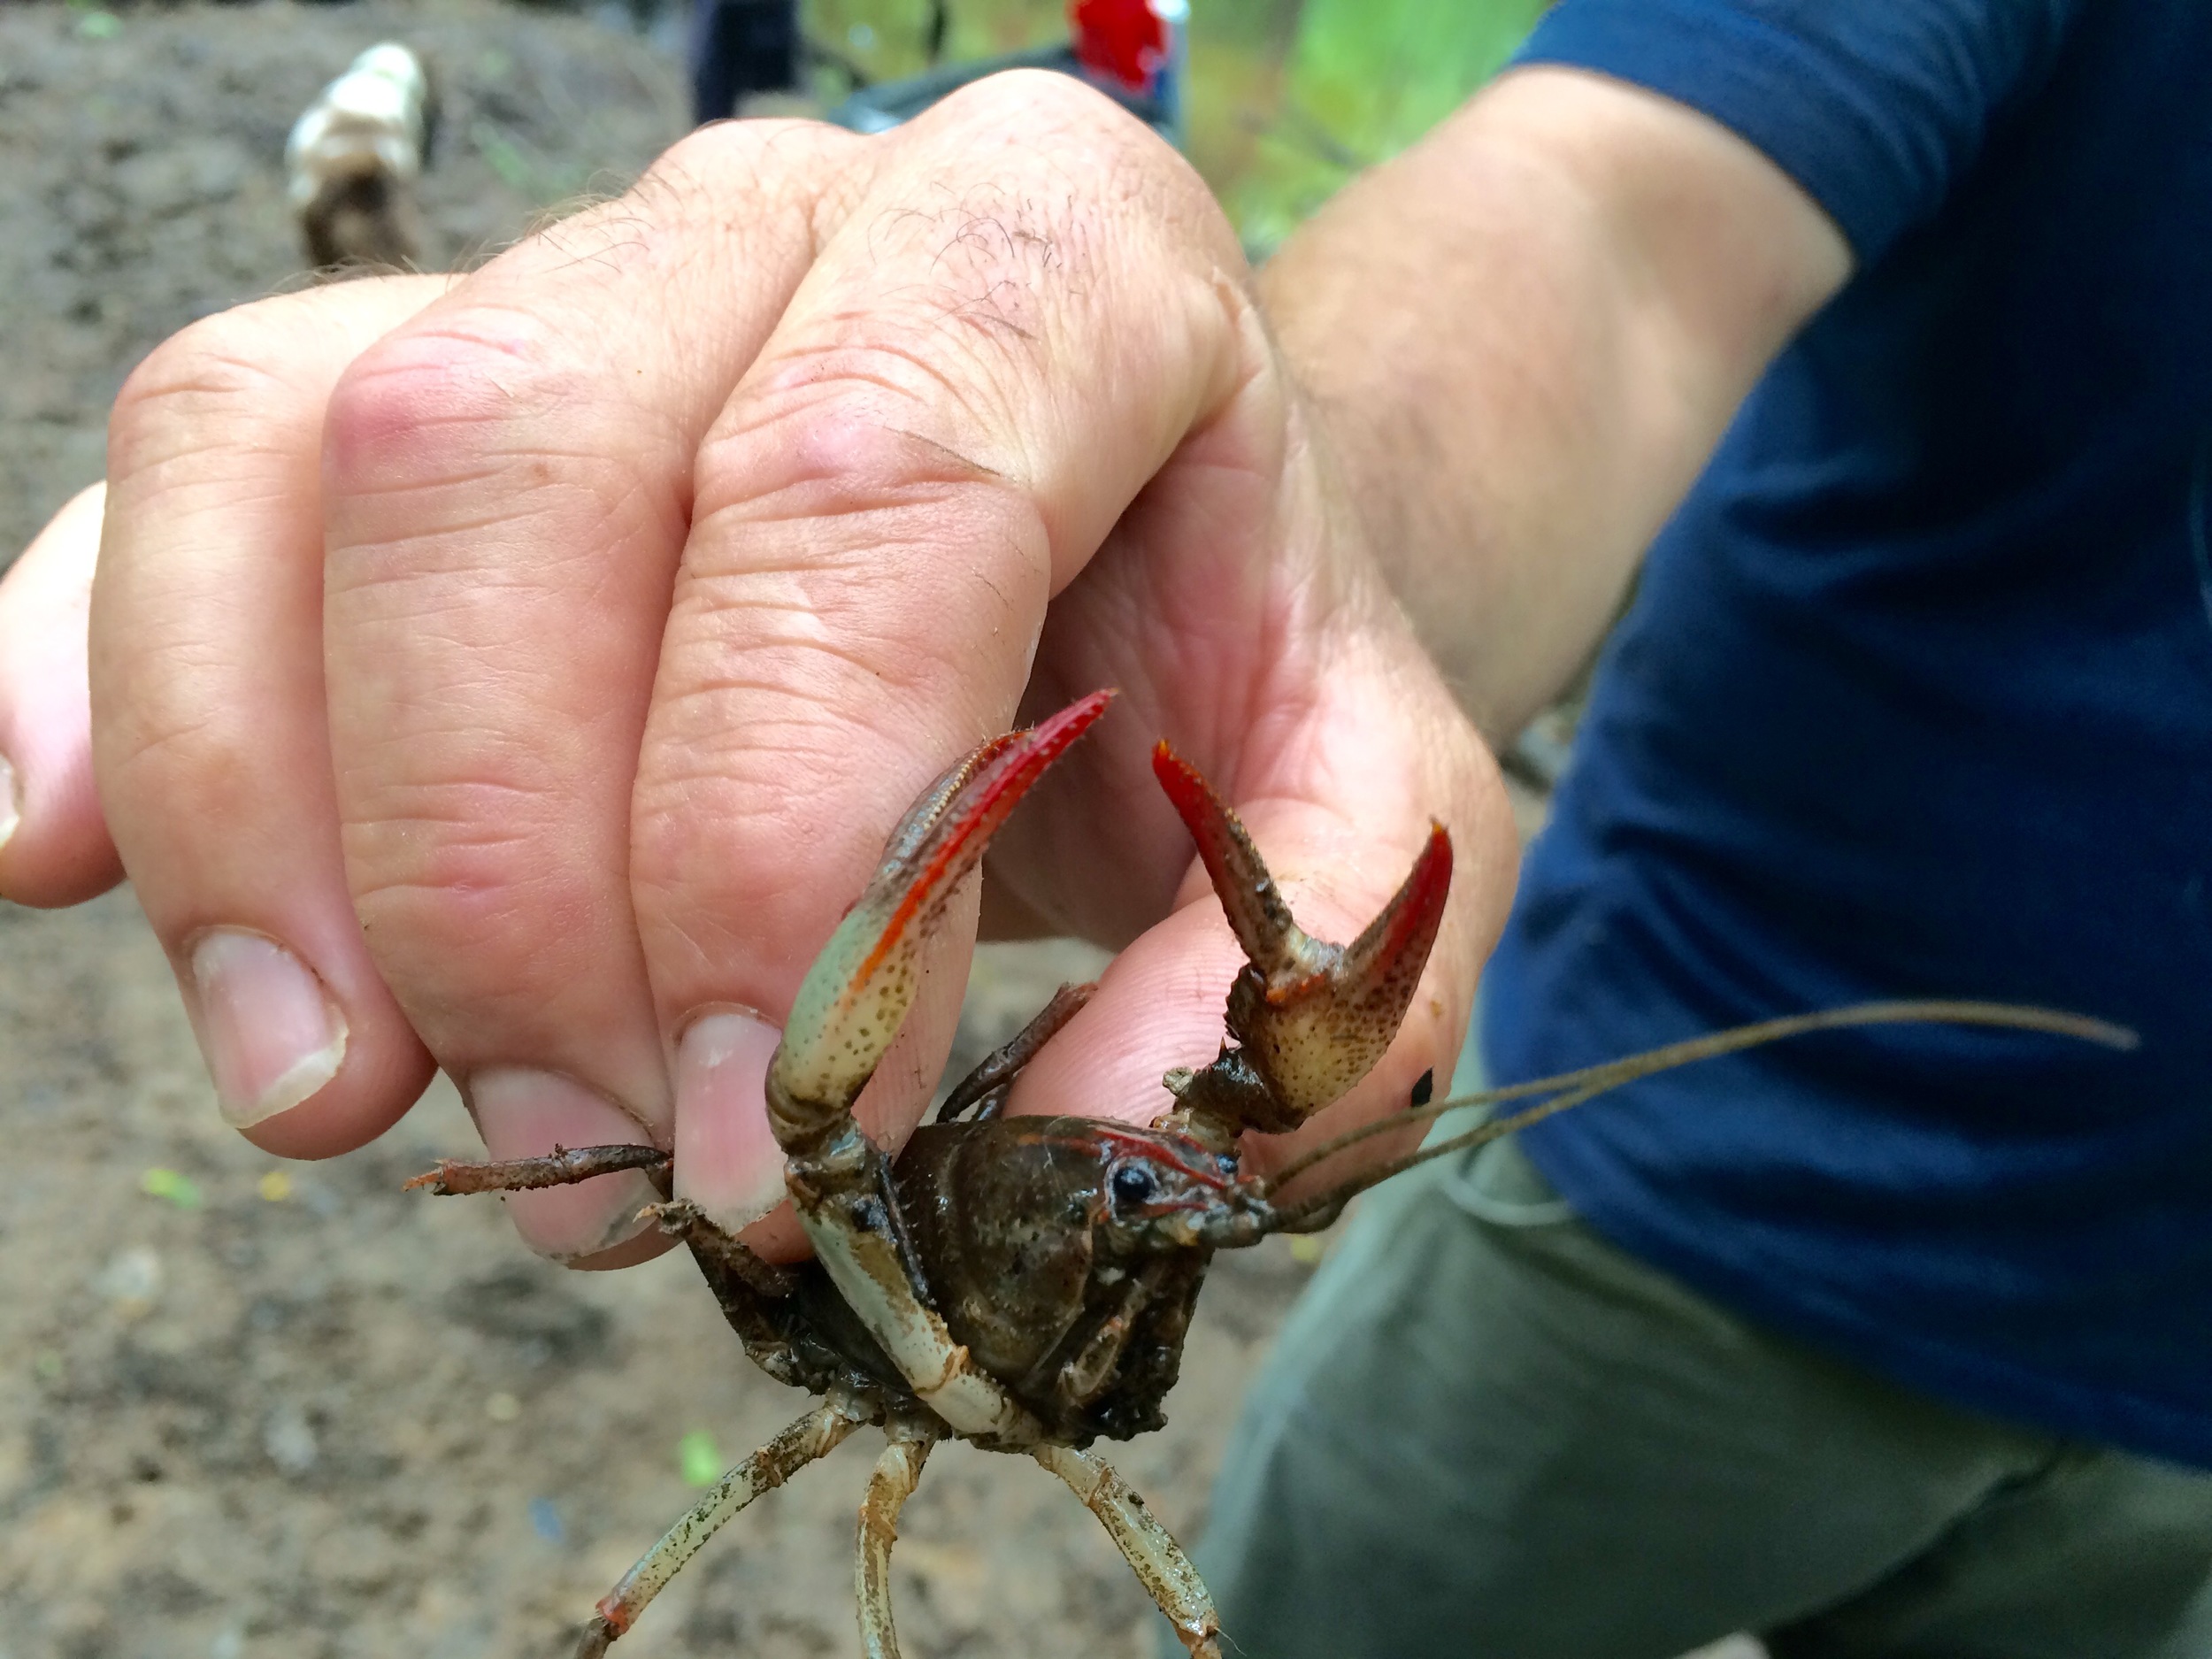
We canoed both days - about 7 miles one day and 10 the next - down Cedar Creek and into the Congaree River.  The water level was a about 3 feet down and there were a lot of portages to get through but nothing too crazy (a lot of trees down due to the october floods) but it was certainly some of the more challenging canoeing I've ever done, minus some tide/current moments in the ocean.  We saw loads of wildlife: Barred Owls, American Goldfinch, Pileated Woodpeckers, Osprey, a beaver, TONS of King Snakes (most snakes i've ever seen in a two day period, for sure), alligator gar…the list goes on.  I highly recommend checking the park out - even better if you can do it by water.

Here's link to the park's website and also one for info on camping

Kitchen Progress…..

While we still have some (big and small) finishing touches to be added to the new kitchen in the next month or so, it's back in working order (and better than before, obvs.) - so, here's what's been happening the past few months ------>

Flash back to the BEFOREs, for reference.....back when there was a wall between the dining room and the kitchen and faux butcherblock countertops to be jealous of.

For this round of renovations....I came home from a weekend painting workshop in Greenville, SC to an even emptier kitchen - meaning no sink or lingering cantilevered cabinets still hanging on - but one with freshly painted walls and the new tile floor, of course (that's what started this whole kitchen renovation movement: "Let's redo the kitchen floor!").

Over the next few weeks we slowly replaced the refrigerator and the range (Black Friday sales! Yesss.) while the cabinets were being built at Perrin Woodworking (downtown Charleston) - and while using the (one, tiny, pedestal) bathroom sink for everything and eating out A LOT.  I also made my very first trip to Ikea (wow?!) to purchase the farmhouse sink and look at light fixtures...among the other billion things in there - a little bit much, in my opinion, but highly recommend enduring the experience if there's something specific you're looking for, otherwise, it could be a giant Target-style trap as far as money traps go BUT the farmhouse sink was just as perfect in person and I found a simple overhead (white cut glass) ceiling light for the kitchen for about $40.    

One of my favorite parts of the kitchen experience was the search for the perfect countertops.  With the help of Peter Martol, we toured both a warehouse in North Charleston and also a collection at his shop in West Ashley looking for the right piece - beautiful but durable, and it had to be economical.  I could have spent all day in that warehouse being the rock & mineral lover that I am. I can't even begin to describe the amount of beautiful slabs...with different colored veins running through them, from all over the world....but we knew we wanted something light in color and price was a big factor for us.  We ended up finding the perfect piece (Quartz!) at the Martol shop (which meant it was also a smidge cheaper, since he buys at wholesale - and we have pieces leftover for future bathroom reno's. Bonus!).

The choosing of the cabinet color was a lot more difficult than I anticipated.  Many samples were purchased and tested. They all looked so different at different times of day - too blue, too green, too gray, etc.

We actually ended up going with 2!  More of a green tint on the uppers, and a bluer hue on the lowers (Sherwin Williams' Interesting Aqua and Meditative Blue, to be exact). They're so similar that it's usually hard to notice but at certain times of the day they reveal themselves as different colors and I love it. 

For the hardware, I knew I wanted brass, so the search began. I ended up finding some that fit the bill at Anthropologie and snatched it up on sale right before Christmas. 

THE TILE.  This was a pretty easy decision: white subway tile with black grout.  Subway tile is cheap (total cost ~$80) and we had the black grout leftover from tiling the floor.  The unforeseen hard part was finding a subway tile that also was available with the right bullnose because we weren't tiling "wall to wall".  Learning things here, people, learning things.  We ended up finding a bullnose that was available in a 6"x 6" tile that matched the 6" x 3" tile, SO, ted had to cut ALL of the bullnose pieces down to size (luckily, we also had a tile cutting saw from doing the floor).

....and here's where we are today ----------------->

The remaining TO-DO LIST:

Dishwasher (haven't had one of those in almost a decade!), the Cypress shelf that will go underneath the cabinets all the way around the kitchen - with brass brackets : ) and the wine rack/liquor cabinet underneath the bar with matching shelves in corner at end of cabinetry above the bar....

Lighting! We have all of the lights in boxes, ready to be installed - except for the under-cabinet lighting. I still need to figure that detail out before we have Mike come help us install everything.  The brass chandelier that was in the dining room will be back, but is currently getting re-wired and fixed up before its return. Lots of paint touch-ups to do and the french door coming into the kitchen will be painted to match the cabinets.  

BUT we're getting close to the finish line. I can feel it.  Hopefully, i'll be doing the grand finale update soon!

(and to see the first post I did on the Marvin Kitchen Reno 2015 go here.)

A lil holiday re-cap.

Here's an assortment of sweet moments from the past two months courtesy of my iphone photo album, of course...trips home to Burlington, NC for Thanksgiving and Christmas, a weekend on Hilton Head Island with Ted's family in between the holidays (filled with lots of bike rides and walks on the beach)....family birthday parties and fall-themed watercolor sessions with the nephews, homemade wreaths (our only real Christmas decorations due to the kitchen-reno chaos that is still our home - see Marvin Kitchen Reno Parts I, II, and III here - more to come on that later in the month!), sleepy animals recuperating from the holiday stresses, a new year's day boat ride to Wolf Island for a family polar-plunge into the Stono and a glass or two champagne...these are a few of my favorite things!!!  (also, I watched the Sound of Music last month. ha)

2015 was a great year - full of hard work and many goals met - I intend to continue the momentum in 2016 but with added focus on new adventures, lots more travel, and more time spent enjoying life with friends and family!

Cheers to the New Year!

Marvin Kitchen Reno 2015: Part I, II and III

What started as "let's tile the kitchen floor" has expanded into a pretty major kitchen/dining room reno for Ted and I.

PART I: Floors & Walls

The first step was tearing out the wall between the kitchen and dining room….and then tearing up the kitchen floor, twice, since there were two layers of old tile floor underneath.  The bottom layer of floor ran under the cabinets, so we had to decide: To tear out the cabinets or not?

We chose to go for it….cabinets, floor, wall and all !

Here's the story, in pictures…..from two rooms, to one….with fresh walls and a (long overdue) new tile floor.

PART II: Project Bookcase

Meanwhile, Ted ran across the perfect "floor to ceiling" bookcase for the living room (I'd been dropping 'hints' about wanting something like this for a little while : )  So, we started transforming this 8' tall blue bookcase….and eleven coats of paint later, yes….ELEVEN!  Moral of that story: it's hard to completely cover up a blue that blue - we should have sanded ALL of the blue paint off. Lesson learned because this strange greenish undertone shone through the white for the first ten coats of white paint.

BUT. After Ted installed it, adding some simple molding around the top and finishing the bottom with baseboard that matches the rest of the house, it was all very much worth it.  I couldn't be happier with the way it turned out.

PART III: The bar.

Where the wall used to be between the dining room and the kitchen, we decided to install a bar that will eventually become the back side of the kitchen cabinets/stove area.  We knew we wanted to incorporate some natural wood tones into the kitchen and the bar was the perfect place to start.  Ted brought home an assortment of ridiculously neat wood pieces (and some were too big to bring home, so we did a tour at his shop). The 100+ year old cypress (leftovers harvested from a friend's re-model) would become the face of the wall of the bar (the dining room side) and mammoth chunk of Angelique wood (originally destined to be part of the keel of the Spirit of SC) would become the bar top…..Pictures are worth a thousand words, sooo, see below...

More to come soon!

And a special thanks to Ted for being so damn talented and "making things happen" (that's a Ted-quote).